It’s Monday again! So today I have for you the Monday Sketch Challenge from Stampin’ Connection. This week’s sketch was created by Liz Goldhawk. Here is the sketch:
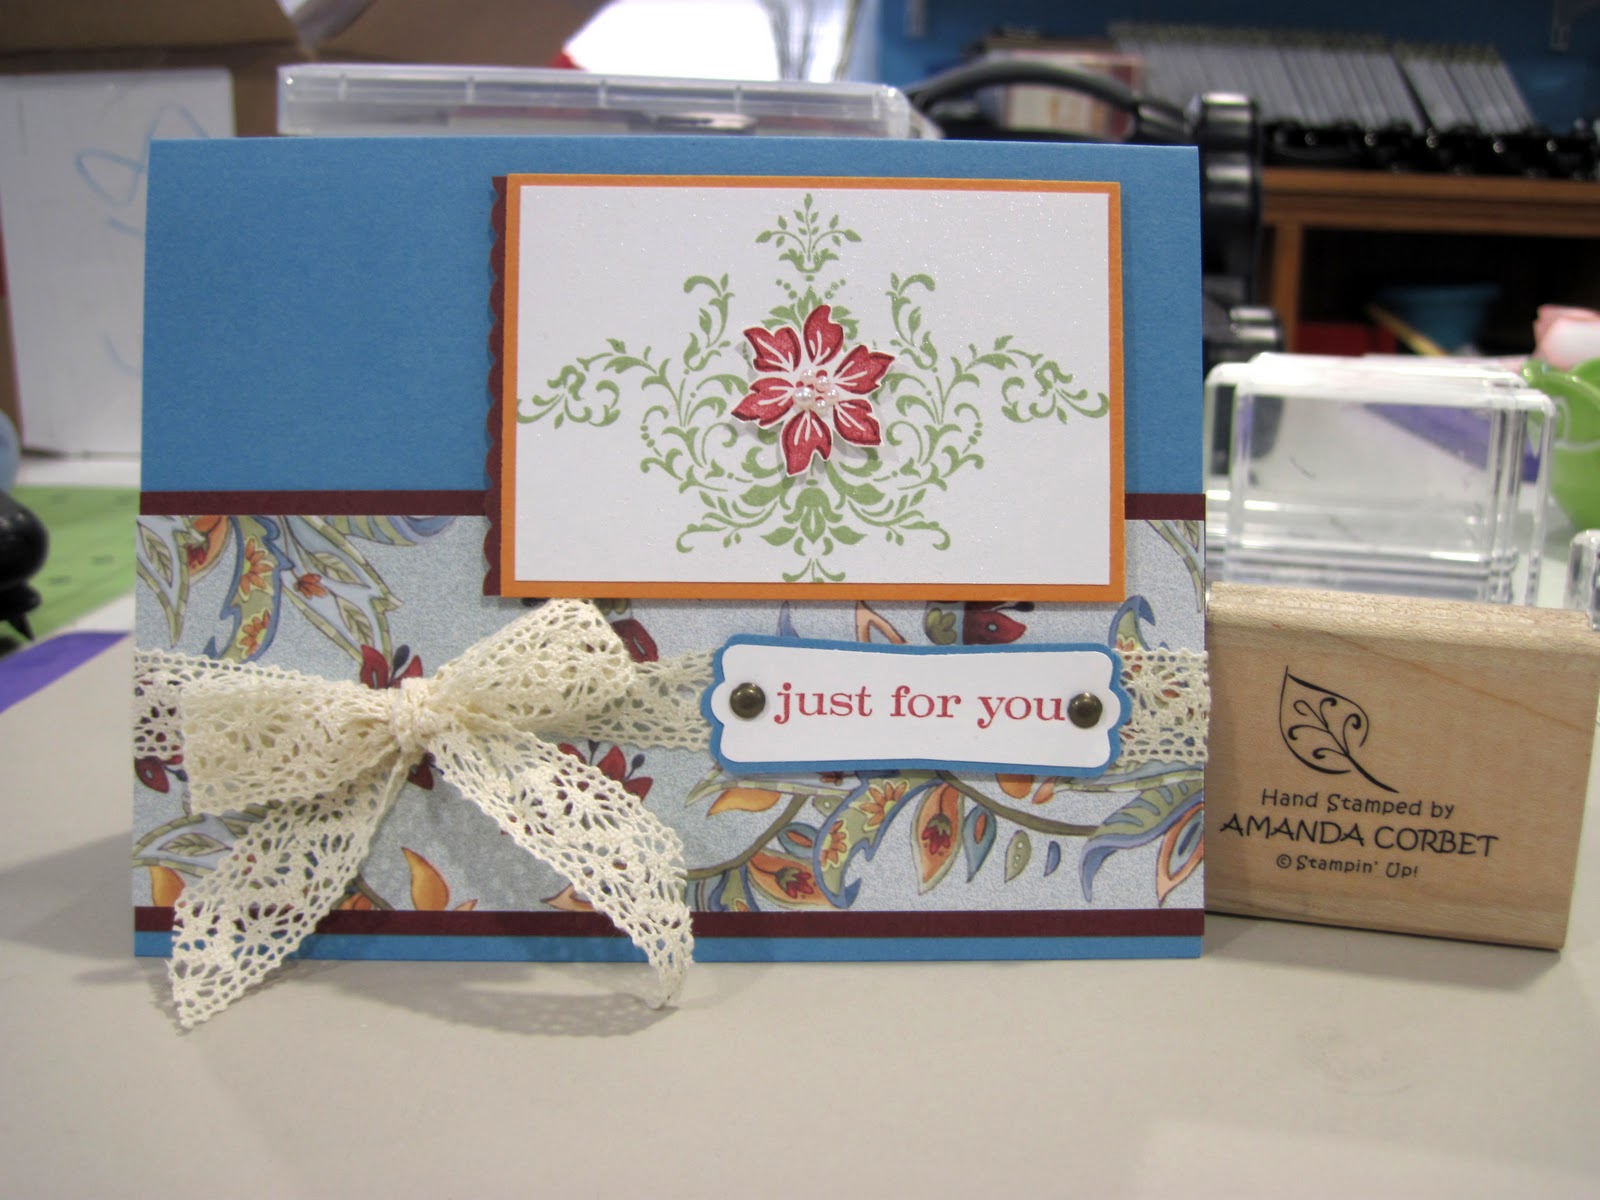
And here is my card:
Stamps: Bring on the Cake
Cardstock: Basic Black, Cajun Craze, Basic Grey, Old Olive, Night of Navy, Chocolate Chip, Naturals Vanilla
DSP: Elegant Soiree
Ink: Basic Black
Accessories: Top Note Die, Perfect Polka Dots Textured Impressions Die, 2 ½” Circle Punch, 2 3/8” Scalloped Circle Punch, Two-Step Bird Punch, Two-Step Owl Punch, 5/8” Basic Black Satin Ribbon, Stampin’ Dimensionals, Two-Way Glue Pen, Paper Snips, Hobby Blade, Mat Pack.
The card base is Basic Black cardstock cut at 5 ½” x 8 ½” and scored at 4 ¼”. The next layer is Cajun Craze cardstock cut at 3 ¾” x 5”. The Cajun Craze cardstock was run through the Big Shot in the Perfect Polka Dots Textured Impressions Die and adhered to the card front. Next a piece of Elegant Soiree DSP was cut at 4” x 5” and run through the Big Shot with the Top Note Die. The die cut was cut in half with the paper cutter and adhered to the card front. The sides were then trimmed even with the edge of the Basic Black card front with Paper Snips.
The Hobby Blade and Mat Pack were used to cut a slit in the fold of the card for a piece of ribbon to slide through. A piece of 5/8” Basic Black Satin ribbon was run through the slit in the fold of the card, around the card front, and tied into a knot.
The 2 ½” Circle punch was used with a scrap of Night of Navy cardstock and the Night of Navy circle was adhered to the card front where the two DSP top note halves meet. A scrap of Elegant Soiree DSP was punched with the 2 3/8” Scalloped Circle punch. The greeting from Bring on the Cake was stamped in Basic Black ink on the DSP scalloped circle before it was adhered to the card front on top of the Night of Navy circle.
The owl pieces were punched from scraps of Basic Grey, Elegant Soiree DSP, Chocolate Chip, Naturals Vanilla, and Basic Black with the Two-Step Owl Punch and adhered together with the Two-Way Glue Pen. A leaf was punched from a scrap of Old Olive cardstock and adhered to the DSP circle with the Two-Way Glue pen. The paper pieced owl was adhered to the card front with Stampin’ Dimensionals.
You may have noticed that I have been using the Owl Punch a lot lately…well I just LOVE that punch! It is so cute and easy to make the most adorable expressions with! Coming in close second is the new Cupcake punch that you have also seen me use several times lately. I just can’t get enough of these adorable paper piecing punches! Click
HERE to shop online for your own adorable punches!
If you are a Stampin' Up Demonstrator you can find the sketch challenge thread
HERE. If you are not a Stampin' Up Demonstrator I would still love to see your creations. Please post a link to your card in the comments section of this post. Have fun stamping!