Showing posts with label Glass Crafts. Show all posts

Wednesday, January 29, 2014

Hand Painted Wine Glass Gift

I painted this lovely wine glass just to have some fun, but then decided to send it to Tracy with my Christmas Mixed Media Swap cards as a thank you for all she does. She really does inspire me to do different things and just have fun letting go. So I added her mantra "let it go" onto the bottom of the glass. I just love all the fun polka dots!


This was done with Folk Art enamel paints and I cured the paint and baked the glass as directed on the paint bottle. It says it's dishwasher safe at that point, but I think I would still hand wash something like this.


I think maybe now I'll have to paint a wine glass or to for myself. I make things all the time, but rarely keep much of anything for myself. Weird right??? I will have to fix that pronto! I'm off to Walmart to pick up more plain wine glasses!


Wednesday, January 15, 2014

Hand Painted Daisies Wine Glasses

These are some hand painted wine glasses that I made for my mom for Christmas! She just loves daisies and wine, so hey, why not? 


These were actually pretty easy to do. With some drying time and multiple layers of paint to make the petals opaque it came together pretty easily. I worked on it for 15 minutes here and 30 minutes there over just a couple days to get these done.


The idea for these came to me pretty late so I just grabbed some Folk Art enamel paint from Walmart for these. For the petals I painted a layer of white, a layer of blended white and yellow, then one more layer of white to get the soft yellow center to the flowers.


The best part about this paint, let it cure for a few hours, then bake as directed on the paint bottle and it is supposed to be dishwasher safe! I would still hand wash it. I always hand wash my wine glasses, but the paint bottle says it can go in the dishwasher if you're brave enough to try. Oh, and mom loved them too! 

I had so much fun painting these that I will have to play more with glass painting soon! 


Friday, November 29, 2013

DIY Snowflake Wine Glasses


~ Supplies ~
  • Glass wine glass
  • DecoArt Glass Paint Marker in White and Silver

1. Start by drawing a narrow X then add a horizontal line across with your white DecoArt Glass Paint Marker.


 2. Add a wide V on the end of each line. Then add a circle just above the V.


3. Draw a V between each of the lines to create a diamond shape. 


4. Add some swirls just under the V at the end of each line. Add a V on the line between the point of the diamond and the swirls. Then just add some dots in the center of the diamond shape. 


5. Starting from the base of the glass right at the top of the stem add random dots with your white marker until you have it as full as you like. Make sure that the dots stay about 3/4" away from the top of the glass. You do not want any paint where someone will be putting their mouth to take a drink. Then add silver dots until it it's as full as you like. 


6. Add white and silver dots to the base of the wine glass to make it match. 


7. Now just let your paint dry for at least 8 hours. Then place your wine glasses on a baking sheet and put them in a COLD oven. Turn the oven on to 375°F and allow it to heat up. Once the oven reaches 375°F set the timer for 40 minutes. After the 40 minutes turn the oven off and allow it to cool completely before you remove the wine glasses. 

Now you have a special wine glass hand painted by you that is dishwasher safe. Although I think I will only hand wash mine to make the paint last as long as possible. 


This is such an easy to make project and would make a fabulous gift! You could even decorate a ceramic mug using the same method! 


Tuesday, December 28, 2010

Mosaic Vase

The first Christmas present I made was a mosaic vase for my sister Kelly who loves pink. I found this wonderful clear glass vase at an antique store and used some glass that I already had on hand. One of my other of many hobbies is stained glass and glass fusing. These pieces were just waiting to be used. I cut the glass into 1/2" strips then cleaned them with alcohol. Then I used on glass tile nippers from the home store to cut the strips into 1/2" squares. Well...approximately squares. They weren't perfect, but I didin't want it to be perfect either.


Then I used E600 glue to adhere all the glass pieces to the vase. This project used five different kinds of glass. A champagne colored opaque, a solid pink opaque, glue chip (which looks like frost on glass), a pink and yellow streaky glass, and a peachy colored mottled (textured) glass.


I'm really happy with how it turned out and Kelly loved it!

Come back later to see what else I have to share with you!

Sunday, July 4, 2010

Father's Day Light

First off let me say HAPPY 4TH OF JULY!!!!!


I really love 4th of July, but I will be glad when people in my neighborhood quit shooting off fireworks. Now on to crafty stuff!

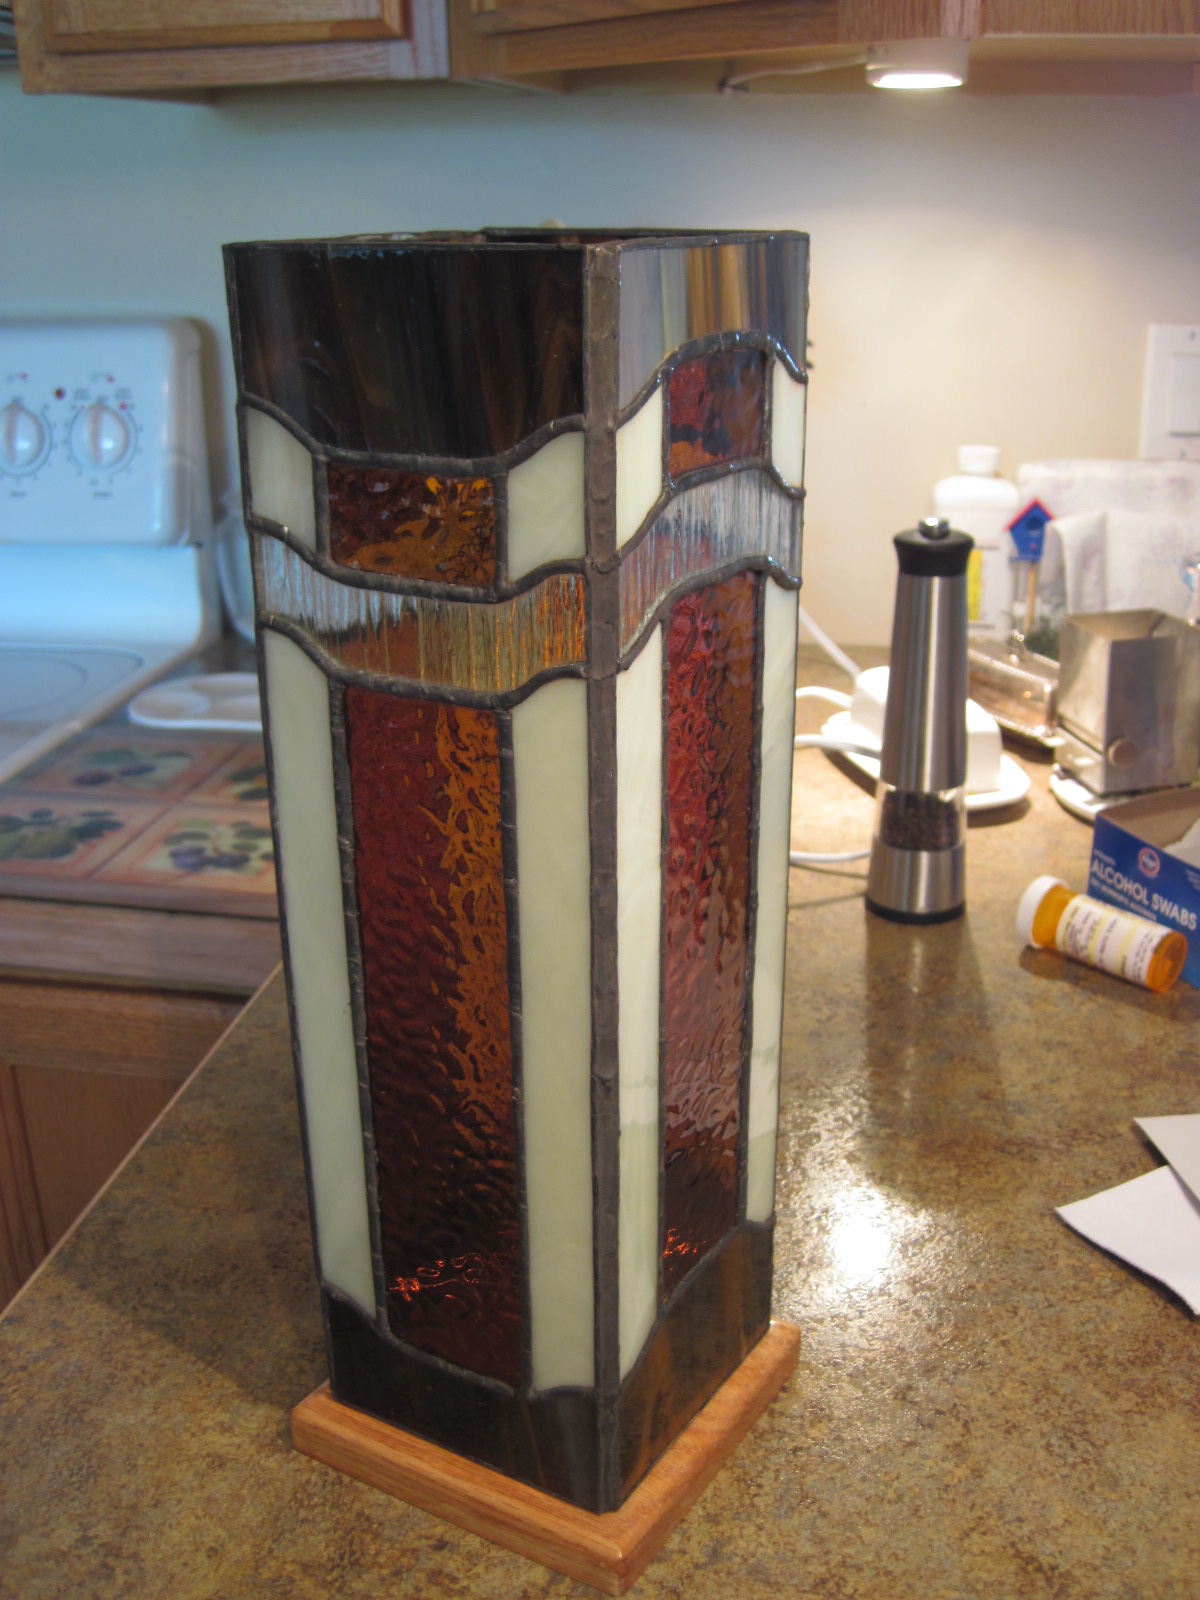
One of my many other hobbies other than paper crafting is stained glass. I just love how the rich colors look with the light behind them. Well...here is an accent lamp that I made for my Dad for Father's Day.


The pattern came from the "Box Column Lanterns" book by Jill Williams. I used tones of white, amber, and brown with a textured clear glass. The wooden base was made and finished by my husband.

I enjoy a large variety of crafts, but paper crafting is the one I do the most of because it is much faster and more instant gratification than others, but I truly love the results of time well spent carefully crafting things such as this lamp. Now, maybe someday soon I will make myself an accent lamp.

Don't worry, I will have more paper craft goodies to show you tomorrow. I just had to get this one in here.

Friday, January 8, 2010

Another Christmas Gift

This is a stained glass lantern that I made for my mother-in-law this Christmas. The pattern was from a staned glass column lantern book that can be found on Delphiglass.com. All of the glass and the electrical kit was also purchased from Delphiglass.com. The solder joints are finished with a copper patina. I am really pleased with how it turned out. I have one more to finish for someone else because I didn't have time to finish it before Christmas, and then I will make one for me. Here are more pictures with it lit up. I just love the gentle glow you see when the lamp is turned on.