
I’m still working on catching up with months of creations that I still need to share with you. This is one that I was playing around with for a Make and Take but later decided that the technique was a little too time consuming and finicky to use for a Make and Take project. This is my first try at using the Faux Silk technique.
Stamps: En Francais, Elements of Style
Cardstock: So Saffron, Whisper White, More Mustard,
Ink: Peach Parfait, Soft Suede
Accessories: Designer Label Punch, tissue paper, Eyelet Border Punch, 5/8” Daffodil Delight Grosgrain ribbon, Paper Snips
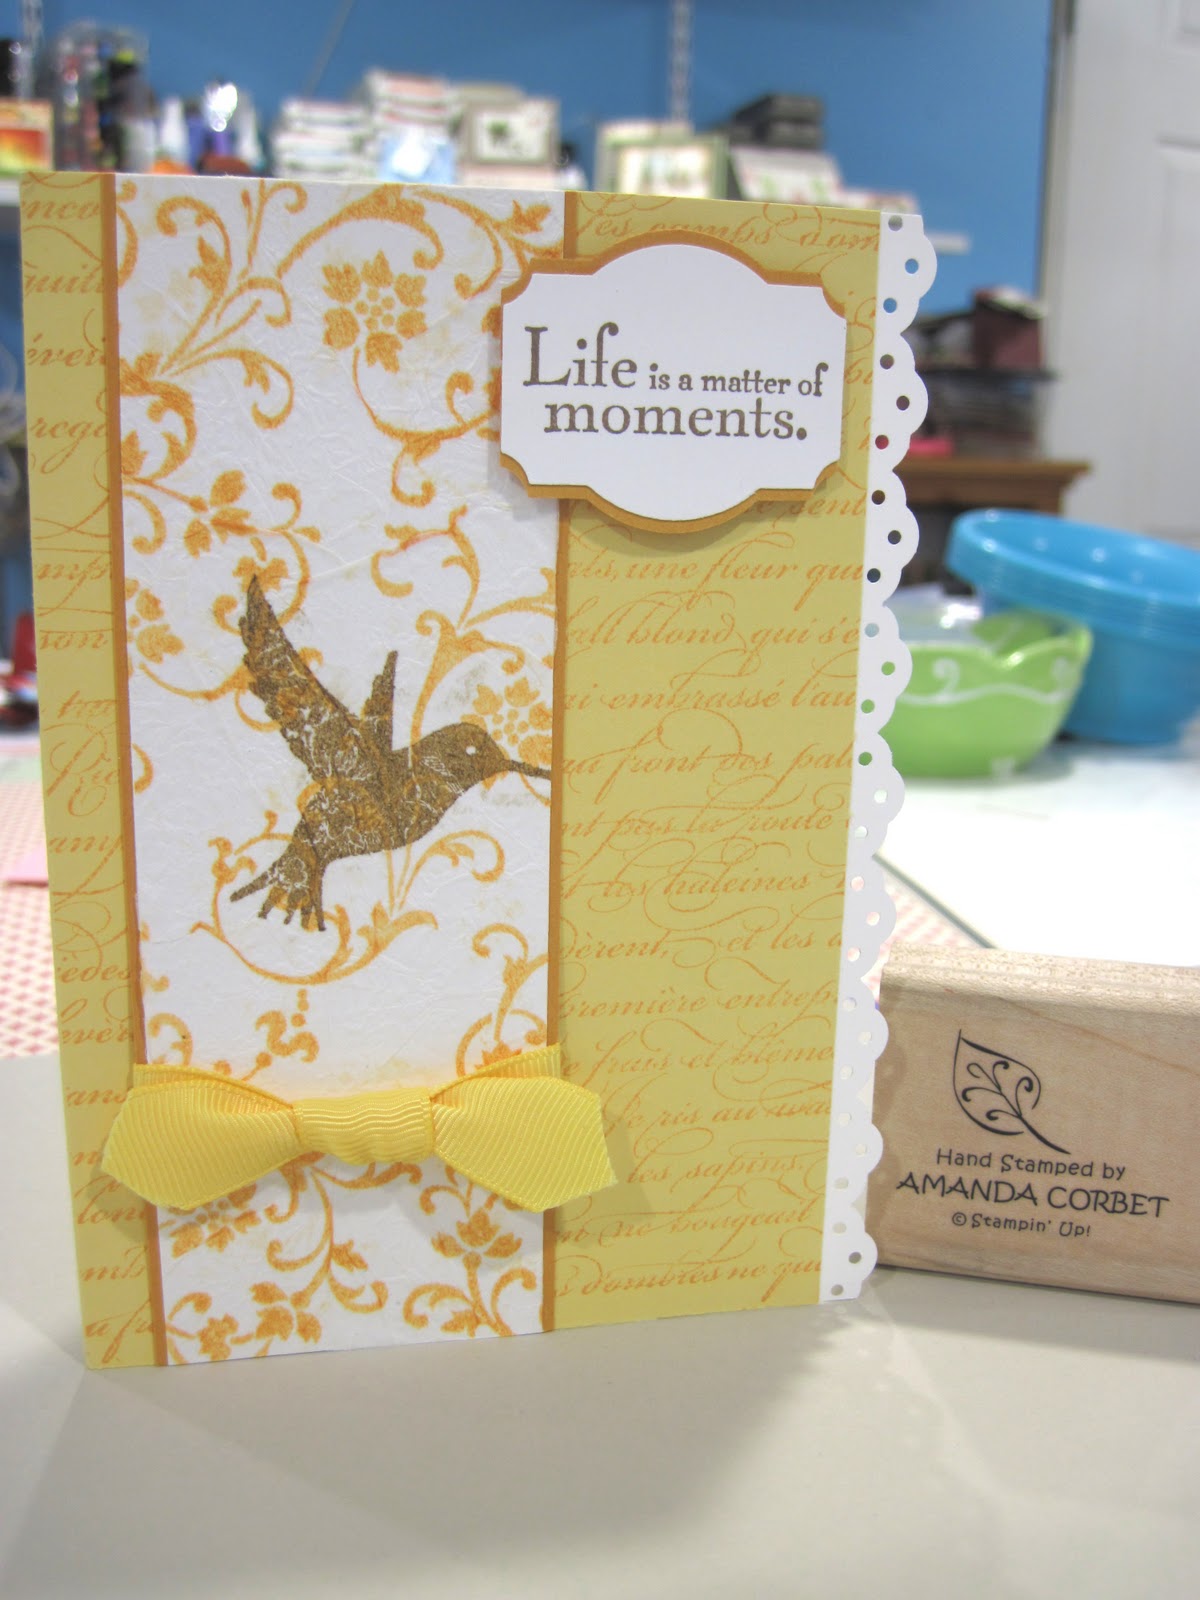
The card base is So Saffron cardstock cut at 5 ½” x 8” with a 4 ¼” score. The half that is 3 ¾” wide is the card front. The card front was stamped with the En Fraincais background stamp in Peach Parfait ink. A strip of Whisper White cardstock was cut at 1 ¼” x 5 ½” and one side was punched with the Eyelet Border punch. This piece was adhered behind the edge of the card front.
A piece of Whisper White cardstock was cut at 1 7/8” x 5 ½” and set aside. A piece of tissue paper much larger than the Whisper White cardstock was stamped with the flourish from Elements of Style in Peach Parfait ink and the bird was stamped in Soft Suede ink. The tissue paper was wadded up and straightened out again. Don’t straighten it out all the way though. Glue stick was added over the entire piece of Whisper White cardstock and the stamped tissue paper was adhered to the Whisper White cardstock allowing some wrinkles to form to make it look like silk. The tissue paper sticking out past the Whisper White cardstock was trimmed off with Paper Snips.
This silk panel was adhered to a piece of More Mustard cardstock that was cut at 2” x 5 ½”. Some 5/8” Daffodil Delight Grosgrain ribbon was added around the bottom of the panel, tied into a knot, and then the panel was adhered to the card front.
The greeting from Elements of Style was stamped on a scrap piece of Whisper White cardstock in Soft Suede ink. This was punched out with the Designer Label punch. Another label was punched from a scrap of More Mustard cardstock, cut in half length-wise, and adhered behind the Whisper White label to create a mat. The label was adhered to the card front with Stampin’ Dimensionals.
It took me several tries to get this one decent looking card with this technique. It seemed to take forever for the ink to dry completely on the tissue paper. Maybe it was the type of tissue paper I was using? When gluing down the tissue paper I would smear the ink on one of the stamped images or it would smear when I wadded up the tissue paper.
Either way, I don’t think this technique will see a Make and Take any time soon. I don’t want a card that is too difficult for my customers to get good results. That would not make them very happy at all. I do like this technique and will try again some other time and just let the tissue paper sit for 30 minutes or so to dry.
Have fun stamping!