Sunday, October 31, 2010

Fall Leaves

Today I have for you the card I created for the SCCSC38 sketch challenge. I'm just now getting around to completing some of the challenges I missed while I was on vacation. So here is the sketch provided by Susie:

And here is my card:
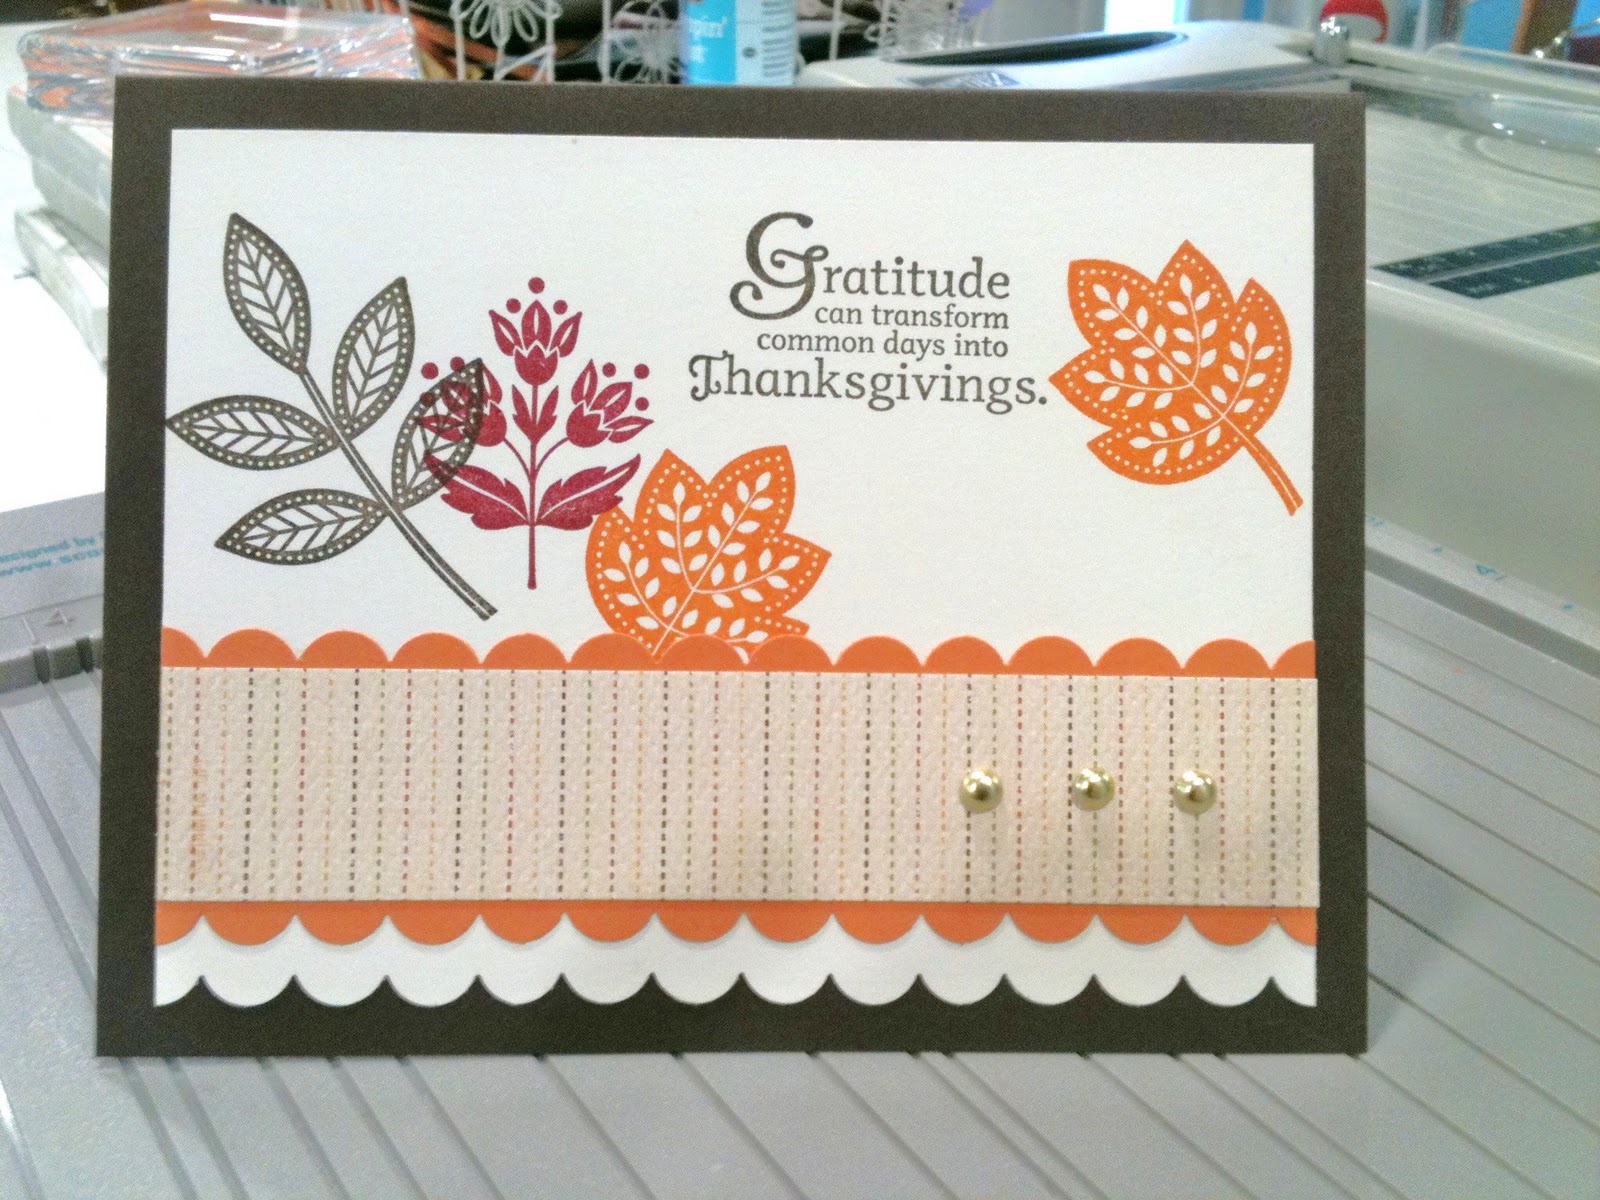

Stamps: Day of Gratitude
Cardstock: Very Vanilla, Peach Parfait, Early Espresso
DSP: Autumn Spice
Ink: Peach Parfait, Early Espresso, Cherry Cobbler
Accesories: Scallop Edge Border Punch, Gold Brads, Needle Tool, Mat Pack

The card base is Early Espresso cardstock cut at 5 1/2" x 8 1/2" and scored at 4 1/4". The next layer is a piece of Very Vanilla cardstock that was cut at 5" x 4". The bottom edge was punched with the Scallop Edge Border punch. The leaves from Day of Gratitdue were stamped in Early Espresso, Peach Parfait, and Cherry Cobbler inks. The sentiment was stamped in Early Espresso ink. This panel was then adhered to the card front.

A piece of Peach Parfait cardstock was cut at 1 7/8" x 5". Both long sides were punched with the Scallop Edge Border punch. A piece of Autumn Spice DSP cut at 1" x 5" was adhered to the center of the punch Peach Parfait strip. The Needle Tool and Mat Pack were used to punch three holes on the left side of the cardstock strip and three Gold Brads were added. The cardstock strip was then adhered to the card front. That completes this quick and easy fall card. Thanks for the great sketch Susie! For those of you with access to Stampin' Connection you can find the challenge here. For those of you without access I would love to see your creations. Please add the link to your card in the comments section of this post.

Come back tommorrow to see the sketch that I created and the card that this sketch inspired!

Friday, October 29, 2010

Delightful Flowers

Now I have the card I made with the Two-Step Stamping panel I showed you how to make in the tutorial this morning. I kept this one pretty simple since there is so much going on in the floral panel. Take a look:


Stamps: Awash With Flowers
Cardstock: Daffodil Delight, Peach Parfait, Whisper White
DSP: Autumn Spice
Ink: Daffodil Delight, Cherry Cobbler, Poppy Parade, Old Olive, Basic Black
Accessories: Crystal Effects, Dazzling Diamonds glitter, Whisper White Organza ribbon

The card base is 5 1/2" x 8" and scored at 4". This is a slightly narrower card than A2 because I wanted my Autumn Spice to go all the way from top to bottom, but I was using a scrap that was just a little narrower than the height of the card, so I cut the card to fit the DSP scrap. A piece of Whisper White cardstock was cut at 2 3/4" x 4 1/8". The flower outlines were stamped in Basic Black. The various flower centers and leaves were stamped in Daffodil Delight, Poppy Parade, Cherry Cobbler, and Old Olive. This panel was adhered to a piece of Peach Parfait cardstock that was cut at 2 7/8" x 4 1/4". This was then adhered to the top of a piece of Autumn Spice DSP that is 4" x 4 1/2".

A piece of Whisper White Organza ribbon was tied around the bottom of the Autumn Spice DSP panel. The panel was adhered to the card front. As a finishing touch I added some Crystal Effects to some of the flower edges and added Dazzling Diamonds glitter to the Crystal Effects. The Crystal Effects holds the Dazzling Diamonds glitter better than the Two-Way Glue pen, and I don't like to pick up a card and be covered in glitter. So when I use glitter I use either Crystal Effects or Tombow Multi-Purpose adhesive to adhere glitter. Here you can see a close up of the glitter on the flowers.


That's it! What do you think?

Two-Step Stamping - Tutorial

It's another Friday! That means it's time for the weekly tutorial! Today's is on Two-Step Stamping!

For this tutorial you will need a Two-Step Stamping set, cardstock, and the inks of your choice. For this one I am using Awash With Flowers, Basic Black, Old Olive, Cherry Cobbler, Poppy Parade, and Daffodil Delight ink and Whisper White cardstock.

With a Two-Step Stamping set you can either stamp the bottom image or the top image first. Awash with Flowers is one that I like to stamp the top image or the outline image first in Basic Black so I can layout how I want the flower arrangement, this is just personal preference though.

When using a set like Greenhouse Garden you would want to stamp the solid images in a lighter color and the finer lined images in a darker color.

Now that I have all of my outlines done I can start stamping in my colors.

Now I begin stamping in my solid image stamps to add the various colors to my flower arrangement.

Here I have added all of my colors with the solid image stamps. You can see that by doing the two different steps I can a more whimsical looking panel by not having everything lined up perfectly. Or you could use the Stamp-A-Ma-Jig to get every image perfectly placed on top of the other.

I hope you have enjoyed this tutorial. Let me know if there is another topic that you would like to see a tutorial on. Come back later today to see what I do with this colorful floral panel! Have fun stamping!


Thursday, October 28, 2010

Bermuda Leaves

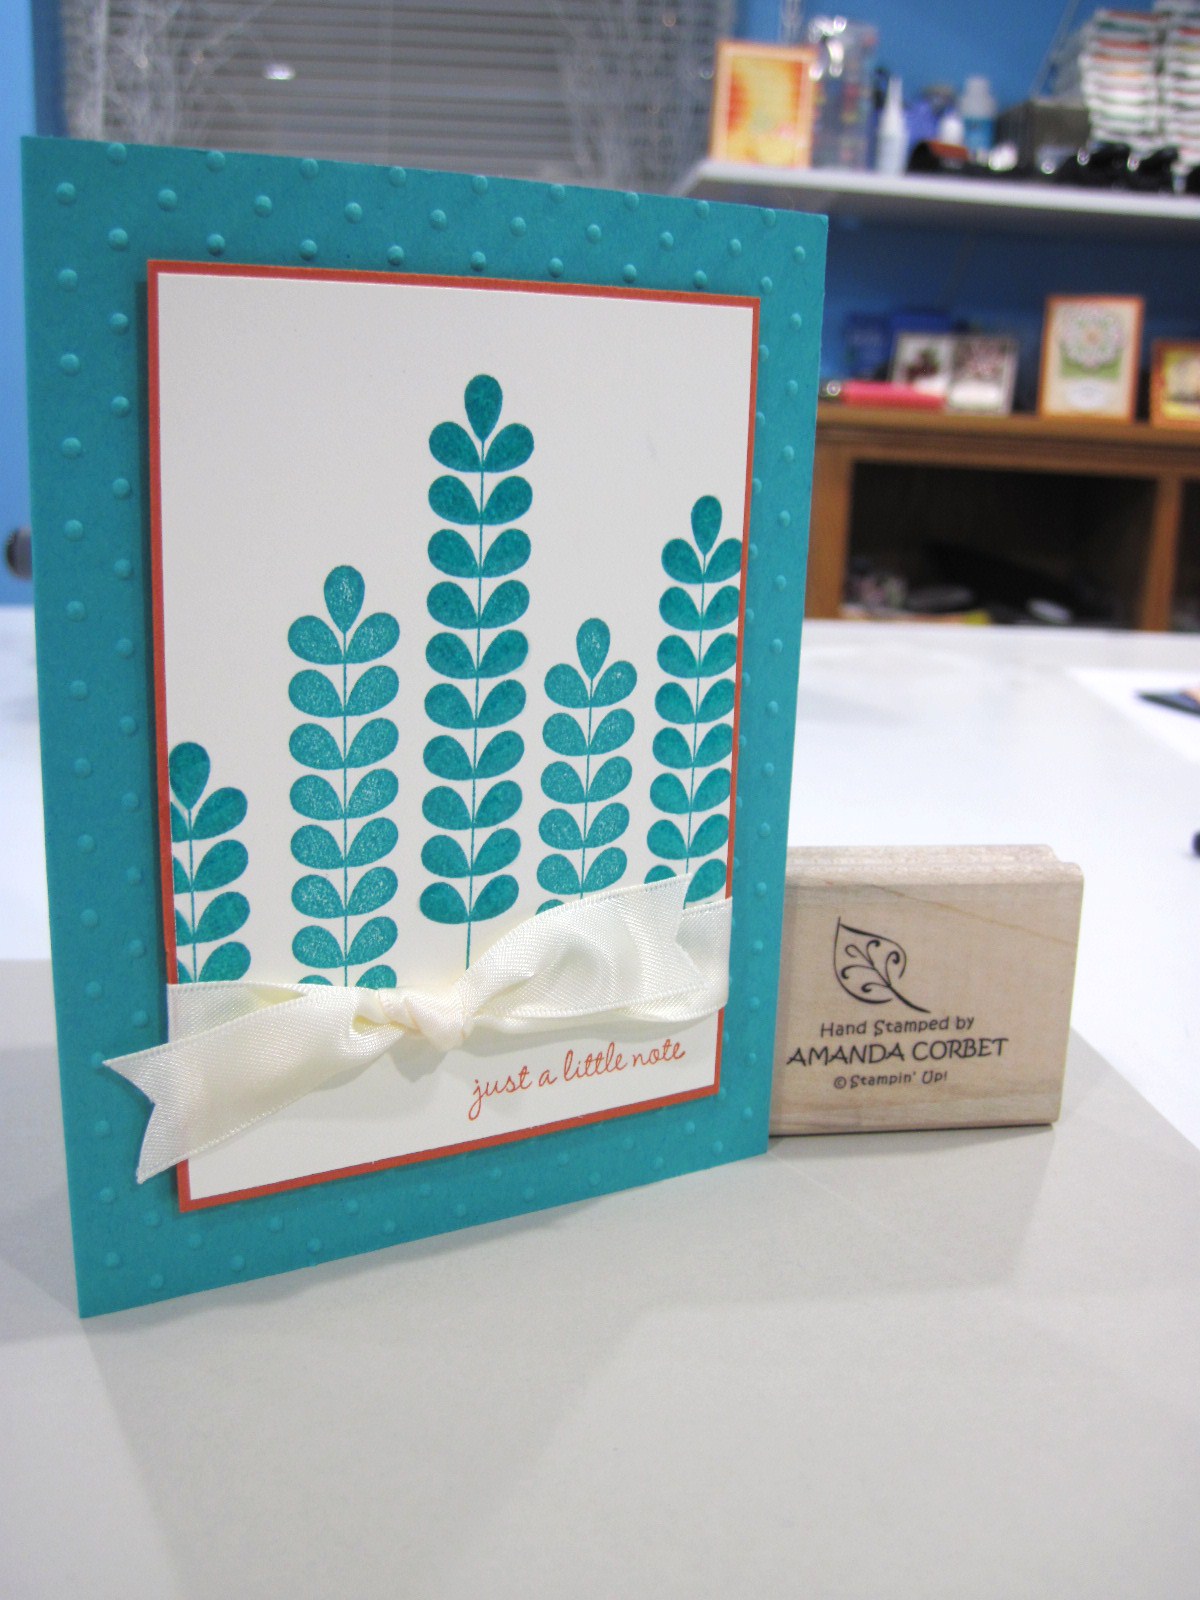
Todays color challenge features SCCOLOR 15. This is an old color challenge posted back in May. Even though it uses two retired colors I still had fun playing along. The color challenge was to use Bermuda Bay, Dusty Durango, and Very Vanilla. Here is what I created:

Stamps: Apple Blossoms
Cardstock: Bermuda Bay, Dusty Durango, Very Vanilla
Ink: Bermuda Bay, Dusty Durango
Accessories: 5/8" Very Vanilla Satin ribbon, Crystal Effects, Perfect Polka Dots Textured Impressions Die, Stampin' Dimensionals

The card base is 5 1/2" x 8 1/2" Bermuda Bay cardstock that was scored at 4 1/4". The card front was ran through the Big Shot inside the Perfect Polka Dots Textured Impressions Die to add that wonderful polka dotted texture. A piece of Very Vanilla cardstock was cut at 3 1/8" x 4 3/8". I covered the bottom 3/4" of the panel with a post it note as a mask then stamped the image from Apple Blossoms in Bermuda Bay ink at varying heights. The post it note mask was removed and I stamped the greeting in Dusty Durango ink.

The stamped Very Vanilla panel was adhered to a piece of Dusty Durango cardstock that was cut at 3 1/4" x 4 1/2". Some Crystal Effects were added to the middle and outside branches of leaves. You can see a close up shot of the finished card below:


After the Crystal Effects dried some 5/8" Very Vanilla ribbon was tied around the panel and into a knot. After the ribbon ends were trimmed the panel was adhered to the card front with Stampin' Dimensionals.

Although I really had to dig through my stash to find the retired color this was such a fun color combina tion to play with. I imagine you could do something similar with Tempting Turquoise and Cajun Craze with Very Vanilla.

I hope you've enjoyed this look back at some of the older color challenges that have been featured on Stampin' Connection. Make sure to come back tomorrow to see a tutorial! Have fun stamping!

Wednesday, October 27, 2010

Another Magical Vacation!

Hello all! I'm back from vacation! I hope you've enjoyed the pre-scheduled posts I had up while I was gone. Instead of a scrapbook page today, since I haven't had a chance to do one, I will share a few of my vacation photos. I will be posting the sketch challenge that would have been posted on Monday later this week or this weekend.

My Husband, I, my parents, and some of my Dad's extended family enjoyed a seven day Disney cruise on the Disney Magic through the western carribbean. It was absolutely fabulous! Anyway here are some photos!

Key West, Florida

Grand Cayman


Cozumel, Mexico


In Cozumel we went on a snorkeling excursion. This is the ship from the view of the catamaran.


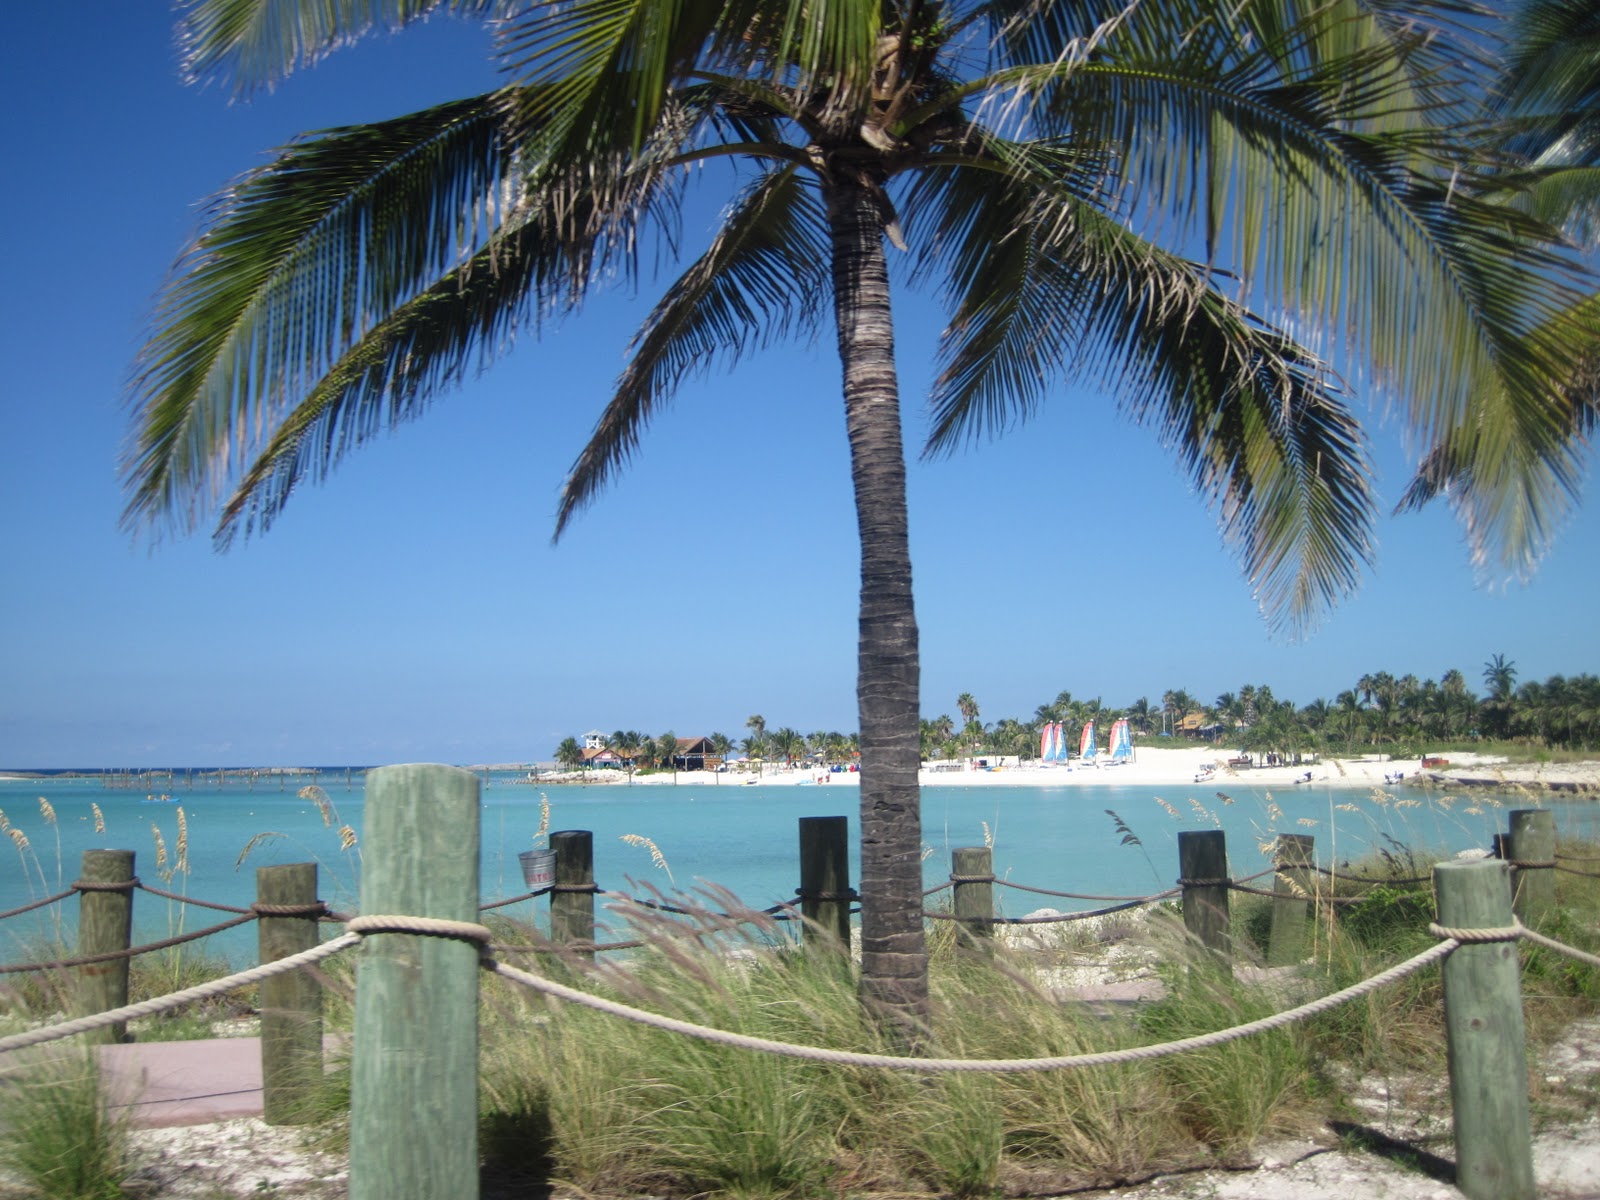
Castaway Cay, Disney's Private Island in the Bahamas


And of course Mickey and Minnie!


If you think Disney cruises are just for kids or young families you are wrong. There are lots of areas and activities that are just for adults such as comedy shows, wine tasting, tequila and margarita tasting, a piano bar, a sports bar, they even show football games on the huge television above the family pool on one of the top decks. Not to mention being spoiled rotten the entire week with all the wonderful service! I just thought I would throw that little note in since I've gotten that question a lot when I mention Disney Cruise Line.

Come back tomorrow to see what I have for you!

Tuesday, October 26, 2010

Autumn Sunset

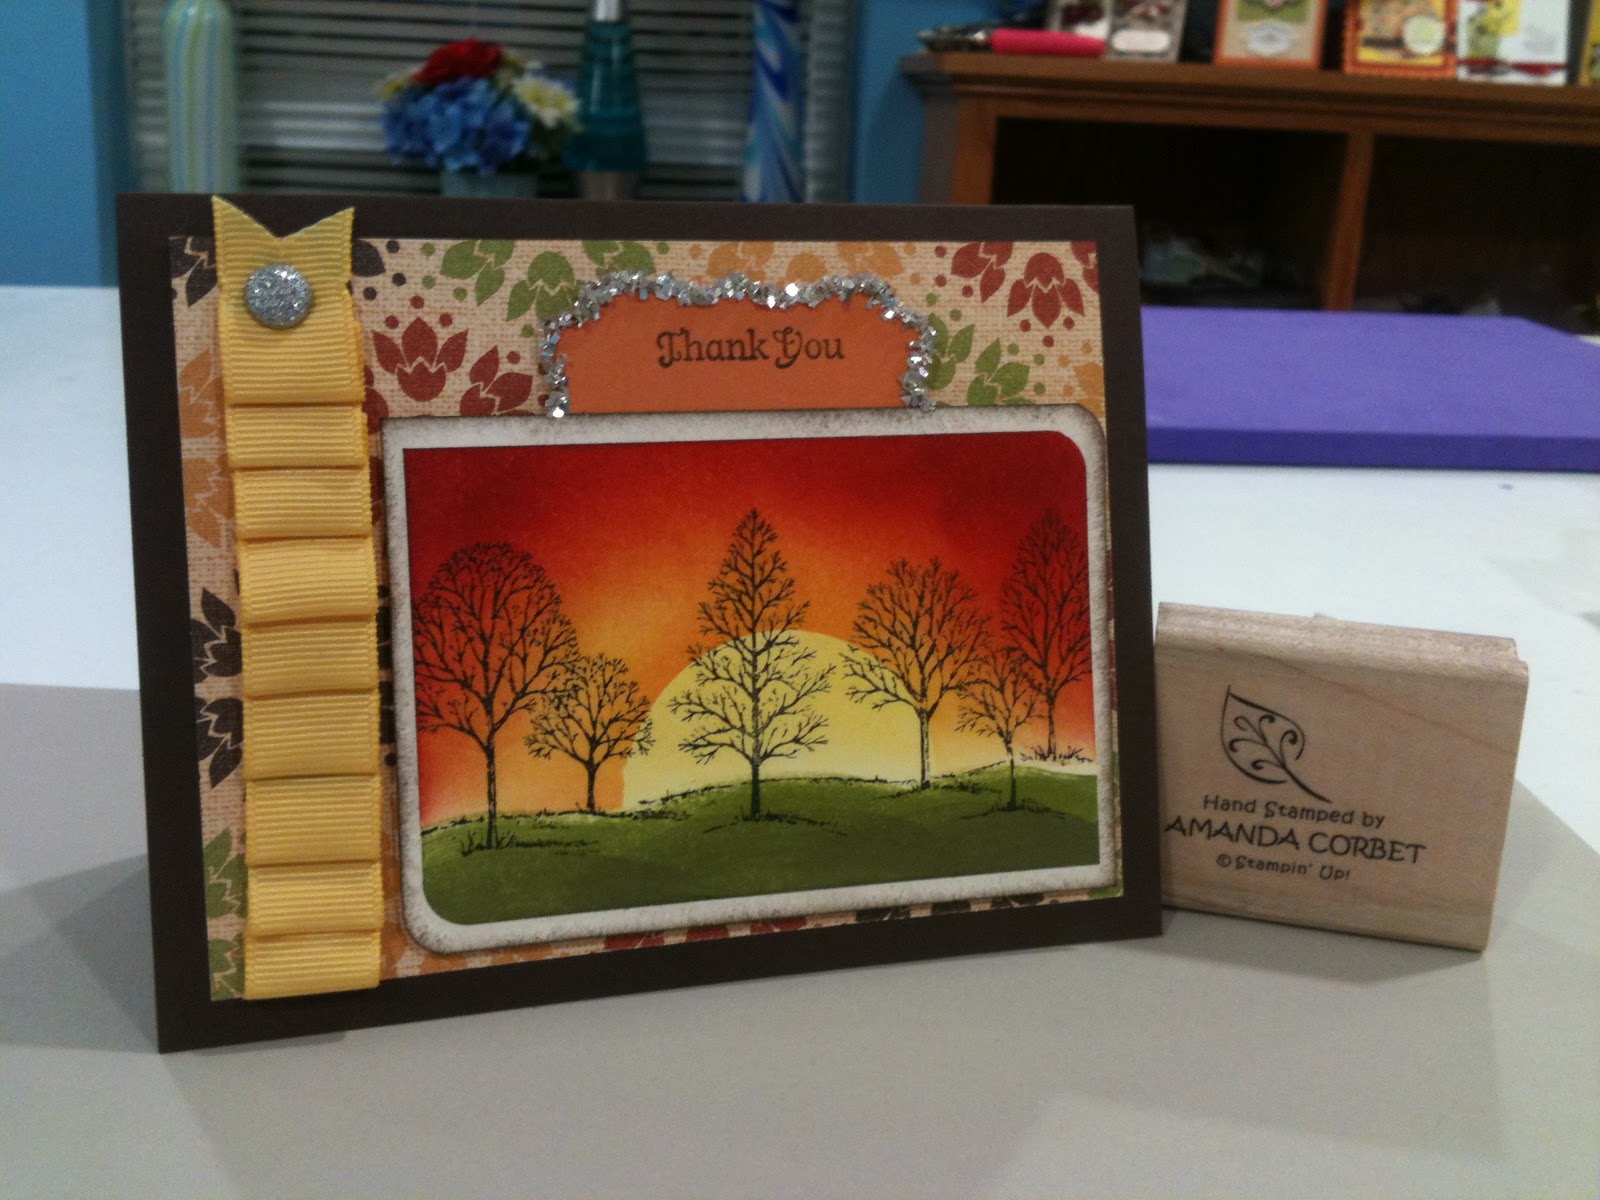
Happy Tuesday everyone!!!! Today I have another Fall inspired card. I really do love fall. I live in Kansas and we get all four seasons here. The trees are so pretty when they start to change orange and red. It's nice to feel the cool air and admire nature's beauty. Anyway...here is the card I made inspired by the colors I see outside.


Stamps: Lovely As A Tree, Day of Gratitude
Cardstock: Early Espresso, Very Vanilla, Peach Parfait
DSP: Autumn Spice DSP
Ink: Black Stazon, Old Olive, Always Artichoke, Daffodil Delight, Pumpkin Pie, Cherry Cobbler, Early Espresso
Accessories: Stampin' Sponges, 5/8" Daffodil Delight Grosgrain ribbon, Decorative Label punch, Corner Rounder punch, Stampin' Dimensionals, Tombow Multi-Purpose Adhesive, Silver Glass Glitter, Silver Glimmer Brad, Needle Tool, Mat Pack, Sticky Strip, 1 3/4" Circle Punch, post it notes.

The card base is Early Espresso cardstock cut at 5 1/2" x 8 1/2" and scored at 4 1/4". A piece of Autumn Spice DSP was cut at 4" x 5 1/4" and adhered to the card front. A piece of Very Vanilla was cut at 2 1/2" x 3 3/4". The corner rounder punch was used on just two of the corners. The trees from Lovely As A Tree were stamped in Black Stazon in the center of the cardstock. The grass was created using the direct to paper technique first with Old Olive and then again with Always Artichoke ink. The sky area was sponged with Daffodil Delight ink.

The 1 3/4" circle punch was used to punch through the sticky part of a post it note. The post it note circle was placed above the grass as a mask in the center of the cardstock. Two more post it notes were placed next to the sun to protect the grass from getting sky on it. Pumpkin Pie and Cherry Cobbler ink to create the sunset. The post it note circle is removed and voila! You have a beautiful sunset!

A piece of Very Vanilla cardstock was cut at 2 3/4" x 4". The same two corners were punched with the Corner Rounder punch. The edges were sponged with Early Espresso ink. The sunset panel was adhered to the sponged Very Vanilla panel. The Decorative Label punch was used to punch a label from a scrap of Peach Parfait cardstock. The "Thank You" from Day of Gratitidue was stamped in Early Espresso ink in the top half of the decorative label. The label was adhered behind the Very Vanilla panel so you could see only the top half of the label. Some Tombow Multi-Purpose Adhesive was added around the exposed edge of the decorative label and Silver Glass Glitter was added. After the glue holding the Glass Glitter dried the panel was adhered to the bottom right corner of the card front with Stampin' Dimensionals.

On the left side of the card a place a piece of Sticky Strip going from the bottom of the DSP to about 1/4" away from the top edge of the DSP. I removed the liner and adhered some 5/8" Daffodil Delight Grosgrain ribbon in an accordion fashion and trimmed the end with paper snips. To get the folds to lay flat I used some Snail Adhesive to adhere the ribbon folds to the ribbon below it. The end of the ribbon was trimmed with paper snips. Then the Needle Tool and Mat Pack were used to pierce a hole in the end of the ribbon where I added a silver Glimmer Brad to finish it off. Here is a close up of the ribbon detail:


I hope you enjoy creating some fall inspired cards no matter what you see outside your window! Come back tomorrow to see a scrapbook page!