Friday, September 17, 2010

Autumn Scalloped Square Card

Hello crafters! Today I have for you a card made with the SCCSC32 Sketch Challenge on Stampin Connection. Take a look!
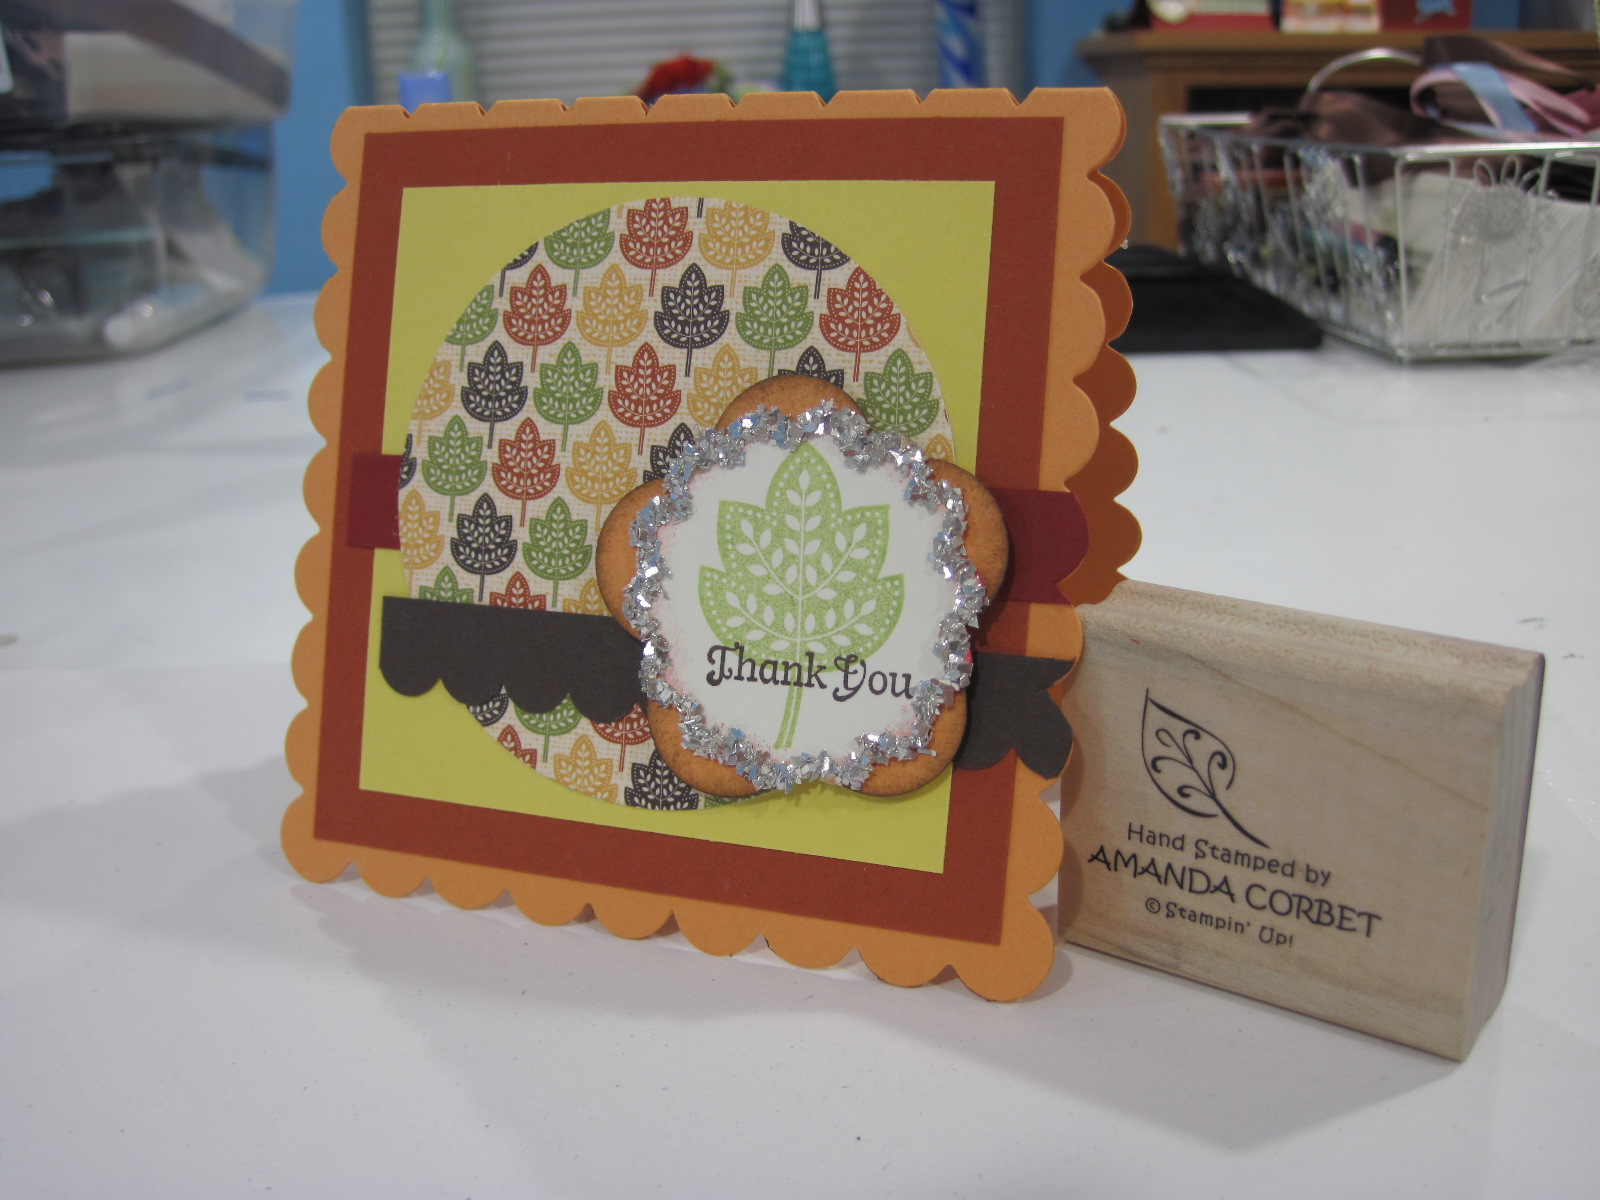

  • Stamps: Day of Gratitiude
  • Cardstock: Peach Parfait, Cherry Cobbler, Daffodil Delight, Early Espresso, Very Vanilla, Cajun Craze
  • DSP: Autumn Spice
  • Ink: Old Olive, Early Espresso, Cherry Cobbler
  • Accessories: Scallop Edge Border Punch, Scallop Square Clear Bigz Die, Scallop Circle Punch, Extra Large Flower Punch, Circle Scissor, Silver Glass Glitter, Tombow Multipurpose Adhesive


The card base is a piece of Peach Parfait cardstock cut at 5" x 10" and scored at 5". The fold of the cardstock was positioned just under the blade for the scallops on the top. This makes a scalloped square for your card base. A piece of Cajun Craze cardstock was cut at 3 7/8" x 3 7/8" and adhered to the card front. A piece of Daffodil Delight cardstock was cut at 3 1/4" x 3 1/4" and adhered to the card front. A scrap strip of Cherry Cobbler cardstock (approximately 3/4" wide) was adhered to the card front.

A 3" circle was cut from a piece of beautiful Autumn Spice DSP with the Circle Scissor. This DSP, now available in the Holiday Mini Catalog, is absolutely gorgeous!!! I just love all the great DSP patterns Stampin' Up offers this year! The 3" circle was adhered to the card front. A scrap piece of Early Espresso cardstock was punched with the Scallop Edge Border punch and adhered to the card front (approximately 3/4" wide). Both strips of cardstock were longer than the card front and trimmed around the scallops with paper snips after the pieces were glued on.

The Extra Large Fancy Flower punch was used with Peach Parfait cardstock to punch a flower. The edges of the flower were sponged with Early Espresso ink. The 1 3/4" Scalloped Circle punch was used to punch a circle from Very Vanilla cardstock. The leaf from Days Of Gratitude was stamped in Old Olive ink by stamping off before stamping onto the Very Vanilla cardstock. The greeting was stamped in Early Espresso ink.

At first I had sponged the edges of the scalloped circle with Cherry Cobbler ink, but I didn't like how it looked. It was okay, but looked a little flat. So I got out my new Silver Glass Glitter and my Tombow Multipurpose Adhesive and added a glittered edge around the scalloped circle. This, now sparkly, circle was adhered to the Peach Parfait flower and then adhered to the card front with a Stampin' Dimensional.

I hope you like my interpretation of the sketch! Monday I will definitely have a tutorial for you, come back to check it out!

Thursday, September 16, 2010

Just Believe!

This card actually combines two challenges; the color challenge and a featured stamper challenge. The color challenge requires you to use Cherry Cobbler, Daffodil Delight, Early Espresso, and Certainly Celery. The featured stamper challenges honors Kathy Baffone this week! Take a look at her beautiful card:


Now here is my version combined with the color challenge:


Stamps: Just Believe
Cardstock: Whisper White
Ink: Cherry Cobbler, Daffodil Delight, Early Espresso, Certainly Celery
Accessories: Post-it note, Decorative Label Punch, Stampin' Sponges, 1/4" Real Red Grosgrain ribbon.

The card base is 4 1/4" x 11" Whisper White cardstock scored at 5 1/2". I put a large post-it note onto a piece of copy paper and punched it out with the Decorative Label Punch making sure to punch so that part of the label would have the "sticky" on it. Instead of using the punch, I used the remainder of the post it note for a reverse mask.

I placed the post it note so the label opening was in the center and to the left side of the card front and then sponged with Daffodil Delight ink. I moved the mask down to the bottom of the card and sponged Certainly Celery ink. Then I moved the same mask up to the top and sponged the Cherry Cobbler ink. When doing this you want to work from lightest color to darkest color. This will keep a darker color from bleeding into a lighter color ink when you're sponging.

The flowers from Just Believe were stamped in Early Espresso ink on top of the sponged colors. The greeting was stamped in Cherry Cobbler cardstock. Some 1/4" Real Red Grosgrain Ribbon was added around the bottom of the card and tied into a knot.

This would be considered a Clean And Simple card because it is only one layer and only takes about 10  minutes to make. Thank you Kathy for the wonderful sample to CASE! Also, thank you Barbara Welch for the great color challenge!

Come back tomorrow to see a card made with the sketch challenge SCCSC32 from Stampin Connection.

Tuesday, September 14, 2010

Dasher Featured Stamper Challenge

For the Featured Stamper Challenge on Stamping Connection SCFC26 Julie Pitta was honored for her wonderful creations. I could not find a blog post on this card but  you can view her wonderful blog and other fabulous projects by clicking here. Here is her card:


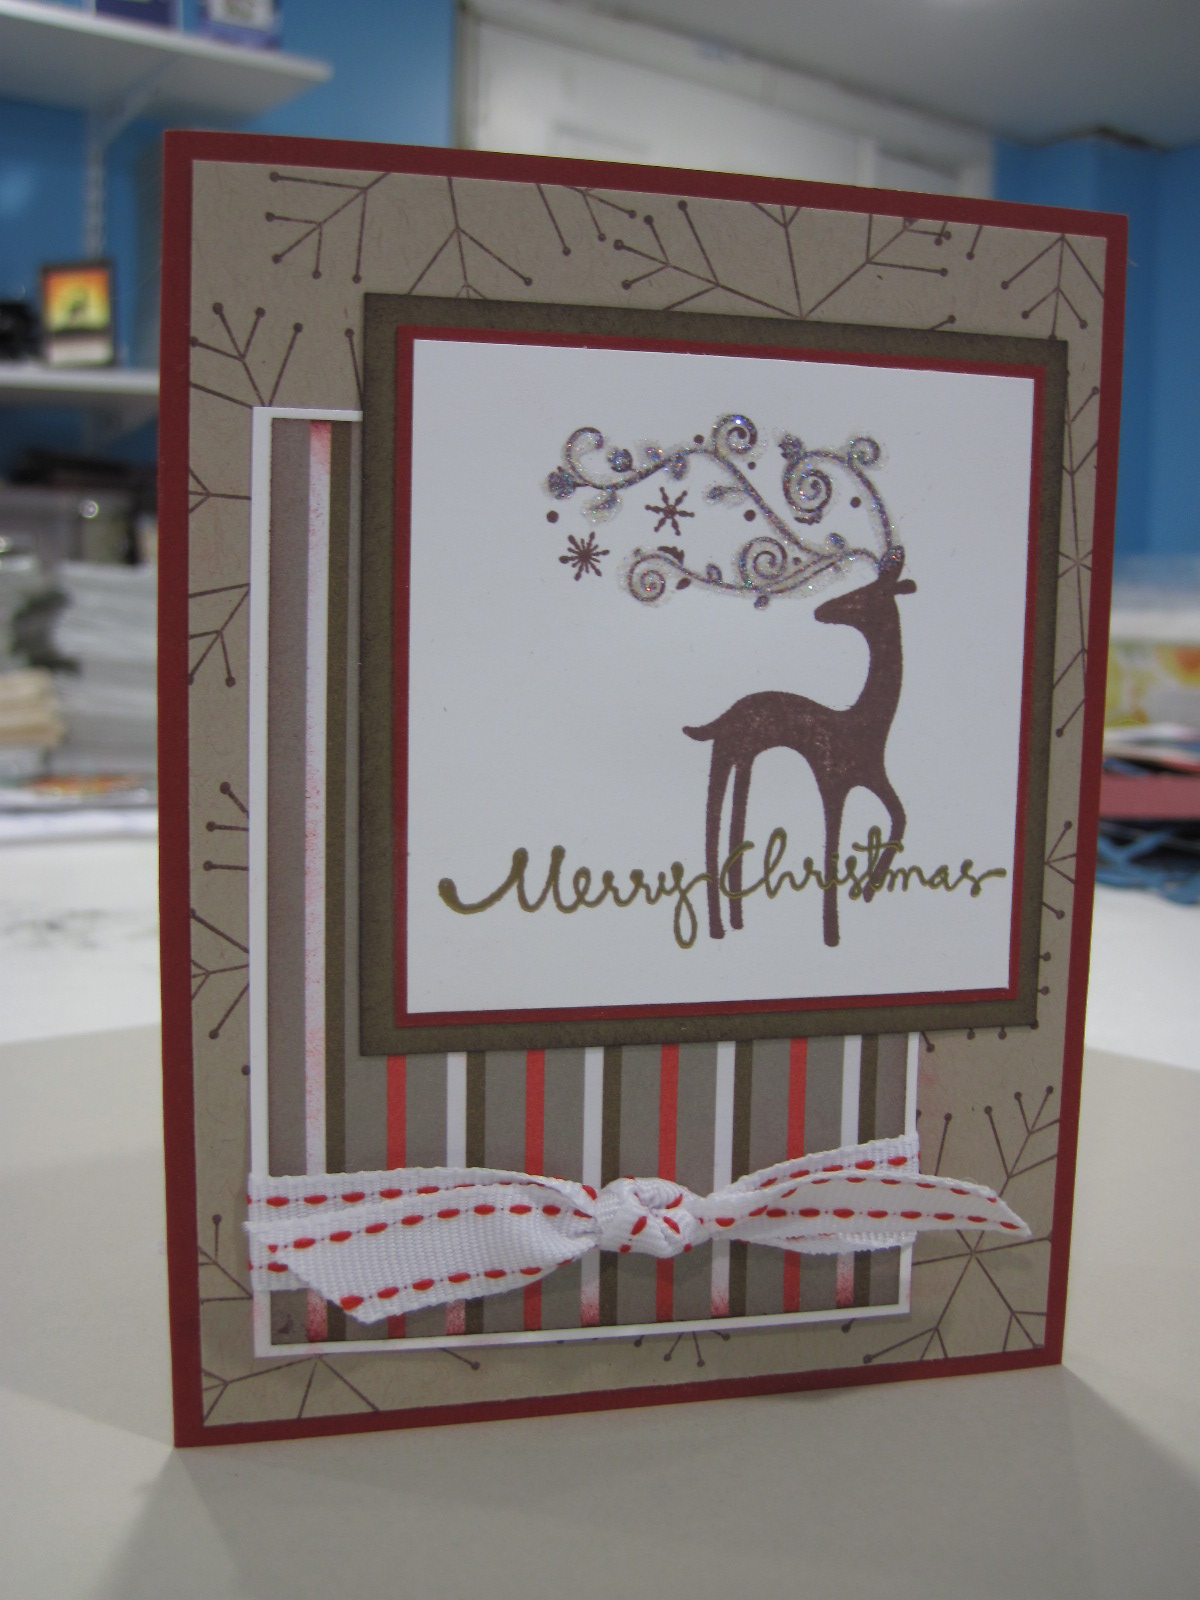
And here is my version:
Stamps: Simple Snowflake, Christmas Greetings, Dasher
Cardstock: Cherry Cobbler, Crumb Cake, Whisper White, Soft Suede
DSP: Cocoa Specialty DSP (retired)
Ink: Chocolate Chip, Cherry Cobbler, Versamark
Accessories: Gold Embossing Powder, Heat Gun, Embossing Buddy, Crystal Effects, Dazzling Diamonds Glitter, Mistletoe Ribbon Originals (retired), Stampin' Sponge

The card base is 5 1/2" x 8 1/2" Cherry Cobbler cardstock scored at 4 1/4". A piece of Crumb Cake cardstock was cut at 4" x 5 1/4" and stamped with the Simple Snowflake in Chocolate Chip ink to create a background. Then the panel was adhered to the card front. A piece of Cocoa Specialty DSP (retired) was cut at 2 7/8" x 3 7/8". The top and bottom edge were sponged with Cherry Cobbler ink and then the DSP was adhered to a 3" x 4" piece of Whisper White cardstock. A piece of Mistletoe Ribbon Originals was added around the panel and tied into a knot. The panel was adhered to the card front.  

A piece of Whisper White cardstock was cut at 2 3/4" x 2 3/4". Dasher was stamped in Chocoalte Chip ink. The embossing buddy was used before stamping the greeting from Christmas Greetings in Versamark and heat embossing with Gold Embossing powder. Some Crystal Effects and Dazzling Diamonds glitter were added to Dasher's antlers to add some sparkle. This was adhered to a 2 7/8" x 2 7/8" piece of Cherry Cobbler cardstock. This was then adhered to a piece of Soft Suede cardstock cut at 3 1/8" x 3 1/8" that had the edges sponged with Chocolate Chip ink. This was adhered to the card front to complete the card.

I just love making Christmas cards and this Dasher is such an easy stamp to use. I promise to have some fall inspired cards soon. I won't skip over fall and Halloween. I just really like making Christmas cards. Come back tomorrow to see a My Digital Studio scrapbook page!

Monday, September 13, 2010

First City Festival!

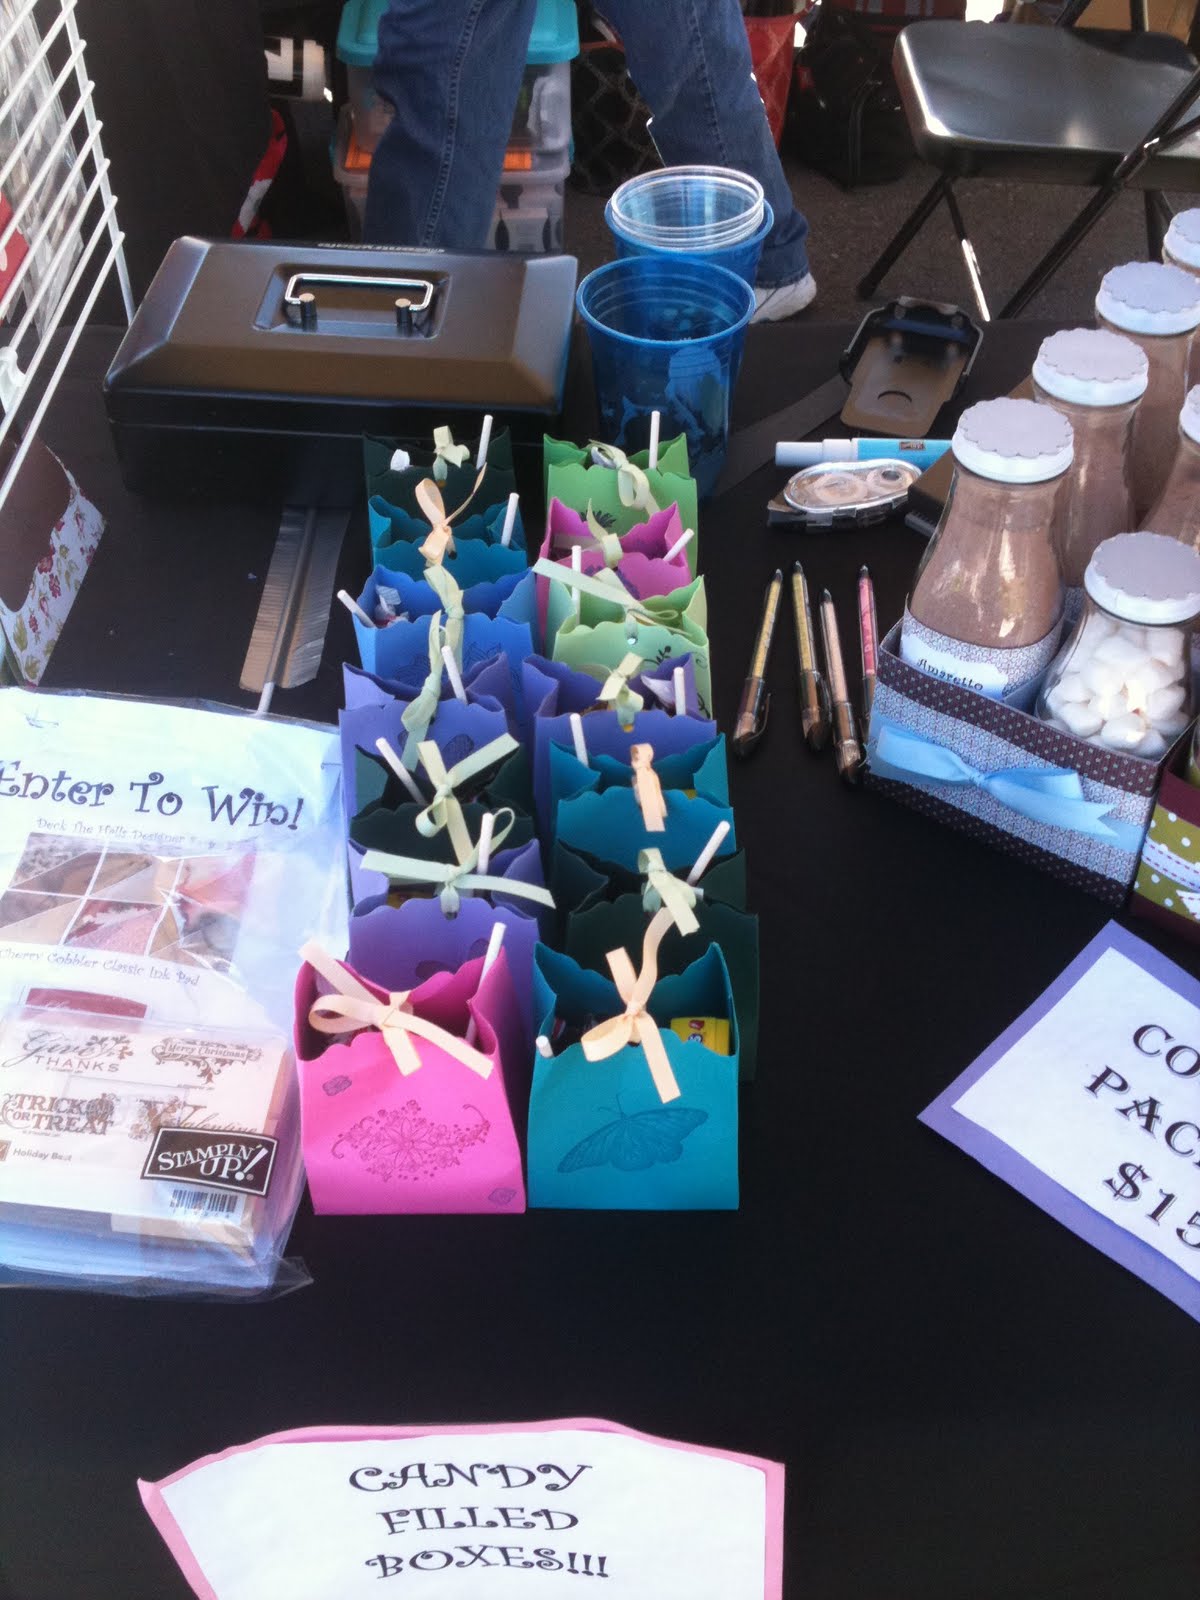
Sorry I've been neglecting the blogging world the last couple of weeks as I scrambled to prepare things for my booth at the First City Festival in Leavenworth, KS. Instead of a tutorial today I have some photos of my booth from the festival. I will definitely have a tutorial for you next week!

I wouldn't say that it was a total and complete success, but I atleast got more people interested in my Make and Take classes and maybe a few leads for workshops. It was definitely a learning experience!

My mother in law, who sells Avon, and I split one booth. It was nice to have her there to talk to all day.


This board really helped get people's attention and get them excited about the Make and Take classes. Thanks for stopping by! Come back tomorrow to se a Christmas card from a Featured Stamper Challenge!

Tuesday, September 7, 2010

Update!

Did everyone have a great Labor Day Weekend? I had a great time with my family at the Kansas City Rennaissance Festival and then spent more time working on items for the First City Festival. This will be the first year that I have a booth, actually I will be sharing a booth with my mother-in-law who sells Avon. I am really excited, but also really busy preparing handmade papercraft items to sell. There will probably be very few posts this week as I work work work on all the wonderful items I will have to offer.

I think next year I will start making things in July instead of waiting until two weeks before the event. Yikes! Anyway, come down to Leavenworth's annual First City Festival in downtown Leavenworth Friday Sept. 10th and Saturday Sept. 11th!

So for today I have a couple of new product training videos from Stampin' Up! The Holiday Mini Catalog offers some wonderful new products to the Stampin' Up collection including fabric, yes I said fabric, and Letterpress Plates!

To shop the 2010 Holiday Mini Catalog online now click here.

To view the video for the Letterpress Plates click here.

To view the video for the new Stampin' Up fabric click here.

The two fabric packages available are:

121715  Candy Cane Christmas  $9.95

121716  Deck The Halls  $9.95

Thursday, September 2, 2010

Color Challenge!!!

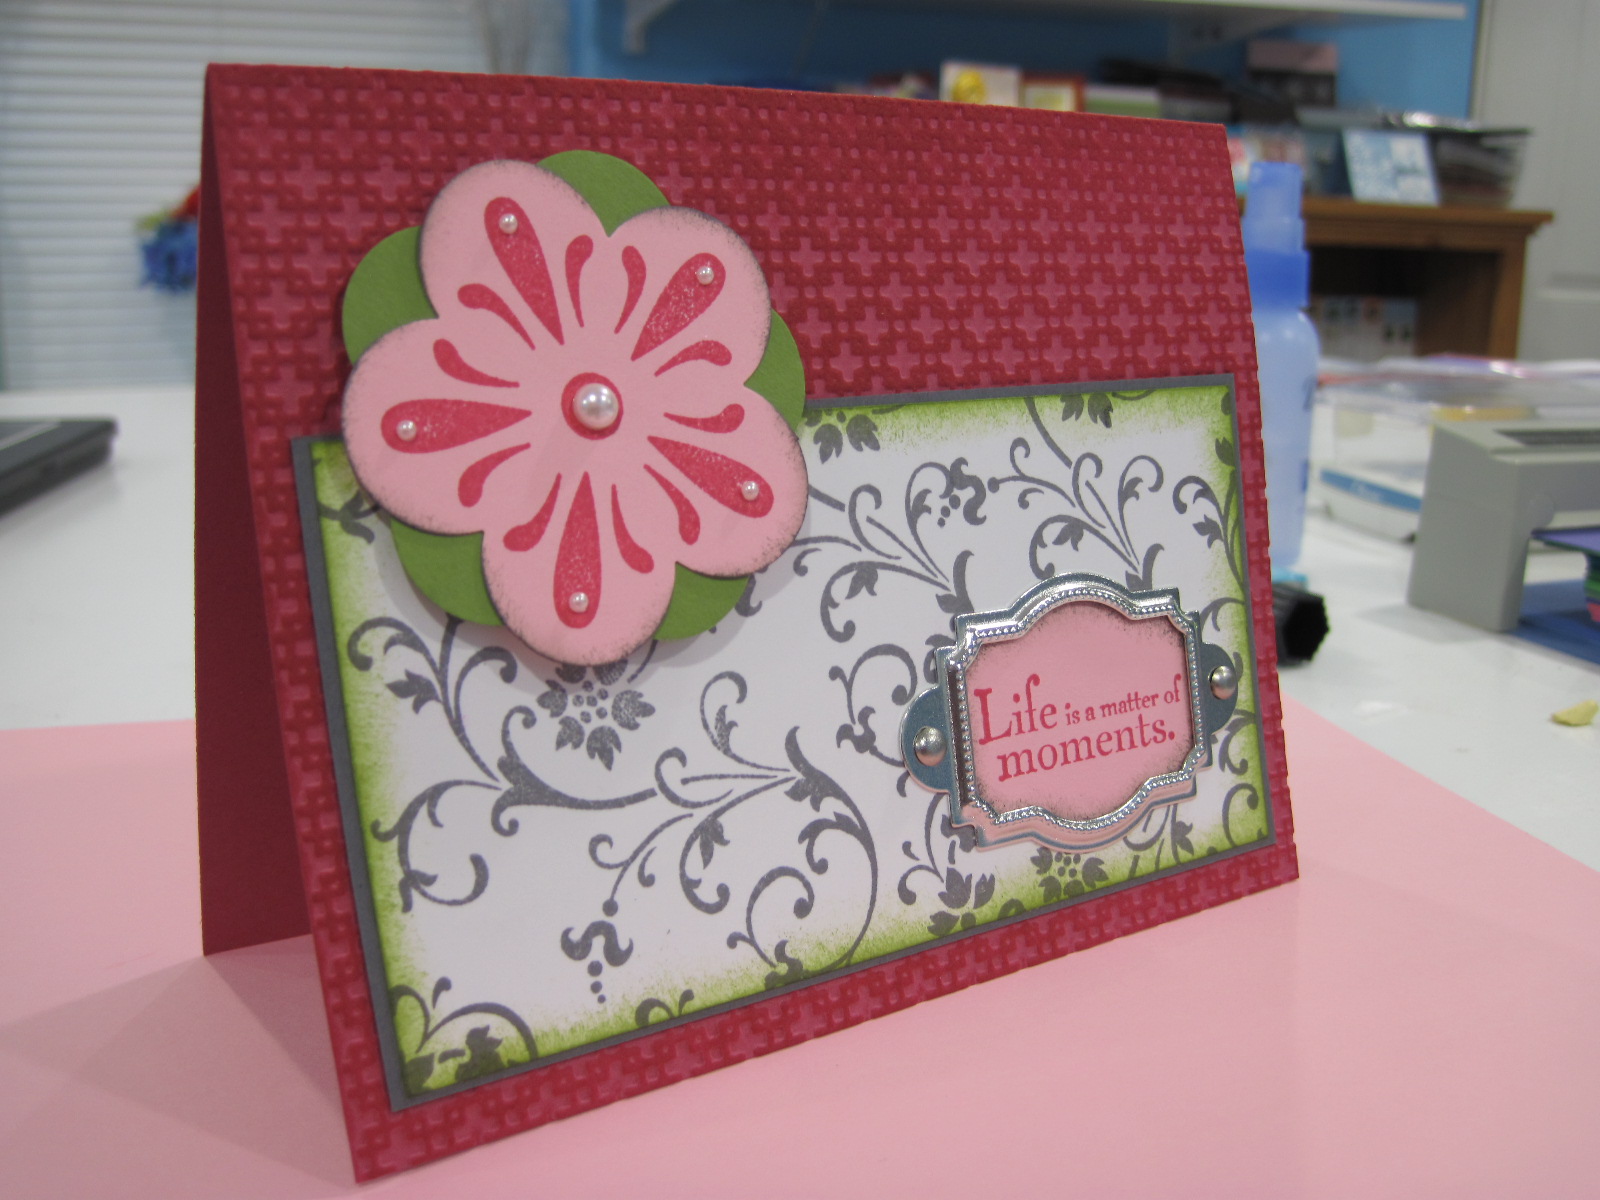
This card was created for the Color Challenge on Stampin' Connection. Here are the challenge colors: Melon Mambo, Pretty In Pink, Basic Grey, and Old Olive.


Stamps: Elements of Style, Heard From the Heart
Cardstock: Melon Mambo, Whisper White, Basic Grey, Old Olive, Pretty In Pink
Ink: Basic Grey, Old Olive, Melon Mambo
Accessories: Silver Hodgepodge Hardware, Designer Label Punch, Extra Large Flower Punch, Jewel Accents Basic Pearls, Square Lattice Textured Impressions Die, Brayer

The card base is 5 1/2" x 8 1/2" Melon Mambo cardstock that was scored at 4 1/4". The card front was run through the Big Shot in the Square Lattice Textured Impressions Die. I used the Brayer with Melon Mambo ink and inked up the texture on the card front. This makes the texture stand out more.

A piece of Whisper White cardstock was cut at 2 1/2" x 5". The swirls from Elements of Style were stamped all over the Whisper White cardstock in Basic Grey ink. The edges of the panel were sponged in Old Olive ink. This was adhered to a 2 5/8" x 5 1/8" piece of Basic Grey cardstock. The sentiment from Elements of Style was stamped in Melon Mambo ink on Pretty In Pink cardstock and punched out with the Designer Label  punch. This punched sentiment was attached to the panel with the frame and brads from the Silver Hodgepodge Hardware kit. The panels were then adhered to the card front.

I stamped the image from Heard From the Heart in Melon Mambo ink on a scrap of Pretty In Pink cardstock and punched it out with the Extra Large Flower punch. I also punched out an Old Olive flower with the Extra Large Flower punch. The two flowers were adhered together. Some Jewel Accents Basic Pearls were added to the center and points on the stamped image and the flower was adhered to the card front with a Stampin' Dimensional.

I hope this has inspired you to play with some interesting color combinations! I would love to see your creations, please post a link in the comments section if you played along! Come back tomorrow to see another challenge card! Have fun stamping!