Monday, May 24, 2010

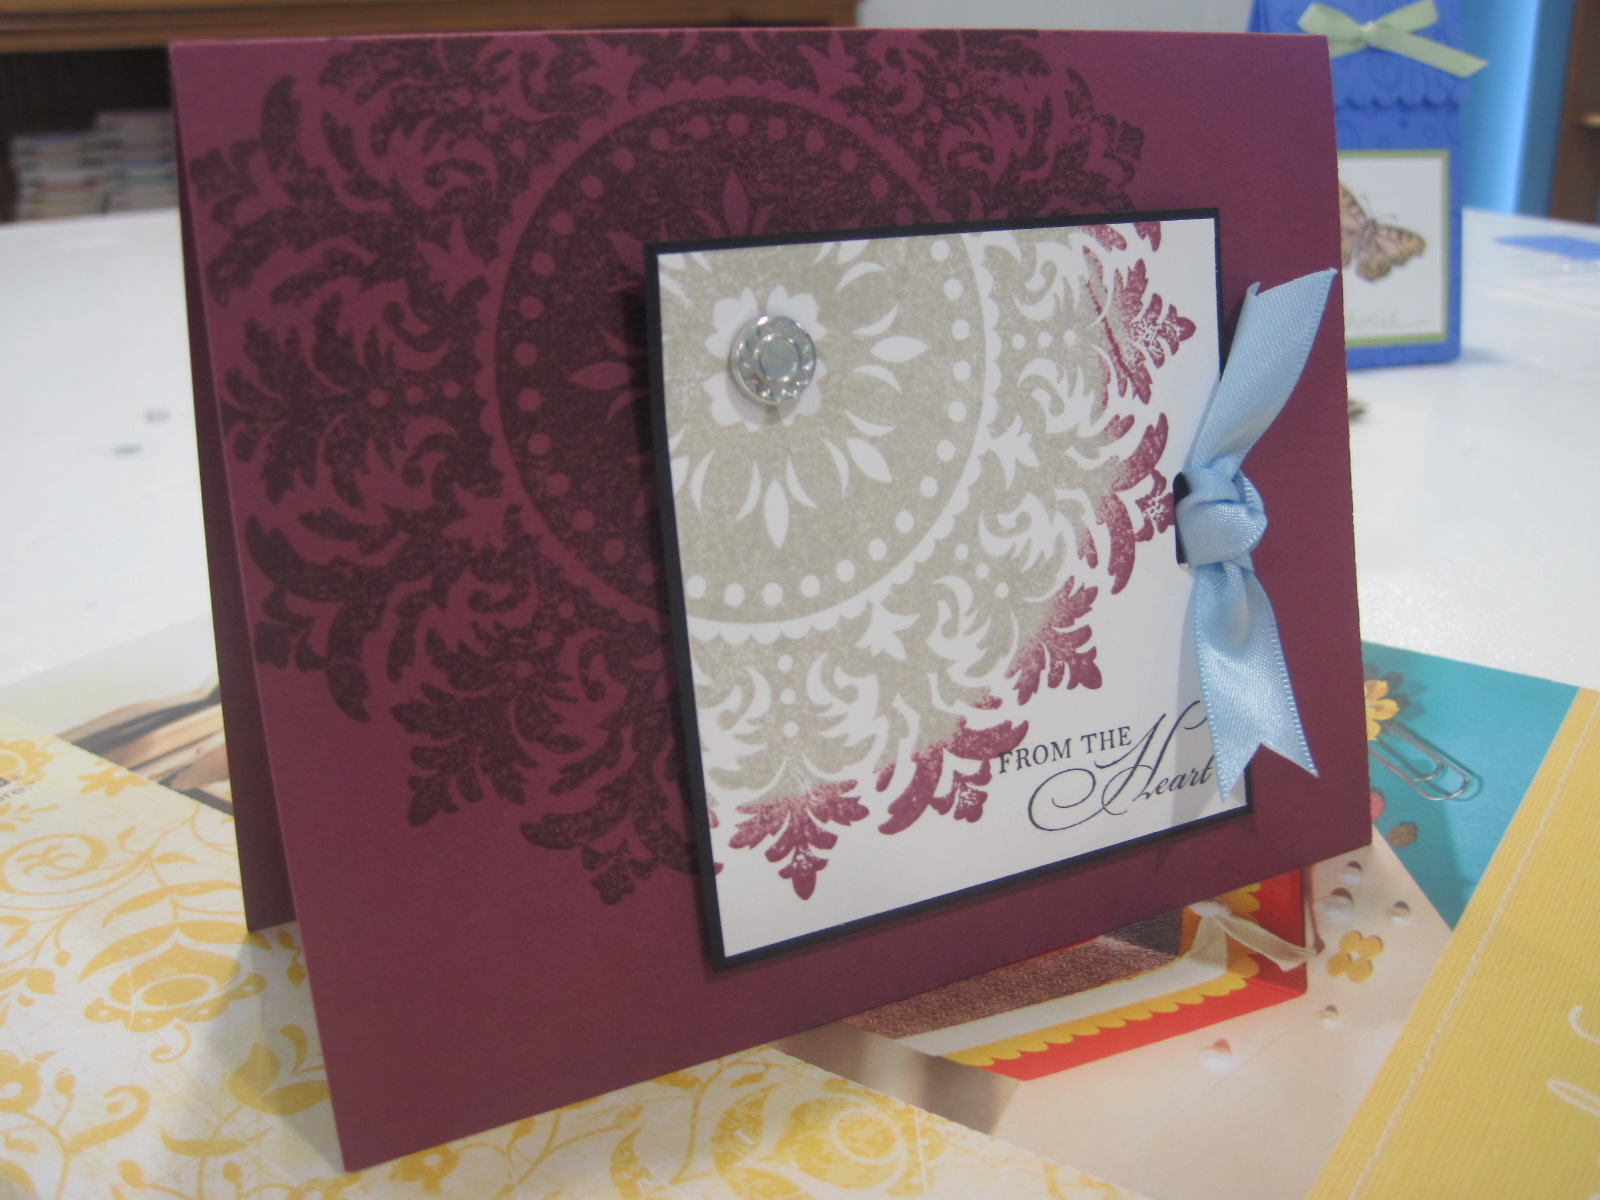
Razzleberry Medallion - May Make and Take 1

The Make & Take for May was wonderful! The ladies all had a wonderful time making the projects and seemed excited to come back again! Throughout this week I will be posting the projects that my guests made this month. So come back each day this week to see them all!


Stamps: Medallion, Watercolor Trio
Cardstock: Rich Razzleberry, Whisper White, Basic Black
Ink: Rich Razzleberry, Sahara Sand, Basic Black
Accessories: Silver Hodgepodge Hardware, 5/8” Bashful Blue Stain Ribbon


This card was inspired by a card created by Kirsten Davies on Stampin Connection. The card base is Rich Razzleberry cardstock cut to 5 ½” x 8 ½” and scored at 4 ¼”. The medallion was stamped in Rich Razzleberry ink on the card base. Then a portion of the medallion was stamped on a 2 7/8” x 2 7/8” piece of Whisper White cardstock using the Rock-N-Roll technique with Sahara Sand and Rich Razzleberry ink. (For the tutorial on this technique click here). When stamping you want to make sure that you get the center of the medallion onto your Whisper White cardstock. http://www.splitcoaststampers.com/resources/tutorials/rock_n_roll/


The sentiment from Watercolor Trio was stamped in the bottom right corner of the stamped Whisper White cardstock in Basic Black ink. This panel was adhered to a piece of 3” x 3” Basic Black cardstock. The Slot Punch was used in the middle on the right side of the image panel to punch through both layers and a piece of 5/8” Bashful Blue Satin Ribbon was tied into a knot and the ends trimmed. A large brad from the Silver Hodgepodge Hardware kit was put in the center of the medallion and Stampin Dimensionals were used to adhere this panel to the card front lining up the medallion image. Make sure to come back tomorrow to see the second Make & Take project that uses the Elements of Style set from the summer mini.

Sunday, May 23, 2010

Amethyst Awash With Flowers

This card was CASED from Candy Rattray’s beautiful creation which can be found on Stampin’ Connection. For those of you who don’t have access to Stampin’ Connection I have copied the picture here:


Now here is my version:


Stamps: Awash With Flowers, Well Scripted
Ink: Basic Black, Lavender Lace, Lovely Lilac, Pretty In Pink, Positively Pink, Certainly Celery, and Old Olive
Cardstock: Lavender Lace, Lovely Lilac, Whisper White
Accessories: Scallop Trim Border Punch, ½” Circle Punch, Extra Large Grommet (white), 5/8” Old Olive Grosgrain ribbon, Two-way glue pen, Dazzling Diamonds Glitter

The card base is Almost Amethyst cardstock cut at 4 ¼” x 11” and scored at 5 ½”. The Whisper White cardstock was cut at 4” x 4”. I stamped the outlines first using Basic Black ink and then stamped the flower and leaf images with the other colors of ink. The clear mount stamps make it really easy to get the flower images lined up with the outlines, which is one of the reasons that I will purchase the clear mount stamps from now on. Not to mention I could use the extra storage space! Now, back to the card…I used the Two-Way Glue Pen and some Dazzling Diamonds glitter to add some sparkle to my flowers. The stamped Whisper White image panel is adhered to the Lovely Lilac cardstock cut at 4 ¼” x 4 ¼”. A small strip of Whisper White was punched with the Scallop Trim Border Punch and adhered to the back of the Lovely Lilac cardstock so that just the scallop trim shows.

I then used the ½” Circle Punch to punch a hole in the lower right hand corner for the Extra Large Grommet to go through. The 5/8” Old Olive Grosgrain Ribbon (I just love this ribbon!) was wrapped around the image panel. Thread the two ends of the ribbon through the center of the Extra Large Grommet and then push the grommet through the ½” hole. It will take a little bit of fiddling to get the grommet “spikes” to punch through the ribbon then flatten the “spikes” out to secure the grommet. I bent them over with my fingers and then used a very small craft hammer to flatten them out completely. Tie the ribbon ends into a knot and trim off the ends to clean them up.

Then I stamped “Happy Birthday” from Well Scripted (I can always use more birthday cards) in Lovely Lilac ink on the bottom left corner of the Lavender Lace card base and adhered the image panel. I just love how this card turned out with all the different colors. It’s just very cheerful! Thank you Cathy Rattray for the wonderful inspiration! Come back tomorrow to see the first of the cards from the May Make & Take! My guests liked them and I hope you do too!

Saturday, May 22, 2010

Snowflake Wreath - April Christmas Cards

Splitcoaststampers has a monthly challenge to create 10 Christmas cards per month. That way you have all of your Christmas cards completed long before Christmas. Well…here are my cards for April. Hope you like them!


Stamps: Berry Christmas (retired), Heard from the Heart, Snow Burst (retired)
Cardstock: Kraft, Ivory Naturals, Bravo Burgundy, Very Vanilla
Ink: Old Olive, Certainly Celery, Real Red, Sahara Sand, Versamark
Accessories: Mistletoe Ribbon Originals (retired), Scorpal, Embossing gun, Gold Glory Embossing Power, Embossing Buddy, Stampin Dimensionals

These cards I made for the Christmas Card Challenge on Splitcoaststampers.com. The card base is Kraft cardstock (which after July will be called Crumb Cake) cut at 4 ¼” x 11” and scored at 5 ½”. I used the Scorpal to add two score lines on the card front at 1 ¼” and 2”. The greeting from Heard from the Heart was stamped in Old Olive ink on the bottom portion of the card under the 1 ¼” score line.

I then cut a piece of Ivory Naturals cardstock to 2 1/8” x 5 3/8” and the Big Shot with the Petals A Plenty embossing folder to add some texture. Then I used a brayer with Old Olive ink to ink up the raised images that the embossing folder created. This was adhered to the card front above the 2” score line.

A hobby blade was used to cut the fold in the card between the two score lines and the Mistletoe Ribbon Originals ribbon was inserted through the slot in the fold of the card and tied around the card front in a knot. For the main image panel I cut a piece of Very Vanilla cardstock 2 ¼” x 2 ¼” The small snowflake from Snow Burst was stamped several times in a circular pattern using Certainly Celery ink to form a wreath. The berries from Berry Christmas were stamped randomly around the wreath in Real Red ink. The embossing buddy and Versamark were used to stamp the poinsettia and ribbon from Berry Christmas at the top of the wreath and this was heat embossed using Gold Glory embossing powder.


The edges of this panel were sponged with Sahara Sand ink. The image panel was then adhered to a 2 3/8” x 2 3/8” piece of Bravo Burgundy cardstock and the panels were adhered to the card front using Stampin Dimensionals to pop it up. Of course I had to stamp matching envelopes so I used the same poinsetta and ribbon from Berry Christams and stamped it in Real Red on the bottom left corner of the envelopes. Thats it! What do you think? Come back tomorrow to see a card made with the set Awash With Flowers which will be in the new 2010-2011 Idea Book & Catalog!

Friday, May 21, 2010

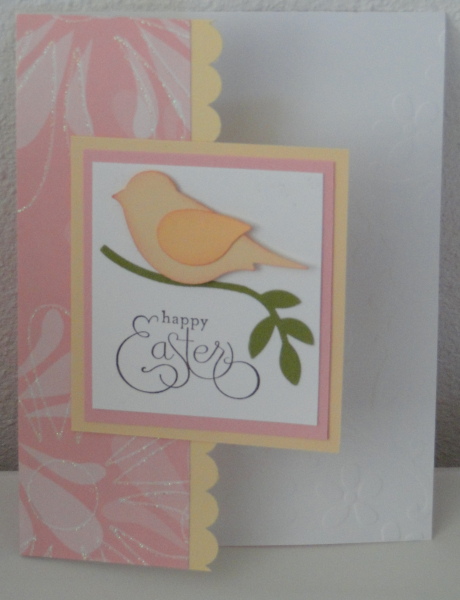
Saffron, Banana, and Amethyst Bird

This is a fun card inspired by a card created by Sandra Bate that was posted on Stampin Connection. Fpr those of you who don't have access to Stampin Connection I have posted the photo here:


And here is my version. Enjoy!


Stamps: Well Scripted
Cardstock: Whisper White, Almost Amethyst, Barely Banana
Paper: So Saffron DSP
Ink: Almost Amethyst, Summer Sun
Accessories: Extra Large Bird Punch, Scallop Border Punch, Elegant Bouquet embossing folder, Big Shot


The card base is Whisper White cut at 5 ½” x 6 ½” and scored at 2 ¼”. I used the Big Shot with the Elegant Bouquet embossing folder on the back of the Whisper White card. Since the front of the card only covers half of the back you will be able to see this texture when the card is closed. I cut a piece of Almost Amethyst cardstock 2 ½” x 5 ½” and punched the edge with the Scallop Edge Border Punch. This was adhered to the front flap of the card. A piece of So Saffron DSP was cut at 2 ¼” x 5 ½” and adhered on top of the Almost Amethyst scalloped piece.


For the main image panel I cut a piece of Whisper White cardstock at 2 3/8” x 2 5/8” and stamped “Love you much” from Well Scripted in Almost Amethyst ink in the bottom right hand corner. This was adhered to a piece of Barely Banana cardstock cut at 2 ½” x 2 ¾”. This layered panel was then adhered to a piece of Almost Amethyst cut at 2 ¾” x 3”. This was adhered to the card front only on the left side of the panel since the right side of the panel hangs out over the back of the card.


I used the Extra Large Bird Punch to punch the bird and wing from Barely Banana cardstock and sponged these with Summer Sun ink. Two branches were punched from Certainly Celery cardstock and adhered to the image panel using the Two-Way Glue Pen. The wing was adhered to the bird using the Two-Way Glue Pen and the bird was adhered to the panel using a Stampin Dimensional and it’s done! I think this is a super cute card to give to a loved one! Come back tomorrow to see the cards I made for my April Christmas cards.

Thursday, May 20, 2010

Earth Elements - Not Quite Navy

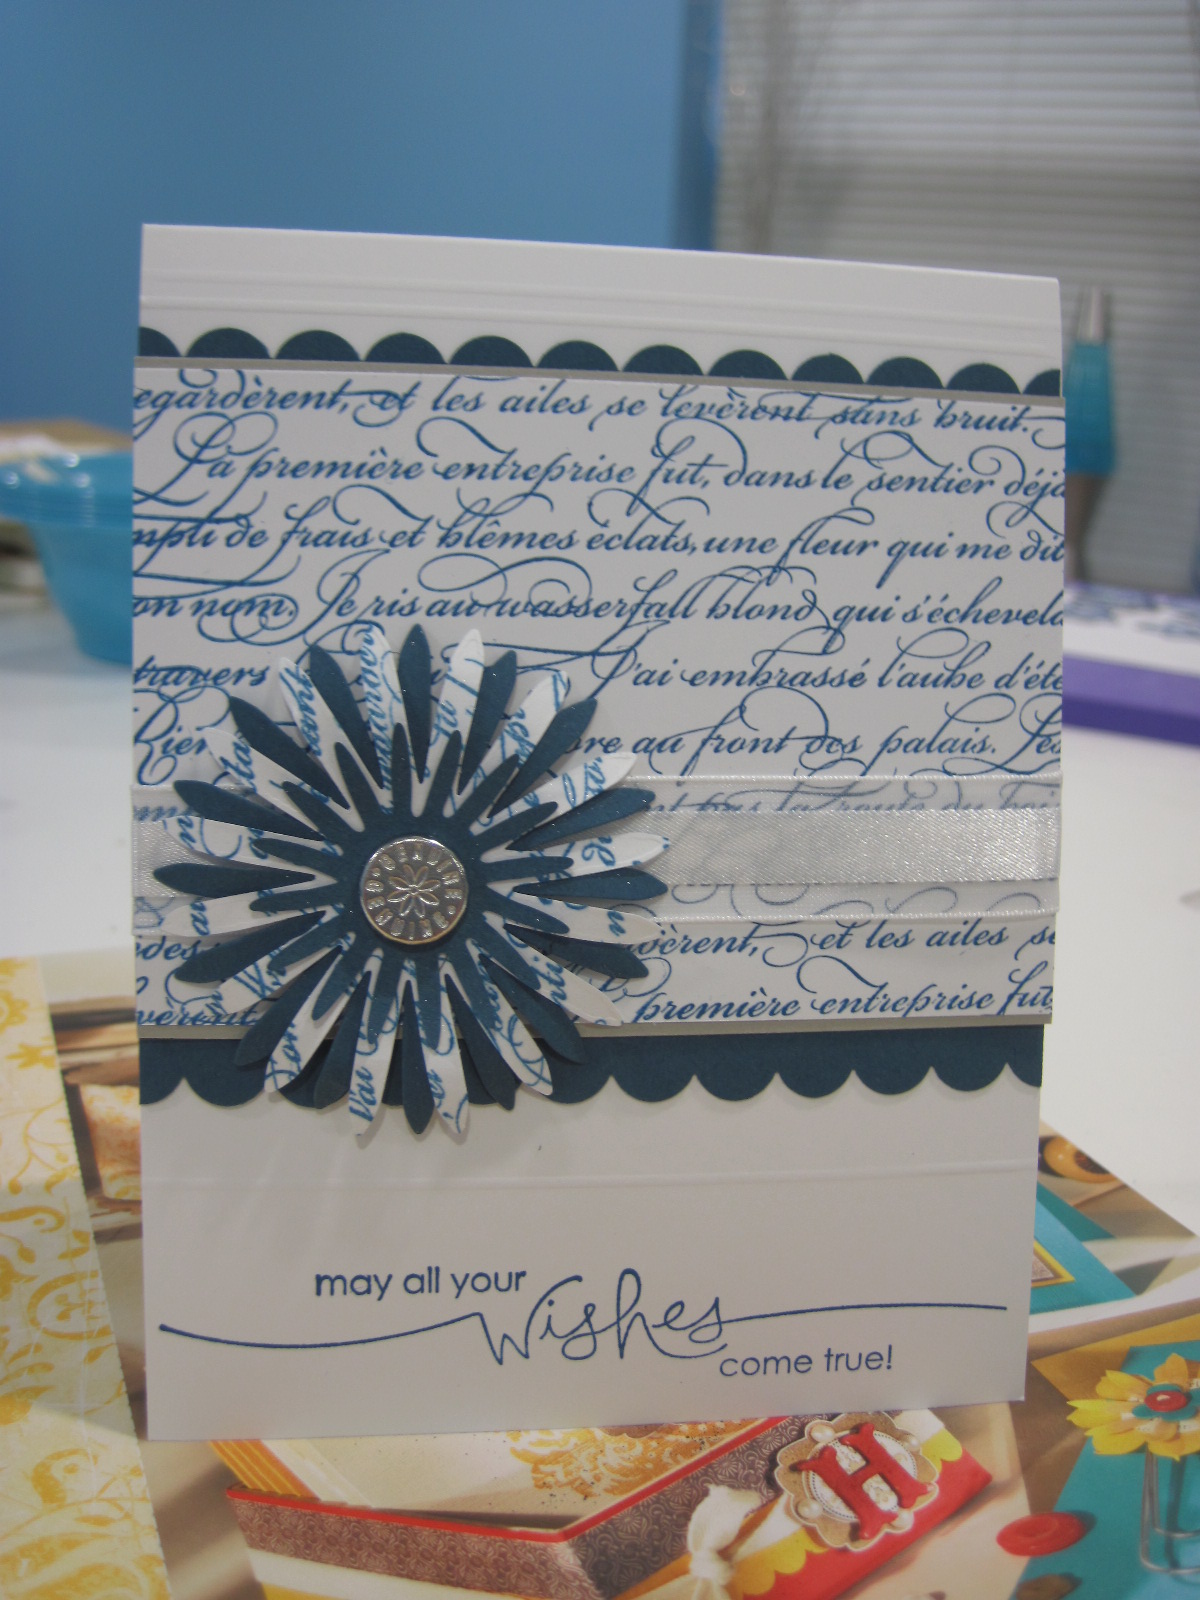
This is the second card that I made for the Earth Elements swap. This one took a little bit more time, but it was well worth the effort! I found inspiration for this card from the layout of this card by Renee Van Stralen.


Stamps: En Francais, Heard From the Heart
Cardstock: Whisper White, Not Quite Navy, Sahara Sand
Ink: Not Quite Navy
Accessories: Silver Hodgepodge Hardware, Scallop Border Punch, Daisies Flower #2 Die, Big Shot, Scorpal, Whisper White Organza Ribbon

The card base is Whisper White cut at 4 ½ in. x 11 in. and scored at 5 ½ in., 1 ¼ in., 5 ¼ in., and 4 7/8 in. To do this on the Scorpal is a little tricky. All the following scores are done with the 11 in. edge of the cardstock against the top of the Scorpal. The cardstock will be moved from left to right or right to left only. Score the 5 ½ in. first. Then move your 5 ½” score line into the groove for 4 ¼ in. and score in the 4 in. line (this gives you the 5 ¼ in. dimension). Then move the score you just did to the 3 1/8 in. groove and score in the 3 in. line (this gives you the 4 7/8 in. dimension). Then line up the left edge of your cardstock with the 3 in. line and score in the 4 ¼ in. line. Now all of your scoring is done and you have your decorative lines on the card front.
Use the sentiment from Heard From the Heart with Not Quite Navy ink and stamp below the 1 ¼ in. score line at the bottom of the card. The Not Quite Navy cardstock is cut at 4” x 4 ¼” and both edges are punched with the Scallop Border Punch. The Sahara Sand cardstock is cut at 3” x 4 ¼”, and the Whisper White cardstock is cut at 2 7/8” x 4 ¼”.
Place the En Fraincais background stamp on the table rubber side up. Ink up the En Francais background stamp with Not Quite Navy ink and place your Whisper White panel on top of the rubber. Cover the cardstock with a scrap piece of paper and rub over the top of the cardstock with your fingers. Be careful to make sure the cardstock does not move under the scrap paper. Remove the scrap paper and turn over the stamp and let your Whisper White cardstock fall off the stamp. (This is a way to get a good image with a background stamp without smudging the image when you try to remove it from the stamp). Adhere this to the Sahara Sand panel and add your Whisper White Organza ribbon, then adhere these panels to the Not Quite Navy panel.
To finish it off I used the Daisies Flower #2 die to cut one large flower and one small flower from Night of Navy cardstock, and one large flower from some scrap Whisper White cardstock that was stamped with the En Francais background stamp in Night of Navy ink. The flowers were all sprayed with a combination of rubbing alcohol and shimmer paint to create a form of glimmer mist. I created this set of swaps before the summer mini was released with it's wonderful Smooch Spritz, so I won't have to mix up alcohol and shimmer paint again to get a wonderfully glittery spray. These were adhered together and adhered to the stamped En Francais panel with the ribbon. A large brad from the Silver Hodgepodge Hardware kit was used to finish off the center of the flower. These panels are adhered to the card front and you’re done! What do you think? Come back tomorrow to see a great project using the Extra Large Bird Punch.

Wednesday, May 19, 2010

Earth Elements - Old Olive

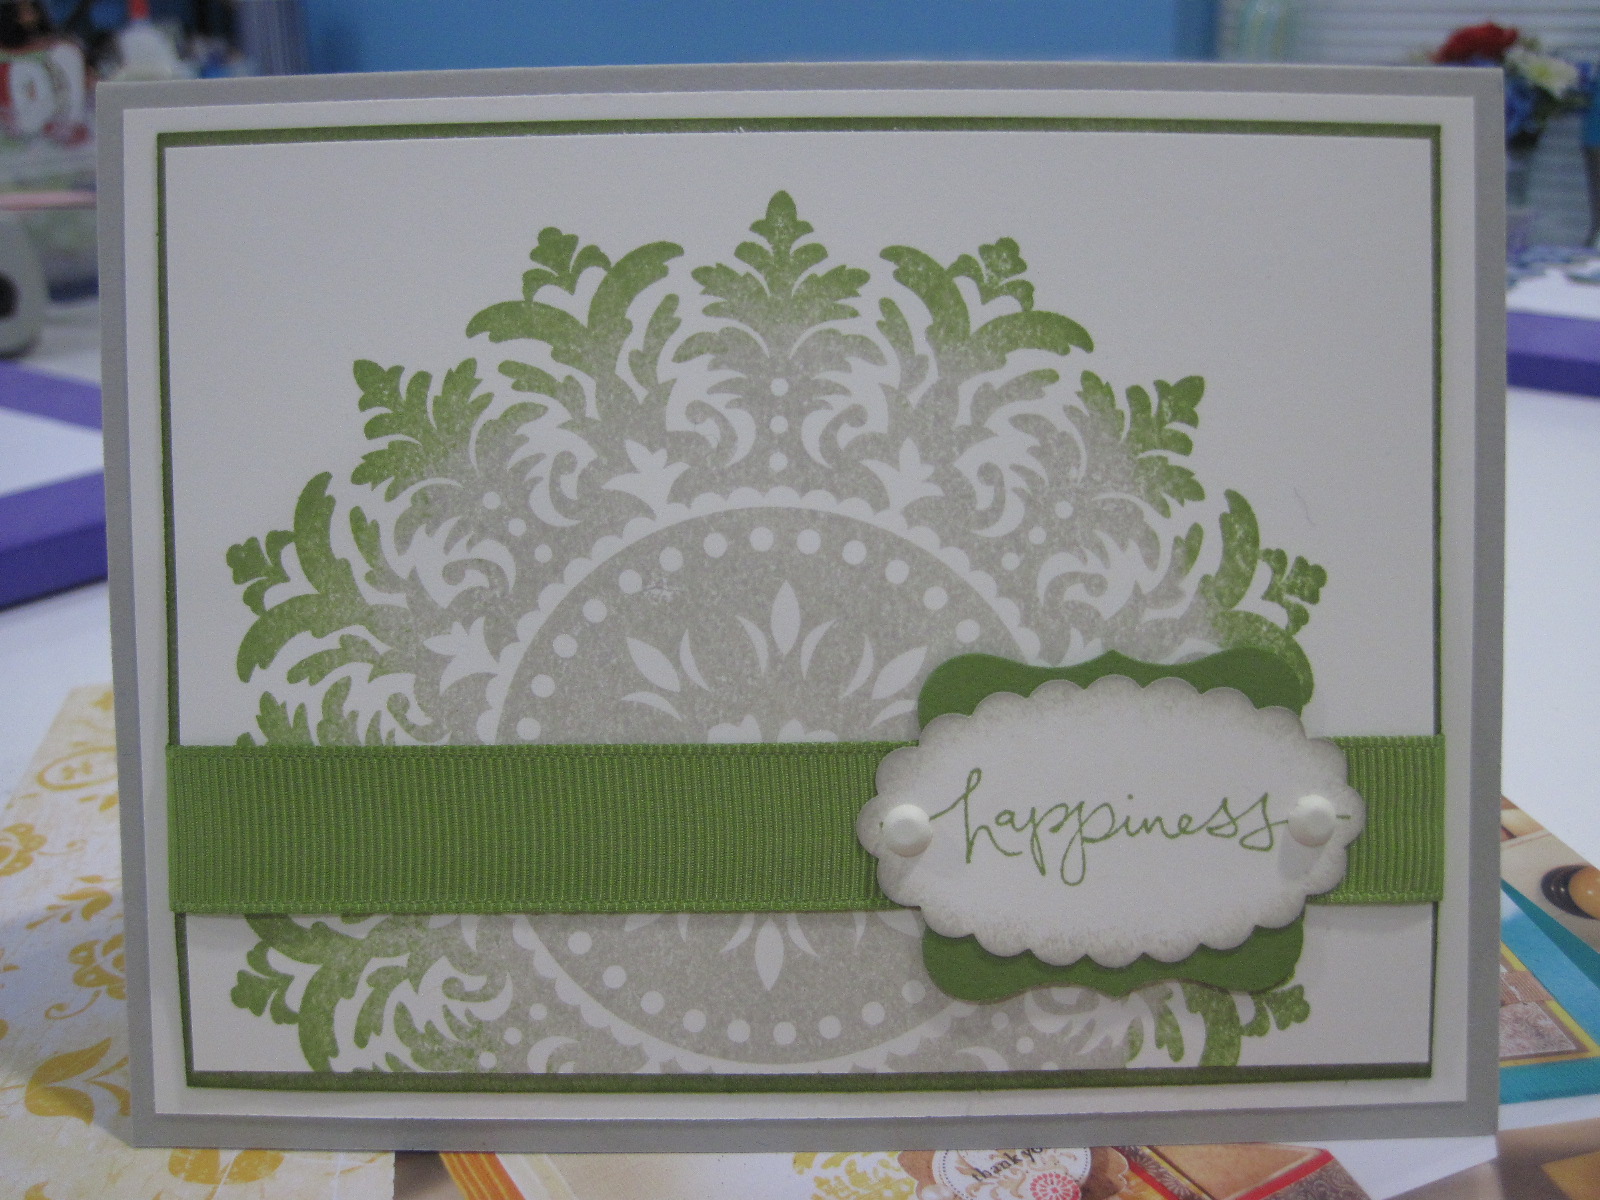
More cards for swaps!!! Yay! Here is the first card that I made for the Earth Elements swap using the Medallion background stamp which is one of my absolute favorite stamps!


Stamps: Medallion, Warm Words
Cardstock: Sahara Sand, Very Vanilla
Ink: Sahara Sand, Old Olive
Accessories: Old Olive 5/8 in. Grosgrain Ribbon, Very Vanilla Hodgepodge Hardware (brads), Scallop Oval Punch, Curly Label Punch.

The card base is Sahara Sand cut at 4 ¼ in. x 5 ½ in. and scored at 4 ¼ in. The next layer is Very Vanilla cardstock cut at 4 in. x 5 ¼ in. and this is adhered to the card front. The layer after that is Sahara Sand cut at 3 ¾ in. x 5 in. and sponged around the edge with Old Olive ink. The main image panel is Very Vanilla cut at 3 5/8 in. x 4 7/8 in. I inked up my Medallion stamp first with Sahara Sand and used the Rock-N-Roll technique to add Old Olive to the edge of the Medallion and stamped this on the Very Vanilla cardstock.

The Rock N Roll technique is where you ink up the stamp with a light color and roll the edges of the stamp in a darker color ink and then stamp your image onto the cardstock. Here is the link to this tutorial on Splitcoaststampers.com

I adhered the main image panel to the sponged Sahara Sand panel and added the Old Olive 5/8 in. Grosgrain Ribbon around the panel. I used the Curly Label Punch on some scraps of Old Olive cardstock. I stamped “happiness” from Warm Words (I absolutely LOVE this set! It works for anything!) in Old Olive ink on scraps of Very Vanilla cardstock leaving a lot of space between each image. Then I used the Scalloped Oval Punch to punch out the sentiment and then sponged the edges with Sahara Sand ink.

Note: When you want a stamped image on a punched paper always stamp first! This allows you to hold the punch upside down and center your image within the punch window. Then punch. This is the easiest way to always get an image centered on a punched piece of paper.

The Very Vanilla scalloped oval was adhered in the center of the Old Olive curly label. I then adhered this to my ribbon on my main image panel. (You don’t have to use adhesive here, but I like to that way my image stays in place while I punch the holes for the brads.) I used my needle tool and foam mat to punch the holes for two Very Vanilla brads from the Very Vanilla Hodgepodge Hardware kit. Adhere this main image panel to the card front and you’re done! Come back tomorrow to see the other Earth Elements swap!