
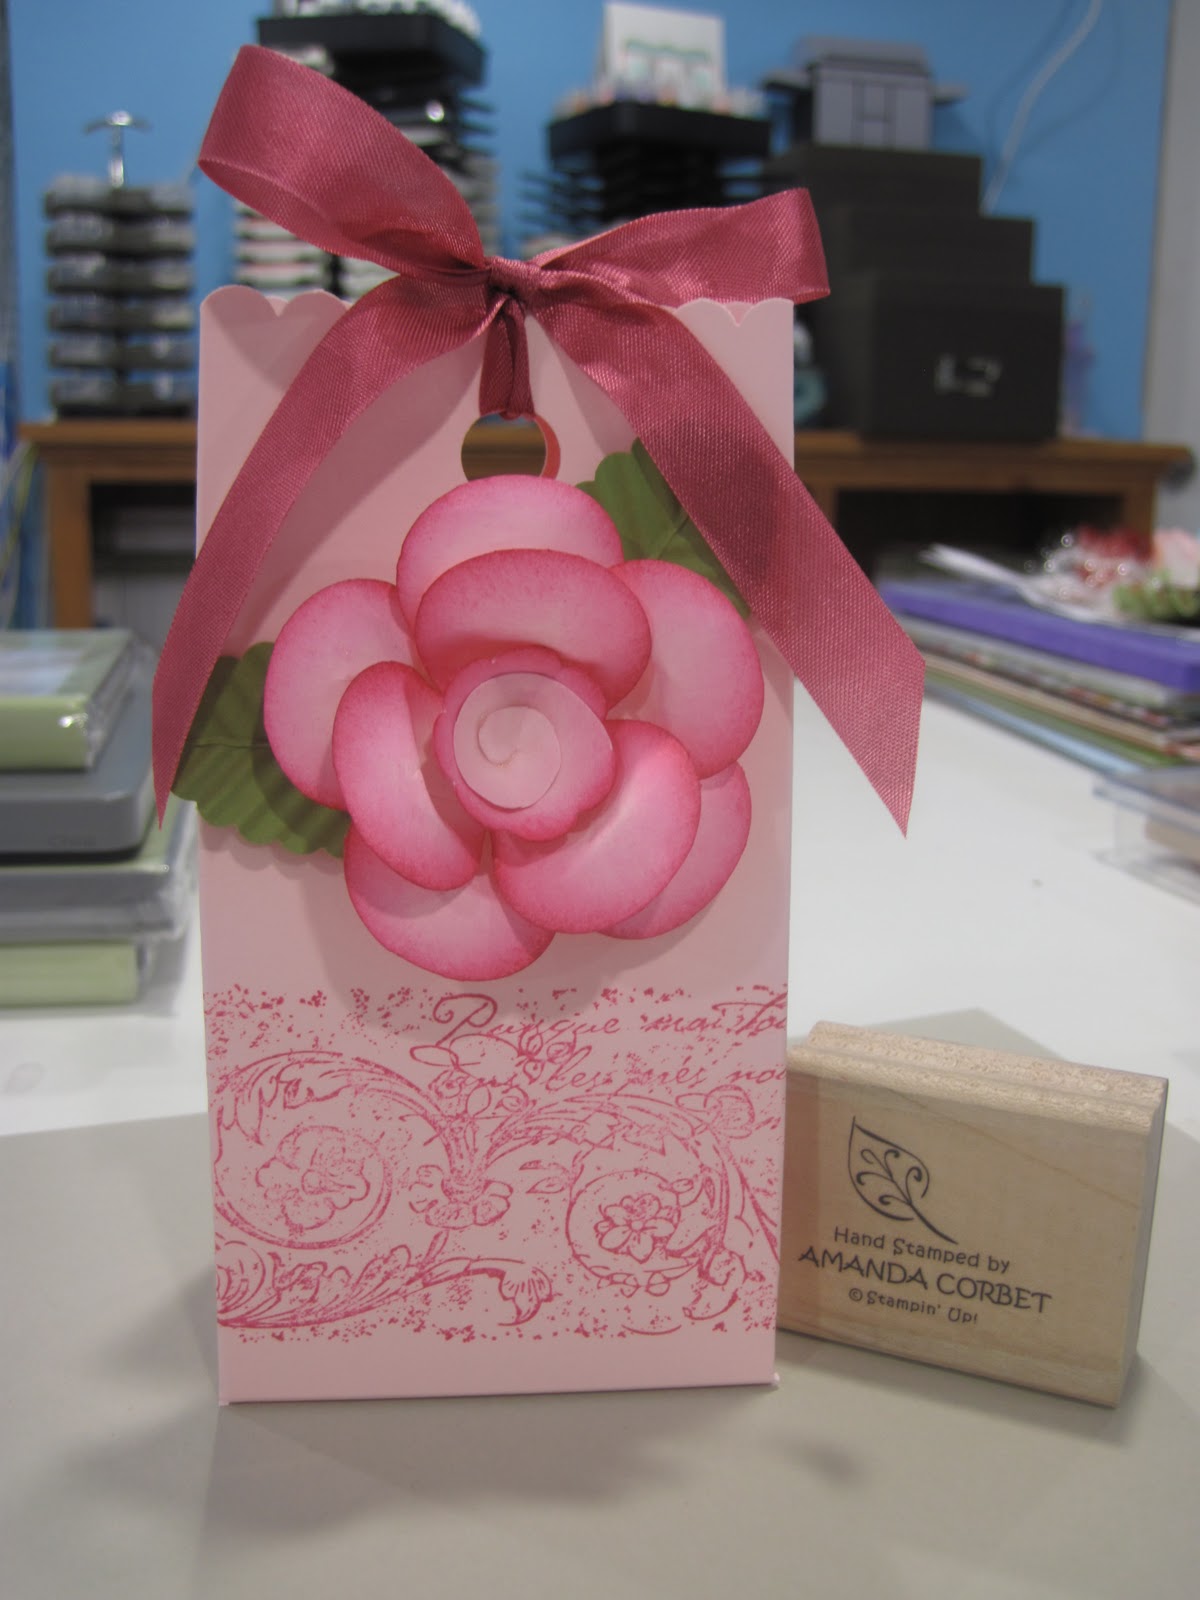
You would never believe that you can turn an owl into a rose would you? Well there is a fabulous tutorial (link can be found below) that will show you how to make the rose. Here is the final project from the Owl Punch Class. We made a simple 2-4-7-10 box. You can find the tutorial for the basic 2-4-7-10 box HERE. Take a look:
Stamps: Very Vintage Wheel
Cardstock: Pink Pirouette, Old Olive
Ink: Melon Mambo
Accessories: Simply Score, Scallop Edge Border Punch, Owl Punch, Oval Punch, Crimper, 2 3/8" Scalloped Circle Punch, Paper Snips, Tombow Multi-Purpose Adhesive, Sticky Strip
The only difference between this box and the one in the tutorial is that the cardstock for this one is cut at 6 1/2" x 11". Score along the 11" side at 2", 4", 7", and 10". Rotate the cardstock 90 degrees and score at 1 1/2". The 1 1/2" side will be the flaps for the bottom of the box.
Punch the side without the flaps with the Scallop Edge Border Punch. Stamp the bottom section of the box with the Very Vintage Wheel in Melon Mambo ink. Assemble the box as indicated in the tutorial. Pinch the sides in the same way as in the tutorial. Pinch the box closed at the top and use a 1/2" Circle Punch to punch a hole for the ribbon. Rose Red Seam Binding Ribbon was cut at 20" and tied through the hole in the box and into a bow.
Next we made the rose with the Owl Punch, Pink Pirouette cardstock, and the 2 3/8" Scalloped Circle Punch. You can find the tutorial for the rose HERE (Scroll down until you get to the video). The leaves were made by punching Old Olive cardstock with the oval punch, folding it in half, and running it through the crimper at an angle. Unfold the oval and you have a pretty little leaf for your rose.
After the layers of petals are adhered together, before the center is adhered, I adhered the leaves to the back and then applied about three pieces of Sticky Strip to the back of the rose. That way your rose is ready to adhere later. You have to use lots and lots of Tombow Multi-Purpose Adhesive to hold the center of the flower in, so once the center of the flower was added I told my guests to carefully take the flower and the box home, let the flower dry overnight so the glue is completely set before removing the liner on the sticky strip and adhering it to the box.

That's it for this project. Lots of drying time and some time assembling the rose, but other than that its pretty easy! I hope you give it a try sometime!
Thanks for stopping by!
