
I actually had some time to play in my craft room last night. I probably should have been starting my Christmas cards, or working on making gifts, but I just wanted to play for a bit. So I created this card for the Creating Pretty Cards Challenge 5 on Craft Project Central. You can find the challenge information HERE.
Stamps: Serene Snowflakes
Cardstock: Whisper White
DSP: Silver Glimmer Paper
Ink: Versamark, Pool Party, Tempting Turquoise
Acessories: Snowflake Die, Northern Flurries Strip Die, Clear Embossing Powder, Irridescent Ice Embossing Powder, Heat Tool, Paper Piercer, Mat Pack, Antique Brad, Stampin' Sponge, Stampin' Dimensional, Hobby Blade
The card base is Whisper White cardstock cut at 5 1/2" x 8 1/2" and scored at 4 1/4". Next a piece of Whisper White cardstock was cut at 4" x 5 1/4". The images from Serene Snowflakes were stamped onto the cardstock in Versamark ink. Then Clear Embossing Powder was poured over the stamped images, the excess tapped off, and heated with the Heat Tool. The embossed cardstock was sponged first with Pool Party ink starting from the upper left hand corner and working my way down at an angle.
Tip: When I sponge, I move the sponge in a circular motion while it is on the cardstock. This makes it easier to blend the colors and get a smoother edge. If you want a stippled look dab the sponge, touching it to the cardstock and picking it up.
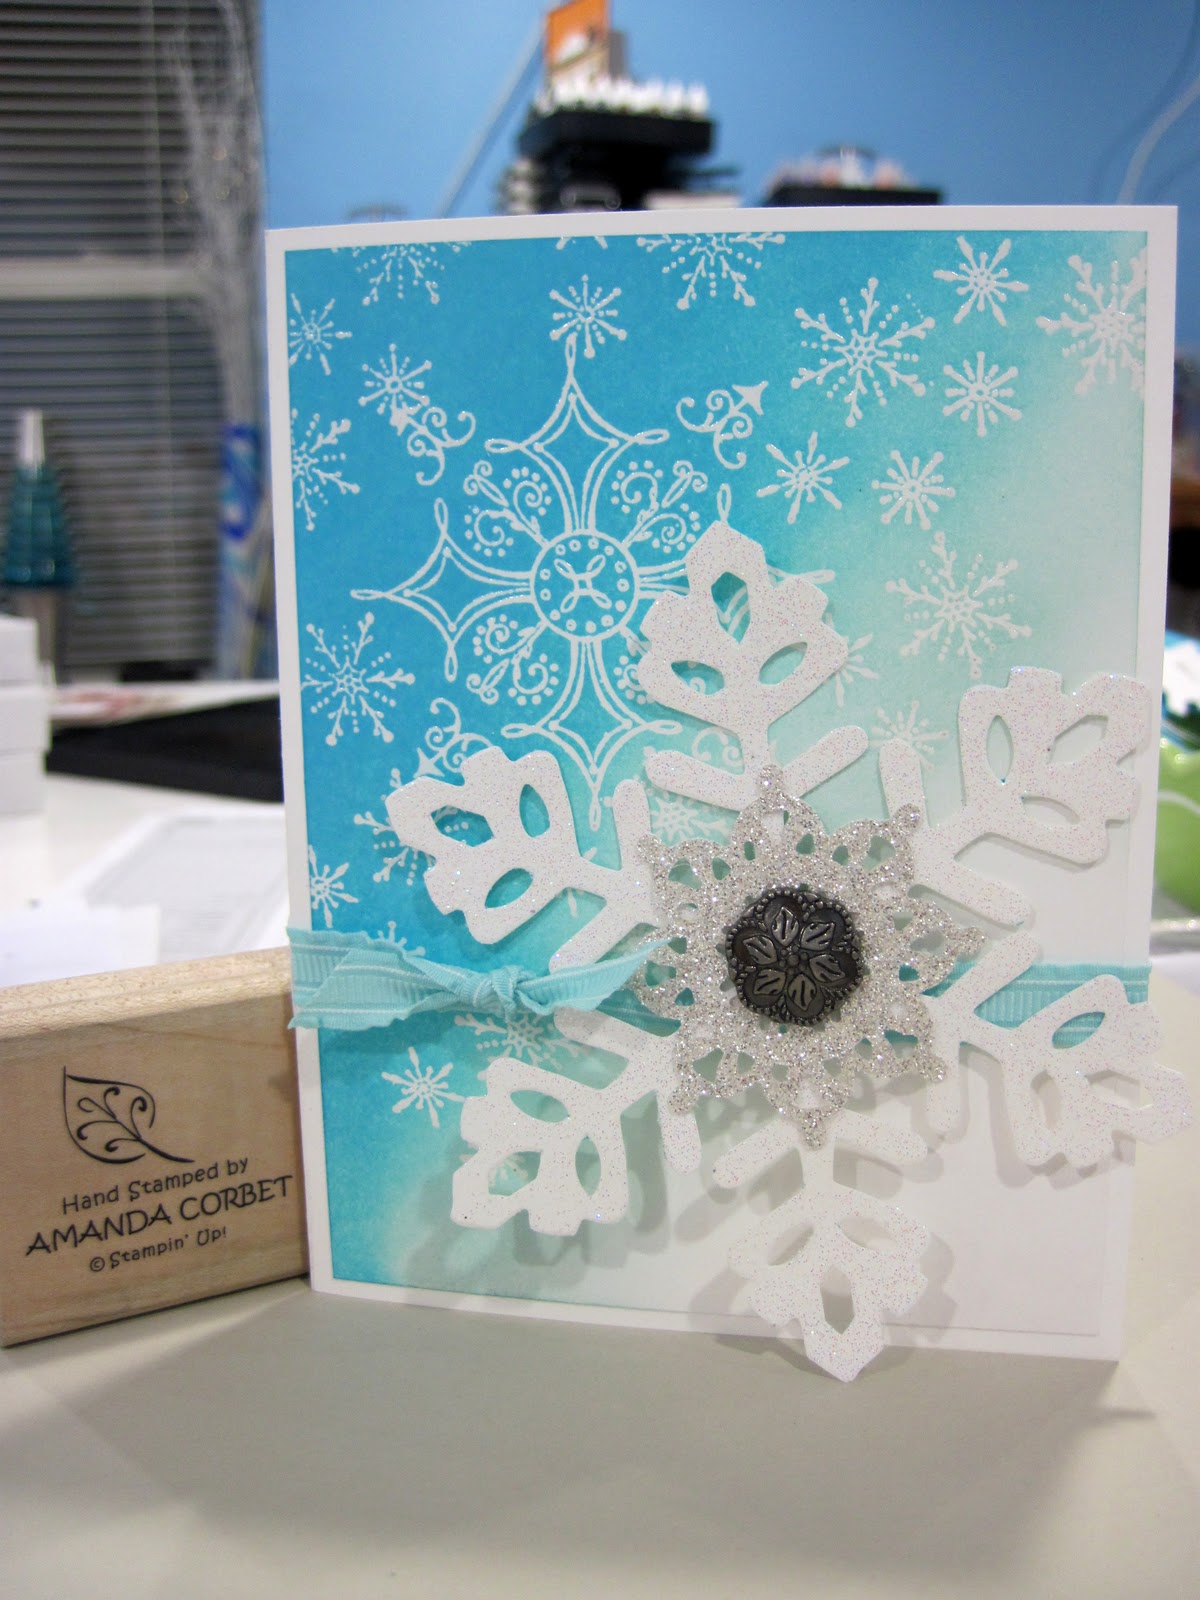
Then I sponged with Tempting Turqouise ink making sure not to cover the Pool Party ink entirely. This panel was adhered to the card front. To cut the snowflake a piece of Whisper White cardstock was cut at 4" x 4 1/2" and run through the Big Shot on the Snowflake die. I pressed the Versamark pad directly onto the snowflake covering the entire snowflake in ink. The snowflake was then covered with Irridescent Ice Embossing Powder, the excess tapped off, and was heated with the Heat Tool.
A 2" x 2" piece of Silver Glimmer Paper was run through the Big Shot on the Northern Flurries Strip Die. Make sure to place the paper side of the Glimmer Paper onto the blade side of the die so it will cut all the way through. Stack the Glimmer Paper snowflake on top of the white snowflake and use the Paper Piercer to pierce a hole thorugh the center of the two. Insert an Antique Brad into the snowflake and spread the prongs on the back. Place Stampin' Dimensionals onto the back of the snowflake.

I figured out where I wanted my ribbon and my snowflake and used the Hobby Blade to cut into the fold of the card where I wanted the ribbon to go. The ribbon was threaded through the cut in fold of the card and tied into a knot. I removed the liner on the Stampin' Dimensionals on the back of the snowflake and adhered it to the card front.

I love how this card looks so frosty cold and sparkly.
Thanks for stopping by!
