
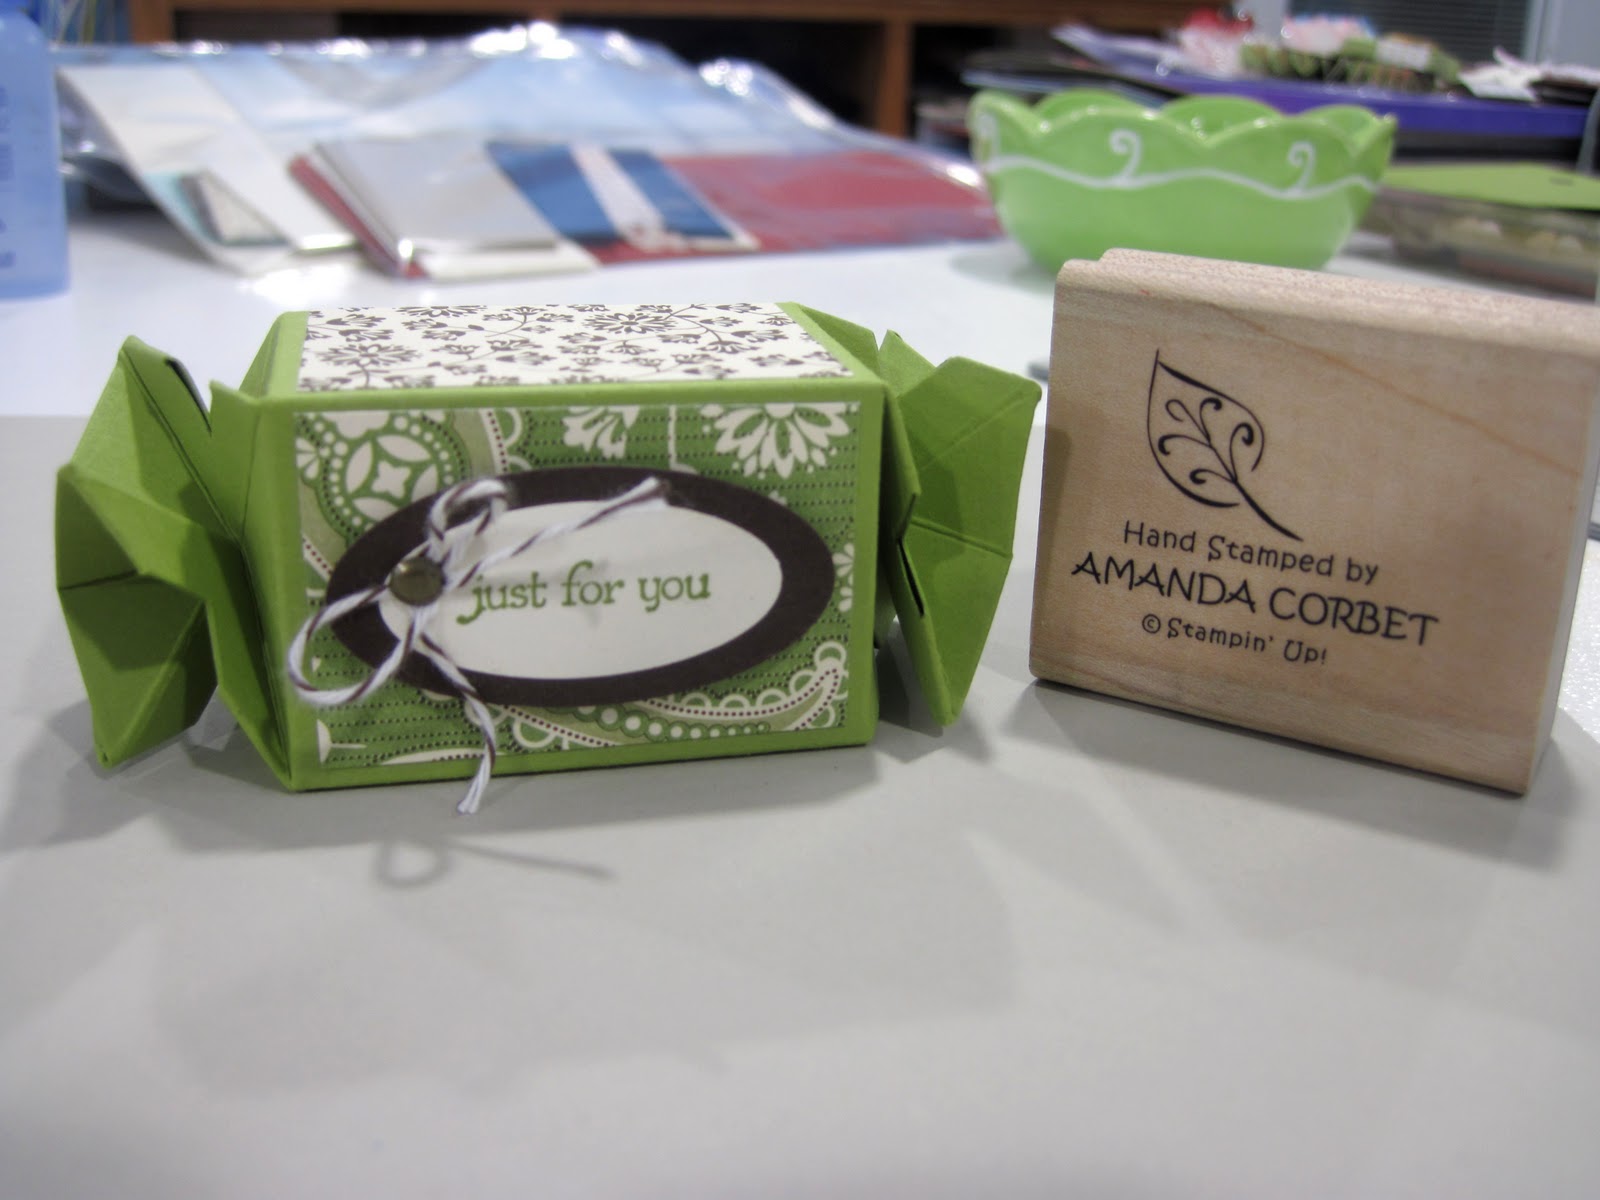
Here is the 3D project from the September Make and Take. I just wanted to use the Candy Wrapper die because it is so cute! So here it is:

Stamps: Teeny Tiny Wishes
Cardstock: Lucky Limeade, Very Vanilla, Early Espresso
DSP: Spice Cake Designer Series Paper
Ink: Old Olive
Accessories: 1 3/8” x 5/8” Oval Punch, 1 ¾” x 7/8” Oval Punch, Early Espresso Baker’s Twine, Needle Tool, Mat Pack, Neutrals Brads (bronze), Sticky Strip, Paper Snips
The Lucky Limeade cardstock was cut at 5 ½” x 6 ½” and was run through the Big Shot on the Candy Wrapper Die. Four pieces of Spice Cake DSP were cut at 1 ¼” x 2”. These were adhered to all four of the large panels on the candy wrapper. The cardstock was folded on all of the score lines.
Note: If you fold ALL of your score lines REALLY well it will be easier to get this box to close.
Sticky Strip was added to the ¼” section along one end and the ends were adhered together. At this point you have a square tube. Now carefully push the bottom of the sides on the end in and twist to close the box. If your diagonal folds here are done really well the box will almost close its self. If they aren’t folded really well you will have to fight it a bit. Maybe this video here will help.

I hope you will give this adorable little gift box a try! I know you can do it!
Thanks for stopping by!

Stamps: Teeny Tiny Wishes
Cardstock: Lucky Limeade, Very Vanilla, Early Espresso
DSP: Spice Cake Designer Series Paper
Ink: Old Olive
Accessories: 1 3/8” x 5/8” Oval Punch, 1 ¾” x 7/8” Oval Punch, Early Espresso Baker’s Twine, Needle Tool, Mat Pack, Neutrals Brads (bronze), Sticky Strip, Paper Snips
The Lucky Limeade cardstock was cut at 5 ½” x 6 ½” and was run through the Big Shot on the Candy Wrapper Die. Four pieces of Spice Cake DSP were cut at 1 ¼” x 2”. These were adhered to all four of the large panels on the candy wrapper. The cardstock was folded on all of the score lines.
Note: If you fold ALL of your score lines REALLY well it will be easier to get this box to close.
Sticky Strip was added to the ¼” section along one end and the ends were adhered together. At this point you have a square tube. Now carefully push the bottom of the sides on the end in and twist to close the box. If your diagonal folds here are done really well the box will almost close its self. If they aren’t folded really well you will have to fight it a bit. Maybe this video here will help.
The greeting from Teeny Tiny Wishes was stamped in Old Olive ink onto a scrap of Very Vanilla cardstock. The greeting was punched out with the 1 3/8” x 5/8” Oval Punch. The 1 ¾” x 7/8” Oval Punch was used on a scrap of Early Espresso cardstock. The greeting oval was adhered to the Vanilla oval. Then the Crop-A-Dile was used to punch the smallest hole in the stacked ovals. Yes this is a bit of a large hole, but it will work, trust me. Tie some Early Espresso Baker’s Twine into a bow. Spread apart the prongs on a brad and insert the knot of the bow between the prongs. Close the prongs of the brad just enough to get the prongs through the hole in the oval layers. Once the brad is inserted completely into the hole open up the prongs on the brad like you normally would. The brad holds the bow in place and the larger hole allows for the knot in the brad to go through the cardstock instead of holding the brad up off the cardstock. Adhere the oval label to one of the candy wrapper sides with Stampin’ Dimensionals.

Now all you have to do is open up one of the ends and stash some goodies inside. Don’t worry, once you’ve gotten the ends closed once they close again very easily. Also, once you get used to closing this box it’s not so bad. Trust me. After helping all of my guests get it closed I can get them closed without a problem. I still wouldn’t want to have to make 100 of these, but it is easier to do after practicing.
I hope you will give this adorable little gift box a try! I know you can do it!
Thanks for stopping by!
