
I guess I never got around to posting this. I don't remember when I actually finished it. Apparently at least 3 years ago before my daughter was born. I still love it though! It serves as my nightstand and shoe storage right now.
I no longer do projects for DecoArt. Apparently I wasn't good enough at staging Pinterest worthy photos. So now I just make projects for myself or gifts for family and friends and I am perfectly fine with that.


I no longer do projects for DecoArt. Apparently I wasn't good enough at staging Pinterest worthy photos. So now I just make projects for myself or gifts for family and friends and I am perfectly fine with that.

From original post written about 3-4 years ago:
Last fall I had picked up a small dresser that was placed on the curb. I was looking for something small to go in what I had hoped to turn into a guest room. Right now the guest room is on hold so the dresser just sat there getting no attention. Here you can see this sweet little dresser in all it's untouched glory. Straight from the curb where it was destined to end up in a landfill.
A couple months went by and my little dresser just sat there feeling unloved when DecoArt posted a project to paint a piece of furniture with some interest other than the typical chalky finish. So finally the project of redoing this little dresser was moved to the front and it was going to get it's much deserved love.
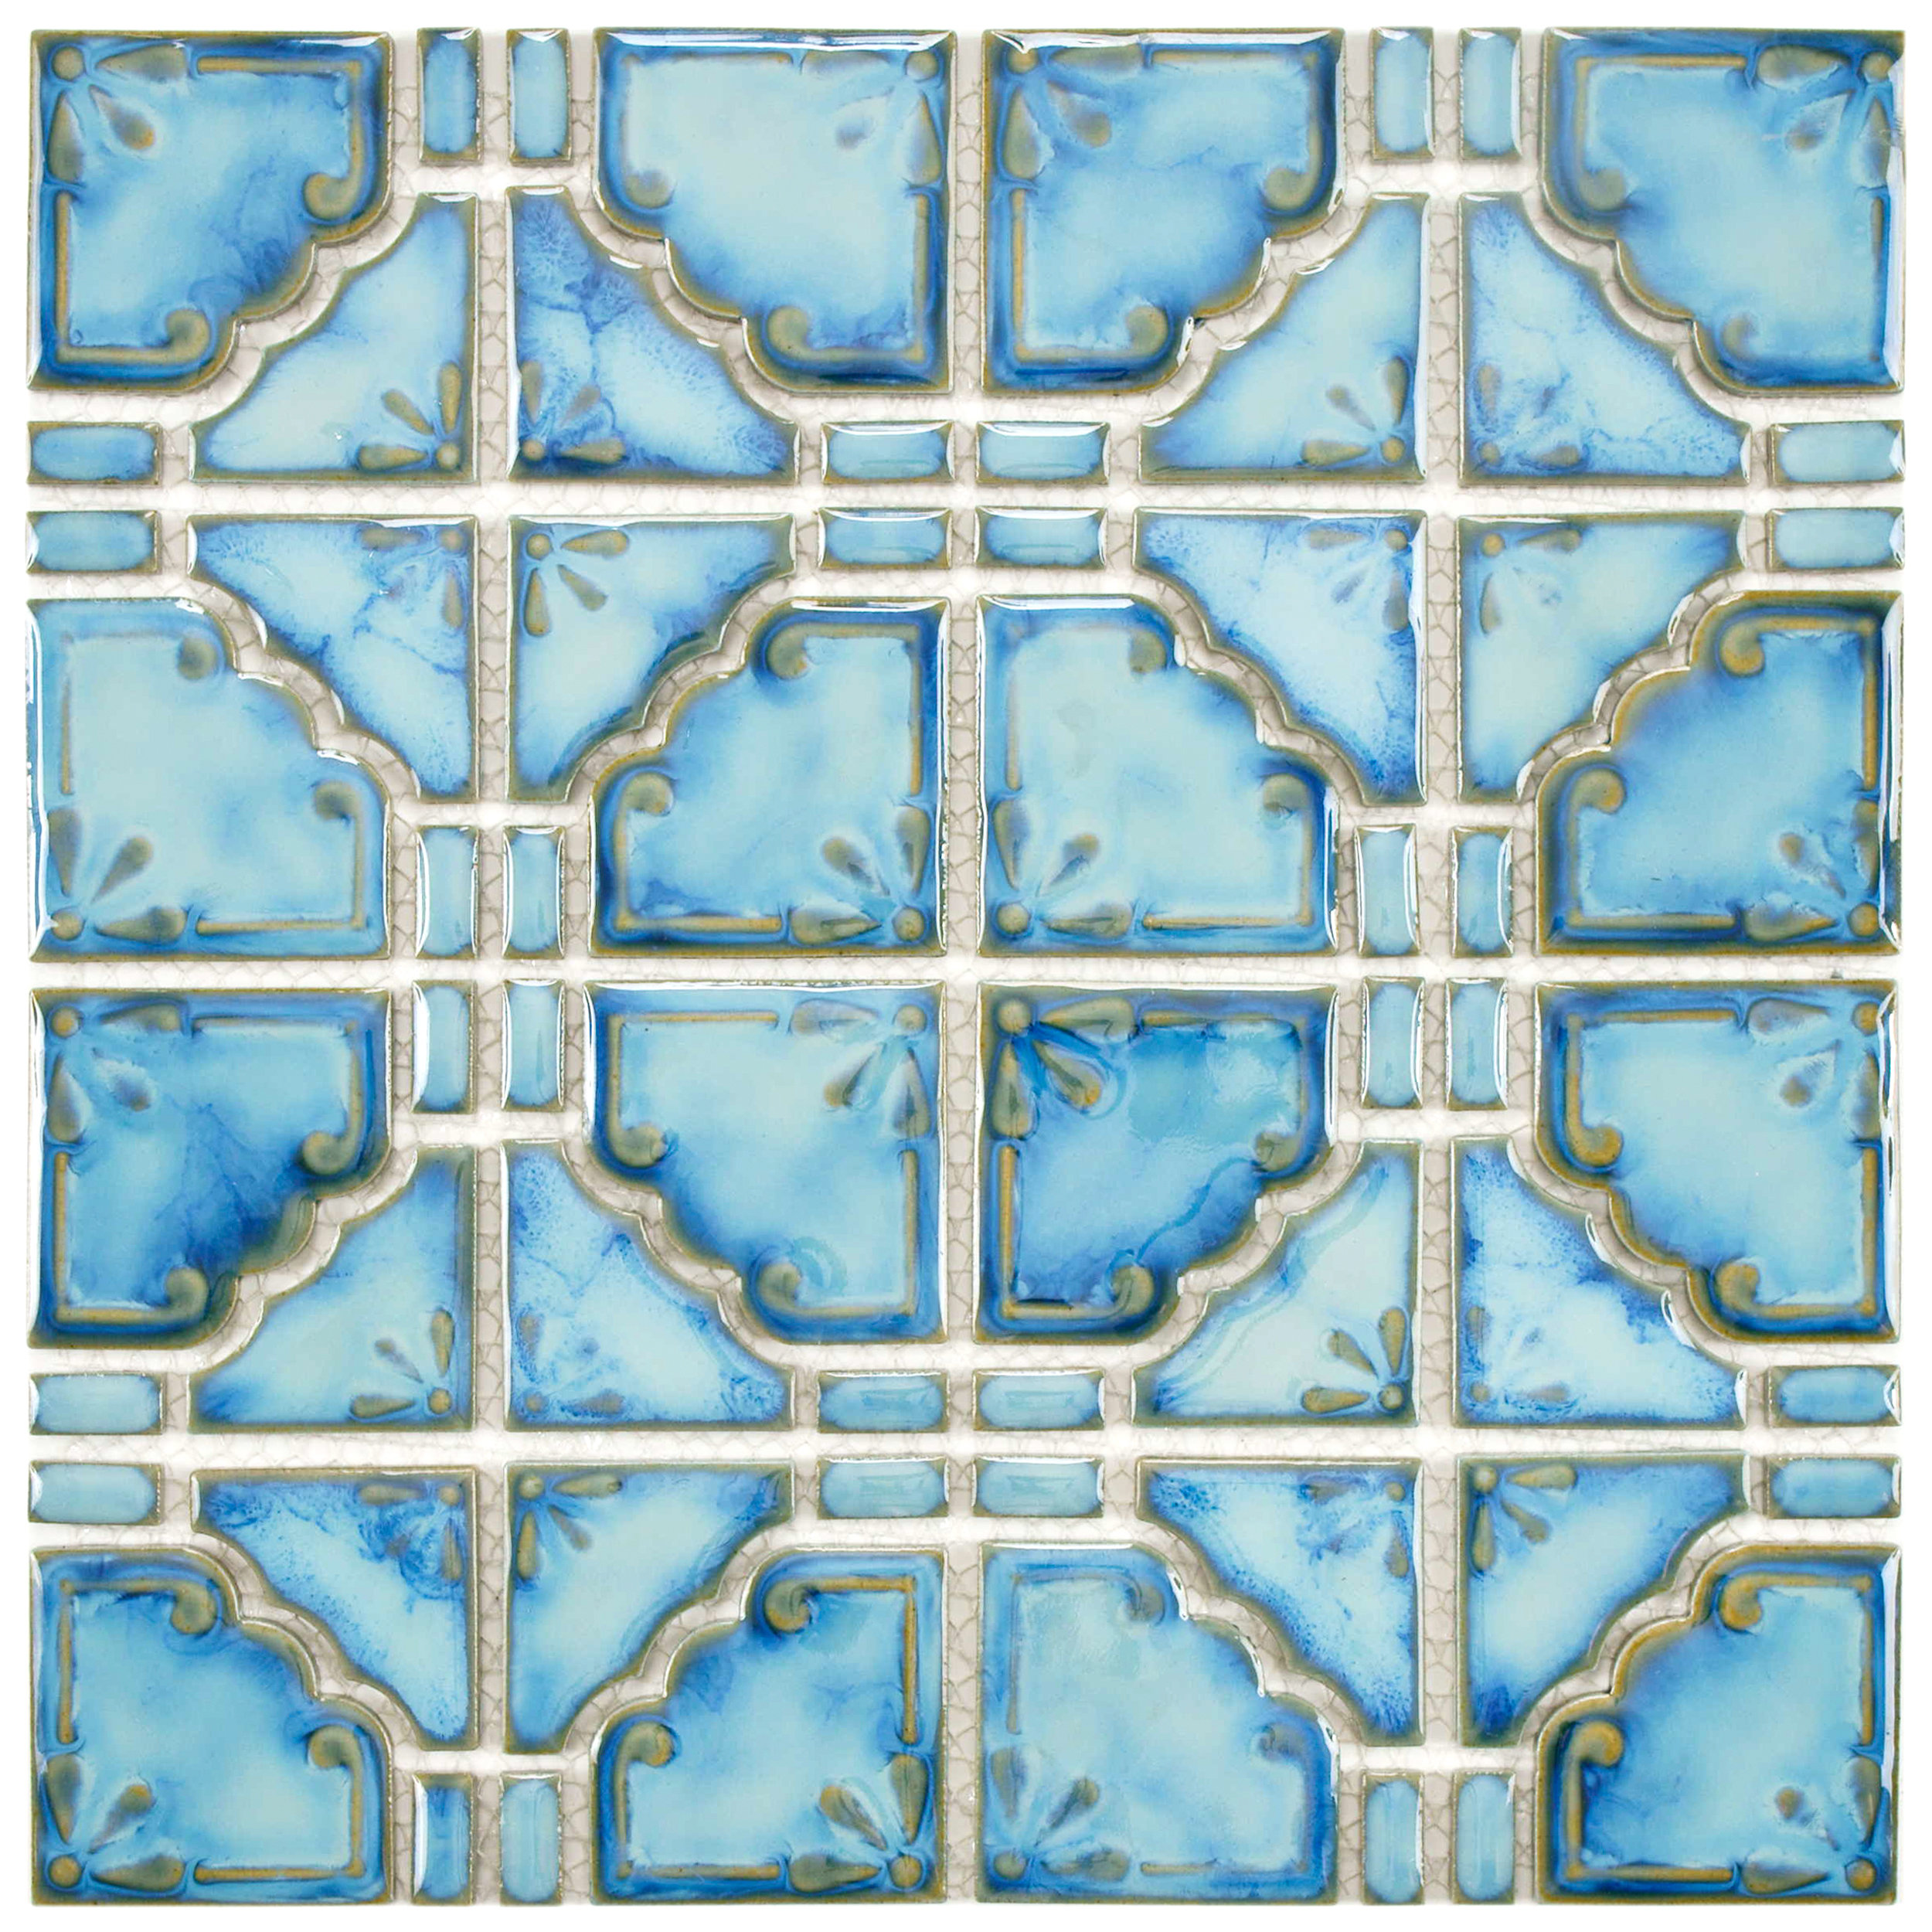
I decided I wanted to paint the drawer fronts in mosaic tile pattern so off I went searching the internet for some mosaic tile inspiration. I was found this pattern of tile from Wayfair and knew it was just the perfect thing!. So I drew up a similar pattern and adjusted the scale of the tile shape to fit my dresser drawer fronts. I couldn't quite match the soft blue of the tile with the paint I had on hand, but I really love the combination of the vibrant turquoise and cobalt blue that I already had.
For all the painting instructions and tile pattern template you can check out the project tutorial over at DecoArt.
The original hardware on the dresser was removed and received several coats of a gold enamel spray paint. The top was too rough to salvage so I covered it with three 1 x 8 boards that were cut to length, stained, and screwed to the top of the dresser from the underside.

Even the inside of the drawers received some love with Chalky Finish paint in Serene and some decoupaged scrapbook paper for the bottoms of the drawers.


