
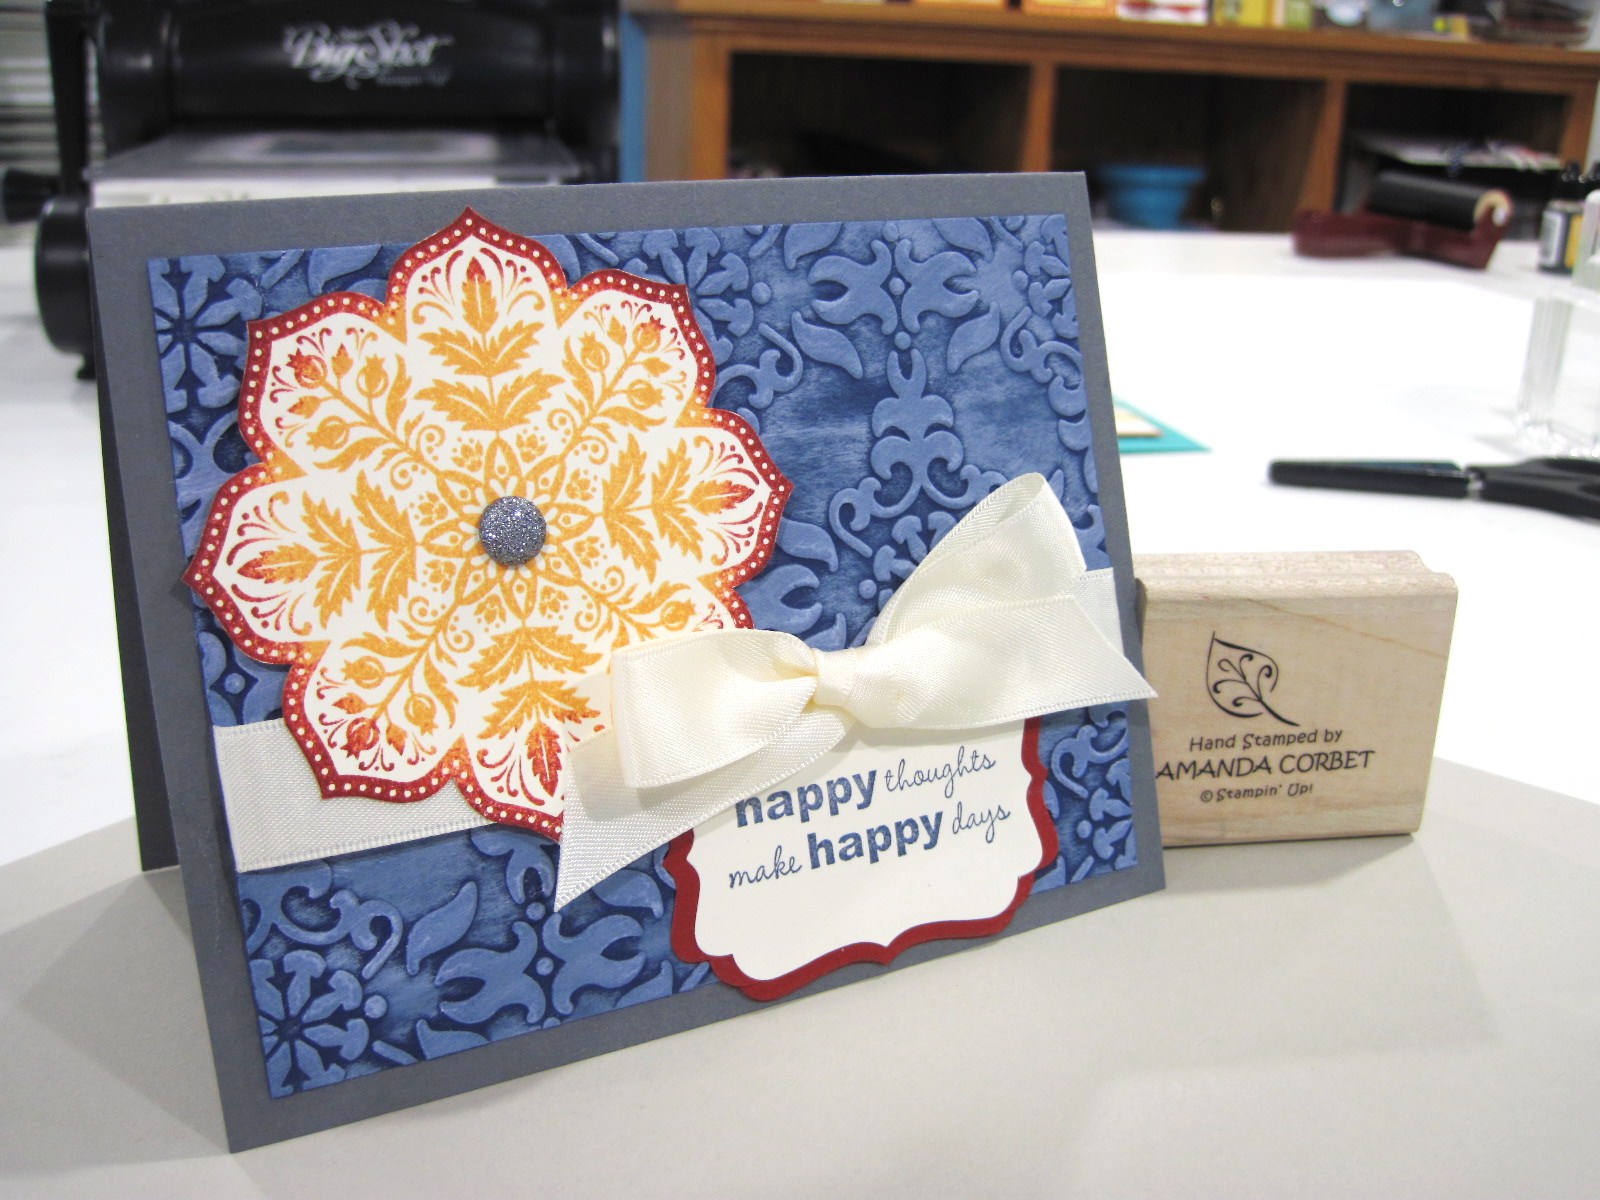
This card was created with the medallion that I showed you how to make in the tutorial earlier today. This is a really fun color combination to play with. Take a look:
Stamps: Day of Gratitude, Apple Blossoms
Cardstock: Very Vanilla, Night of Navy, Basic Grey, Cherry Cobbler
Ink: Cherry Cobbler, Peach Parfait, Night of Navy, Whisper White Craft
Accessories: Vintage Wallpaper Textured Impressions Die, Decorative Label Punch, 5/8" Very Vanilla Satin ribbon, Glimmer Brads, Paper Snips, Stampin' Dimensionals, Needle Tool, Mat Pack
The card base is Basic Grey cardstock cut at 5 1/2" x 8 1/2" and scored at 4 1/4". A piece of Night of Navy cardstock was cut at 3 3/4" x 5". The Night of Navy cardstock was run through the Big Shot in the Vintage Wallpaper Textured Impressions Die. Then I used the direct to paper technique, rubbing the ink pad directly across the paper, to add Whisper White Craft ink to the embossed panel. This creates a really nice effect. The Night of Navy cardstock was set aside to dry.
The medallion from Day of Gratitude was stamped in Peach Parfait and Cherry Cobbler ink using the Rock-n-Roll technique on a scrap of Very Vanilla cardstock. This was then cut out with paper snips. I used the Needle Tool and Mat Pack to pierce a hole in the center of the medallion and added a Basic Grey Glimmer Brad.
The greeting from Apple Blossoms was stamped in Night of Navy ink on a scrap of Very Vanilla cardstock. This was then punched out with the Decorative Label punch. I also punched two decorative labels from Cherry Cobbler cardstock. The two Cherry Cobbler decorative labels were cut in half, one length-wise, one width-wise. The points were cut off that were in the center of the label side. On the pieces that were cut width-wise also cut of the first scallop off each side of the label half, repeat with the other half. All four of these pieces were adhered behind the Very Vanilla decorative label to create a mat. (That came out pretty confusing, let me know if you were able to follow along or if I need to do a tutorial on creating a Decorative Label mat).
After the craft ink on the textured panel dried some 5/8" Very Vanilla ribbon was added around the middle and tied into a bow. The textured cardstock was then adhered to the card front. Stampin' Dimensionals were added to the back of the medallion and this was adhered to the card front in the upper left hand corner. The greeting on the decorative label was adhered to the card front underneath the bow.
This is probably my favorite card of what I have made recently. I really like the interesting color combination and the shabby-chic background. What do you think?