


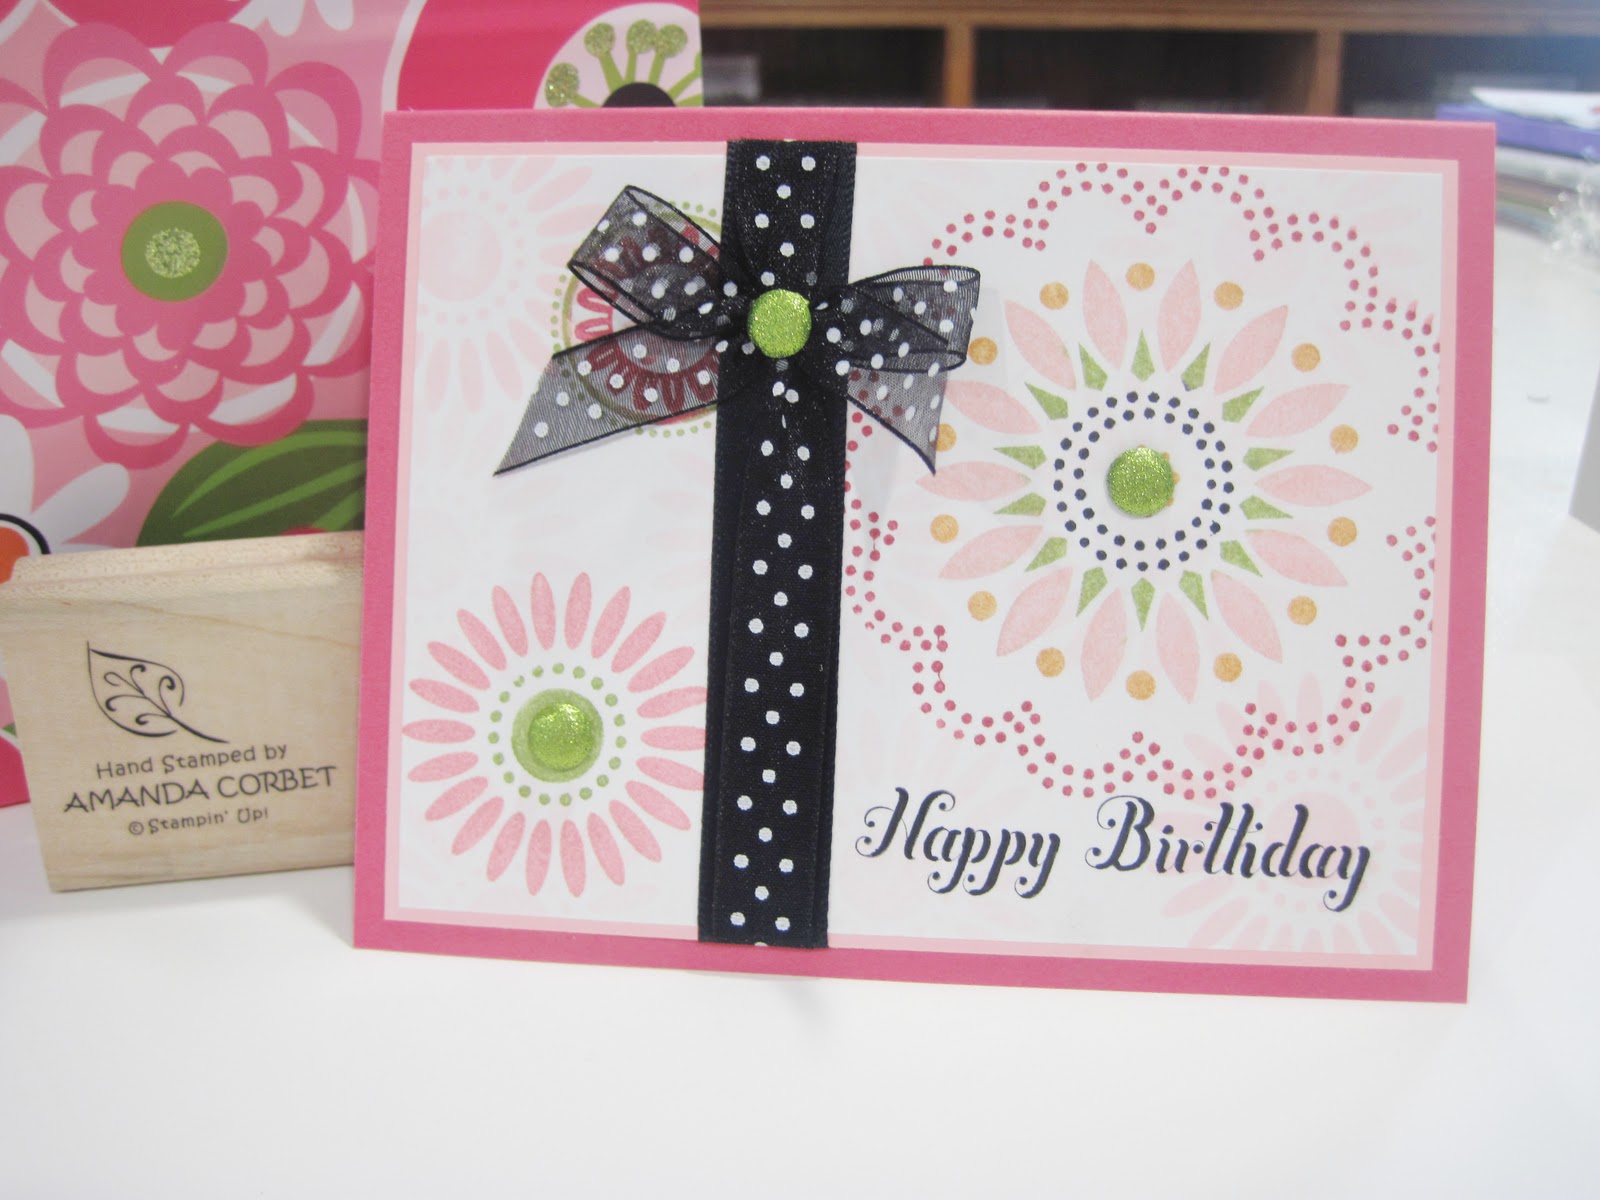
I found this gift bag a Wal-Mart. Neila LOVES pink so I knew it was perfect, but the card had to match! So I spent some time digging through my stamp collection to find just the right one, and this is what I came up with!
Stamps: Friendly Flowers, Bring on the Cake
Cardstock: Melon Mambo, Pretty in Pink, Whisper White
Ink: Pink Pirouette, Basic Black
Markers: Basic Black, Lucky Limeade, Peach Parfait, Melon Mambo, Pretty in Pink, Regal Rose
Accessories: Paper Piercer, Mat Pack, Glimmer Brads, 5/8" Basic Black Satin ribbon, non-SU ribbon
The card base is Melon Mambo cardstock cut at 5 1/2" x 8 1/2" and scored at 4 1/4". A piece of Whisper White cardstock was cut at 3 3/4" x 5". The images from Friendly Flowers (retired) were inked up with markers to get the variety of colors in the flowers. After completely coloring the stamp I breathed on the stamp to re-moisten the ink and stamped it onto the cardstock. The smaller flower was stamped several times in the background with Pink Pirouette ink just to fill in some white space. The greeting from Bring on the Cake was stamped in Basic Black ink in the lower right hand corner of the cardstock. This panel was adhered to a 3 7/8" x 5 1/8" piece of Pretty in Pink cardstock.

The Paper Piercer and Mat Pack were used to pierce a hole in the two colorful flower centers and two green Glimmer brads were added. Some 5/8" Basic Black ribbon was wrapped around the panel and adhered to the back using Snail Adhesive. Then I dug out the black organza polka dot ribbon from my non-SU stash (SU didn't sell the polka dot ribbon at the time I made this card or I just would have used that instead). I managed to find two pieces of this ribbon that were just long enough. So the first was wrapped around and adhered to the back with Snail Adhesive. The second was into a bow. The Paper Piercer and Mat Pack were used again to pierce a hole for another brad. The brad was pushed through the knot in the bow and through the hole in the cardstock and the tabs were flattened on the back. This panel was adhered to the card front.
Thanks for stopping by !
