
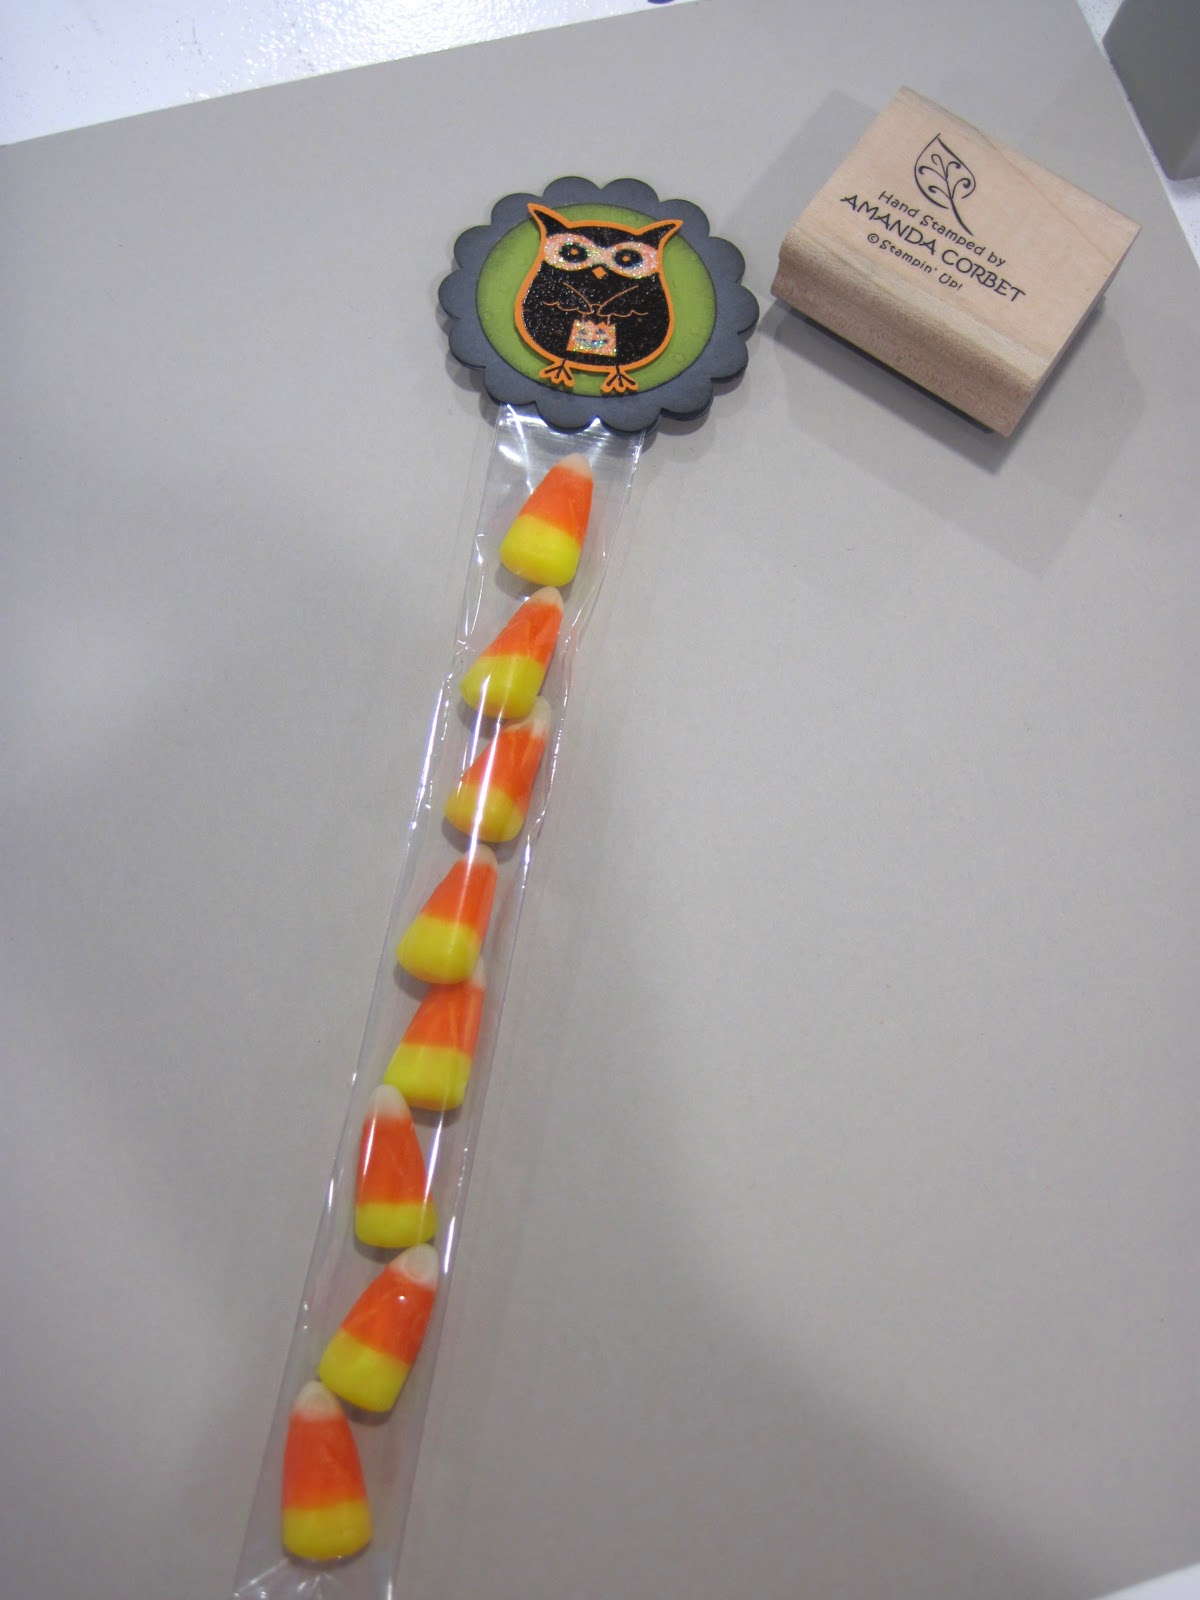
So here is the second of my Halloween projects today. This one is a cute little Candy Corn treat holder. This is also the 3D project from the October Make and Take. I just Love the cute little Trick or Treating owl in the set Warmest of Wishes which is the Hostess set in the Holiday Mini Catalog.
Stamps: Warmest of Wishes
Cardstock: Basic Grey, Lucky Limeade, Pumpkin Pie
Ink: Versamark, Basic Black
Accessories: 2 3/8” Scalloped Circle Punch, 1 ¾” Circle Punch, Owl Punch, Black Embossing Powder, Heat Tool, Dazzling Details, Sticky Strip, Stampin’ Dimensionals, Perfect Polka Dots Textured Impressions Embossing Folder, Stampin’ Sponge
Two scalloped circles were punched from Basic Grey cardstock with the 2 3/8” Scalloped Circle punch. The edges of both of them were sponged with Basic Black ink. Next two circles were punched from Lucky Limeade cardstock with the 1 ¾” Circle Punch. The Lucky Limeade circles were run through the Big Shot in the Perfect Polka Dots embossing folder and were then adhered onto the Basic Grey scalloped circles. Next the owl image from Warmest of Wishes was stamped in Versamark ink onto Pumpkin Pie cardstock. Black Embossing Powder was poured over the images, the excess tapped off, then heated with the heat tool. The owls were punched out with the Owl Punch.
One of the Cellophane Bags was filled with Candy Corn, not exactly the easiest task either, then the bag was sealed with plenty of room at the top to be adhered to the cardstock. Several strips of Sticky Strip were placed on the back of both of the Basic Grey scalloped circles. I wanted to make sure that there was sticky strip on both sides of the cellophane bag so the bag was well adhered to both circles. The sticky strip liner was removed from one of the scalloped circles and the cellophane bag was adhered. The sticky strip liner on the other scalloped circle was removed and it was adhered on top of the first scalloped circle sandwiching the end of the cellophane bag between the cardstock.

This was simple to do, loads of fun, and a totally cute treat! Check back later to see what I have to share with you next!
