
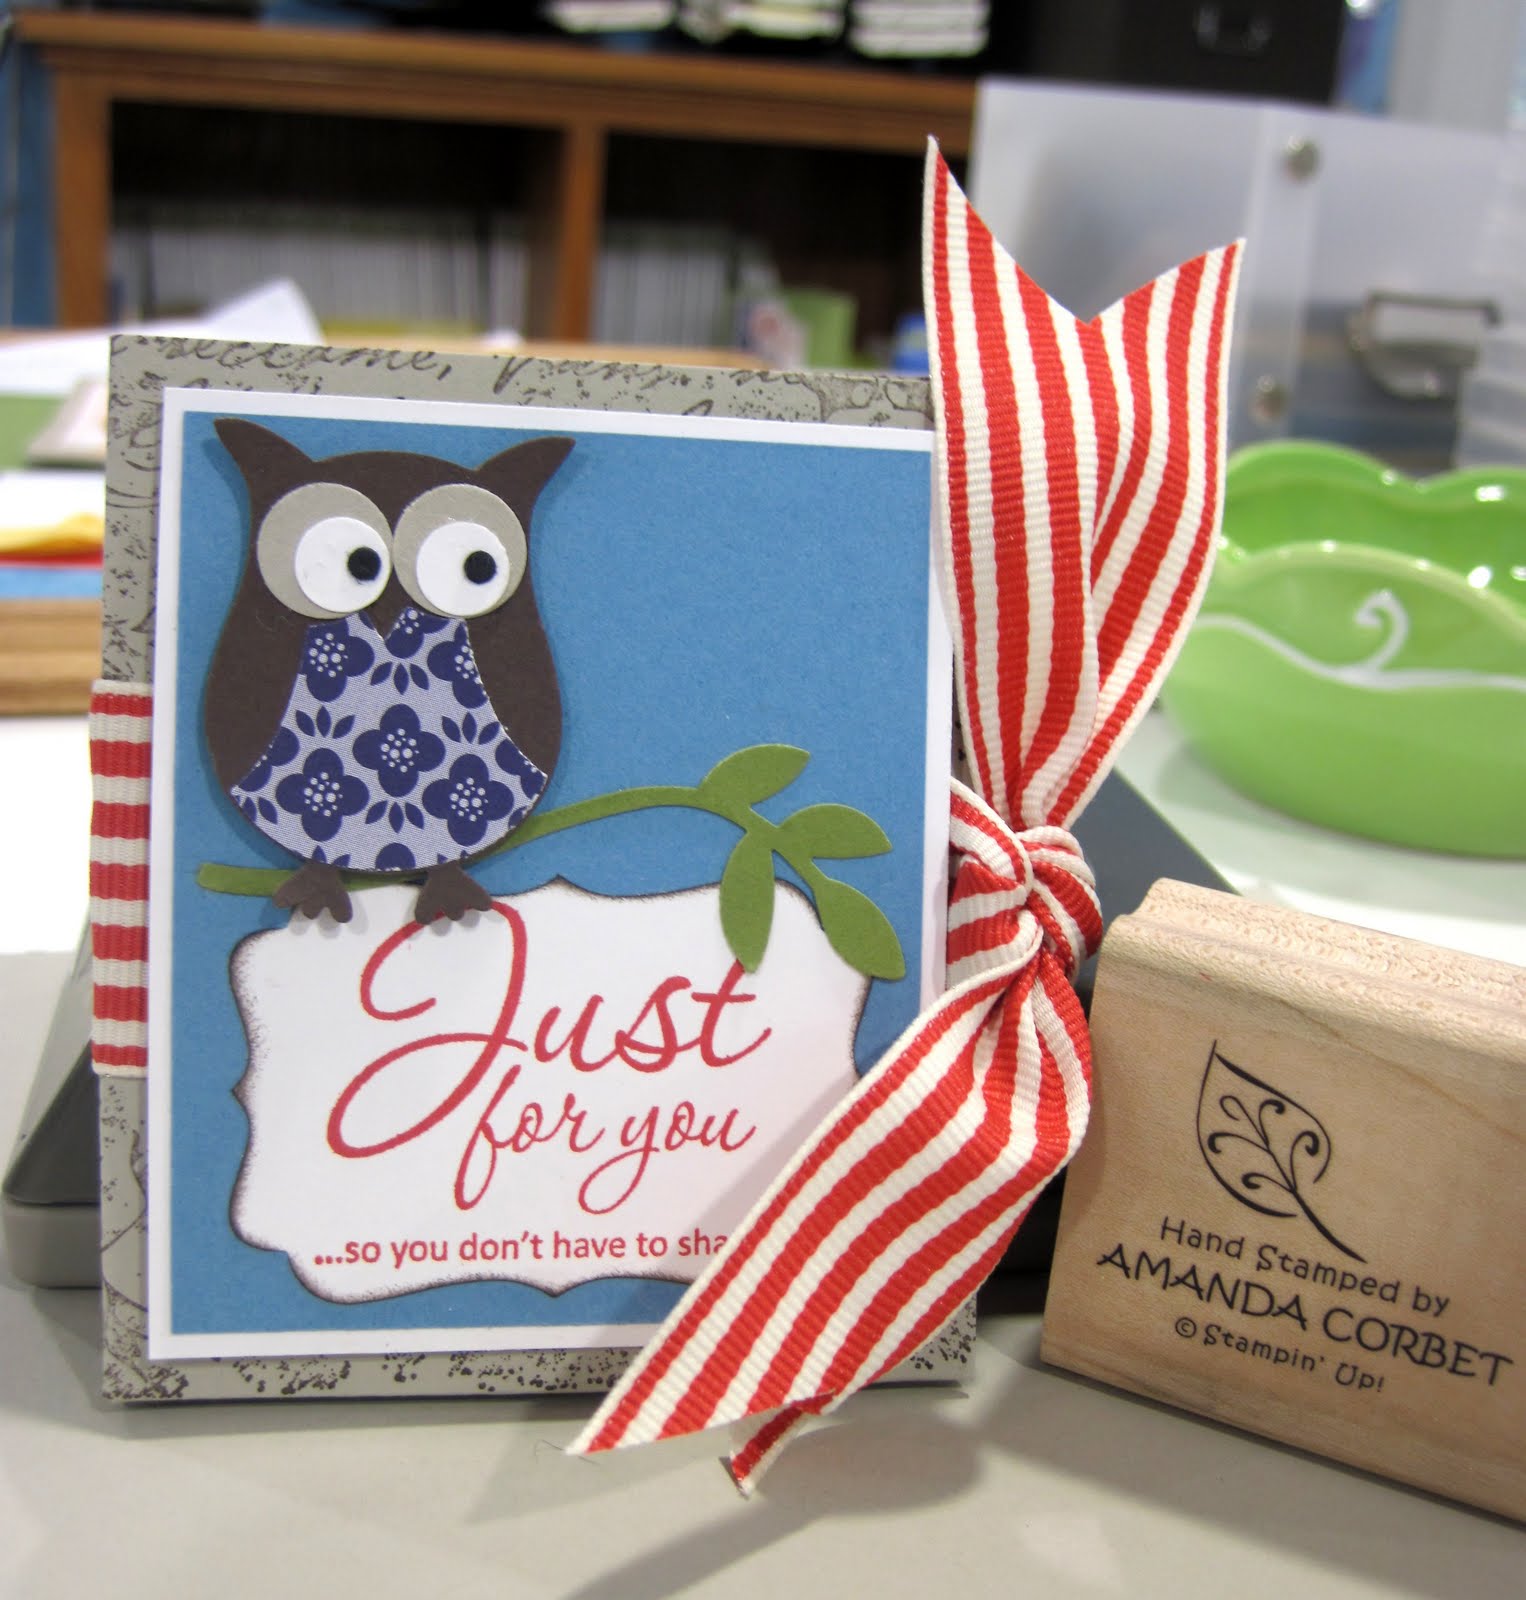
Good morning all! It's still been crazy around here. Some day I will get caught up on my posting. Anyway...here is the 3D project that we made at the June Make and Take and everyone loved it! It is a little tea bag holder that holds two tea bags. A perfect little gift for someone who loves tea! Take a look:
Stamps: Very Vintage wheel, Afterthoughts (retired)
Cardstock: Sahara Sand, Whisper White, Marina Mist
Cardstock Scraps: Early Espresso, Sahara Sand, Whisper White, Concord Crush DSP, Old OliveInk: Early Espresso, Real Red
Accessories: Decorative Label Punch, Bird Punch, Owl Punch, Paper Snips, Sticky Strip, 1 1/4" Real Red Striped Grosgrain Ribbon, Two-Way Glue Pen, Stampin' Dimensionals.

This little guy actually holds two tea bags, one on each side, I just have one inserted here for the picture.
To get started cut a piece of Sahara Sand cardstock 4 1/2" x 6 1/4". With the long side of the cardstock against the top of your scoring tool score at 3" and 3 1/4". Rotate the cardstock 90 degrees so that the short side of your cardstock is against the top of your scoring tool and score at 1". Fold on all score lines.
Use the Very Vintage wheel with Early Espresso ink all over both the front and the back of the Sahara Sand cardstock. This will give a pattern to the outside and the inside of the tea bag holder. All of your sticky strip will be applied to the 1" section of cardstock only. Place one piece of Sticky Strip against both of the outside edges. You want to make sure that your Sticky Strip really is right at the edge of the cardstock!. Place one piece of Sticky Strip in the 1/4" wide center section. Remove the liner from the Sticky Strip and fold the 1" section up to adhere it. Now you have two little pockets just the right size for a standard tea bag.
For the outside... Use Sticky Strip to adhere a 15 1/2" piece of 1 1/4" wide Real Red Striped Grosgrain Ribbon. Insert your tea bags into the pockets, tie your ribbon into a knot and trim the ends. Next cut a 2 1/2" x 3" piece of Marina Mist cardstock. Punch out your owl pieces from your scraps and adhere your owl together.
Stamp the greeting from Afterthoughts (retired) in Real Red ink on a scrap of Whisper White cardstock. Then punch out the greeting with the Decorative Label punch. Sponge the edges of the label with Early Espresso ink and adhere the label to the Marina Mist cardstock in the lower right hand corner. Punch a branch from Old Olive cardstock scraps using the Bird Punch. Adhere the branch to the Marina Mist cardstock with the Two-Way Glue Pen. Now cut a piece of Whisper White cardstock 2 5/8" x 3 1/8" and adhere the Marina Mist cardstock on top of it. Adhere your owl with a Stampin' Dimensional. Now adhere your panel to the front of the tea bag holder with several Stampin' Dimensionals.
That's it! Super quick and easy! Especially with the fabulous new Simply Score tool that allows you to easily make multiples of the same project. I absolutely LOVE this new tool. I will feature it in a post for you tomorrow so you can see everything about it! I just know you'll love it too!
Thanks for stopping by!
