
Here is the second card from the June Make and Take! This one was inspired by a card created by Vicki B.
Stamps: Touch of Kindness, Pretty Petals
Cardstock: Crumb Cake, Peach Parfait, Whisper WhiteDSP: Peach Parfait DSP
Ink: Black Stazon, Crumb Cake, Basic Black
Markers: Bashful Blue, Marina Mist, So Saffron, Peach Parfait, Pumpkin Pie, Pear Pizzaz, Old Olive, Sahara Sand, Basic Grey
Accessories: Gold Brads, Paper Piercer, Mat Pack, Tombow Multi-Purpose Adhesive, Dazzling Diamonds Glitter, Stampin’ Dimensionals
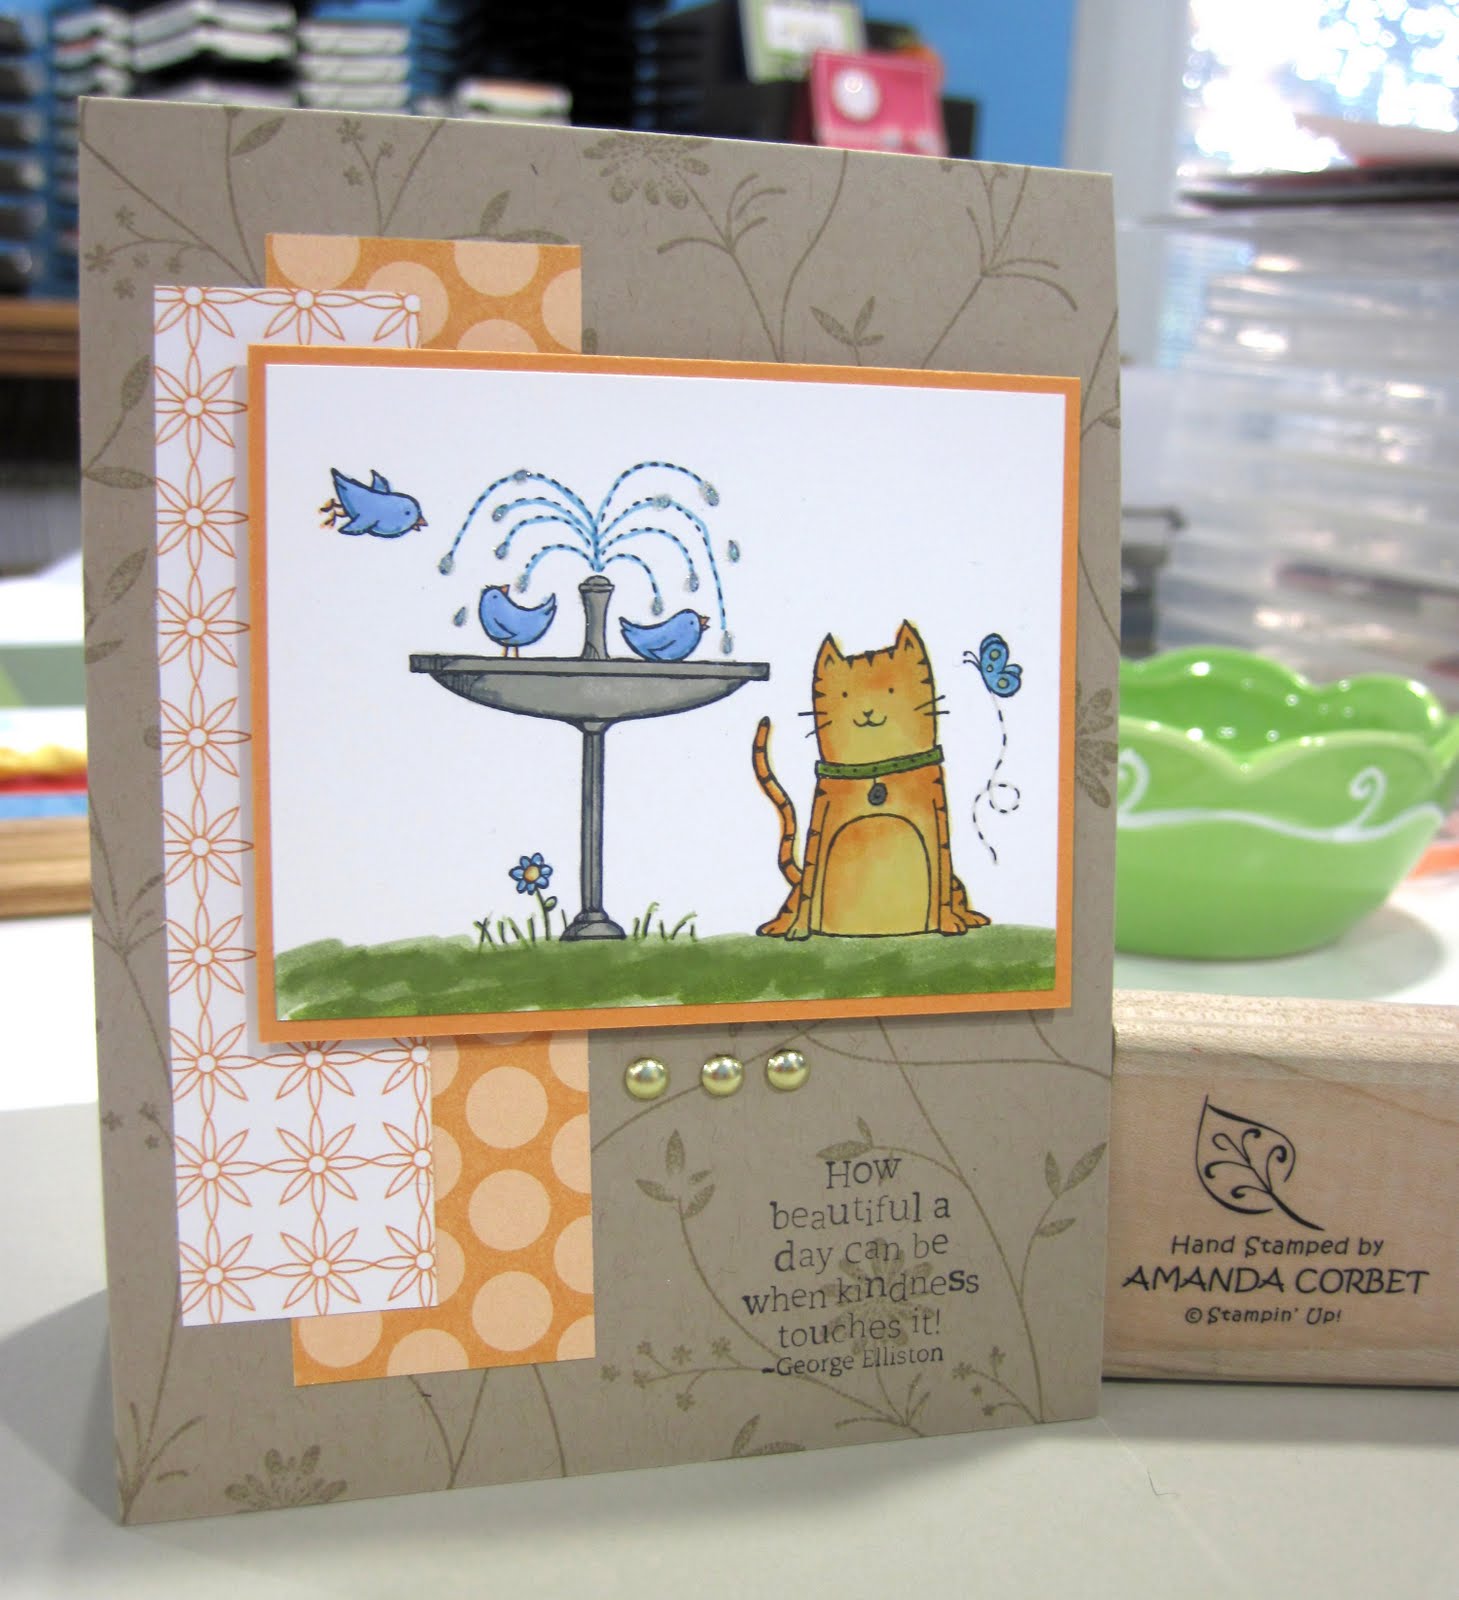
The card base is Crumb Cake cardstock that was cut at 4 ¼” x 11” and scored at 5 ½”. The card front was stamped with the Pretty Petals background stamp (retired) in Crumb Cake ink. Then one piece of Peach Parfait DSP was cut at 1” x 4” and another was cut at 1 ¼” 4 ½”. These were adhered to the card front so that they overlap just a little bit.
Next a piece of Whisper White cardstock was cut at 2 ½” x 3 ¼”. The fountain and cat from Touch of Kindness were stamped in Black Stazon ink and then colored in with the markers. To get the shading on the cat start with your lightest color and color the entire cat. Then add shading with the next darker color just where you want the shadows. Then add some darker areas to your shadows with your darkest color. Then finally to blend them all color over the entire image again with the lightest color. It doesn’t look like it while you’re working, but the colors will blend together. Trust me!
Do the same shading with the Sahara Sand and Basic Grey markers on the fountain. Then color the ground with the Pear Pizzaz and Old Olive markers. Once I finished coloring the panel it was adhere to a 2 5/8” x 3 3/8” piece of Peach Parfait cardstock. Now time to add some sparkle! I put little bitty dots of Tombow Multi-Purpose Adhesive just on the water drops in the fountain. Then I sprinkled Dazzling Diamonds Glitter over the adhesive and tapped of the excess. This panel was then adhered to the card front with Stampin’ Dimensionals.
The Paper Piercer and Mat Pack were used to pierce three holes underneath the image panel and three Gold Brads were added. Finally the greeting was stamped in Basic Black ink in the lower right hand corner of the card.
Thanks for stopping by!
