What you will need: Cardstock, Stamps and ink of choice, Petal Cone Die, Big Shot, Sticky Strip, Paper Snips, Paper Cutter, Scoring Tool, Stampin Dimensionals, Needle Tool, Brads, Dotted Scallop Ribbon Punch.

1. Cut two pieces of cardstock 5” x 6” in the color that you want to use for your basket base. Stamp the cardstock however you like if you want to create a pattern.

2. Run the cardstock one piece at a time through the Big Shot on the Petal Cone Die.


3. Fold the scallops down on the score line and fold the cardstock in half on the score line.


4. Place your folded cone onto your paper cutter and line up the top edge with the 3.5 in. line, cut off the bottom.

5. Place the folded cone half onto your scor-pal or whatever tool you use for scoring and score 1” from the end of the cut edge.

6. Trim the fold lines as shown here.

7. Place Sticky Strip in the locations shown.
8. Repeat steps 2 through 7 on the other die cut cone half.


9. Remove the liner from the sticky strip on the remaining side flap and adhere the flap to the first petal cone side.

10. Fold in the first flap with the sticky strip, remove the liner and fold over the opposite flap.

11. Fold in the next flap with the sticky strip, remove the liner and adhere the final flap to the bottom.

12. Your bottom should look like this.

13. Cut four pieces of Whisper White cardstock 2” x 3 ½”.
14. Run the pieces through the Big Shot on the Petal Cone die with the cardstock placed over the scalloped half circle

. 15. Trim two scallops off of each side of the scalloped circle halves

14. Adhere each Whisper White scalloped circle half behind each of the petals on the basket.

15. Place a Stampin’ Dimensional in the center and close to the rounded edge of each petal on the basket.


16. Remove the liner from the dimensionals and adhere the petals to the side of the basket.


17. On two petals that are opposite one another use the needle tool to pierce a hole approximately ¾” down from the fold and centered in the width. These holes will be used to attach the handle.

18. Using a scrap of cardstock that is 8 ½” wide and the Dotted Scallop Ribbon punch, punch a ribbon 8 ½” long in the color of your choice for the handle.

19. Use the needle tool to punch a hole on the handle ends. Make sure you punch the hole about ¾” from the handle end.
20. Use Paper Snips to cut a dove-tail in the handle ends.

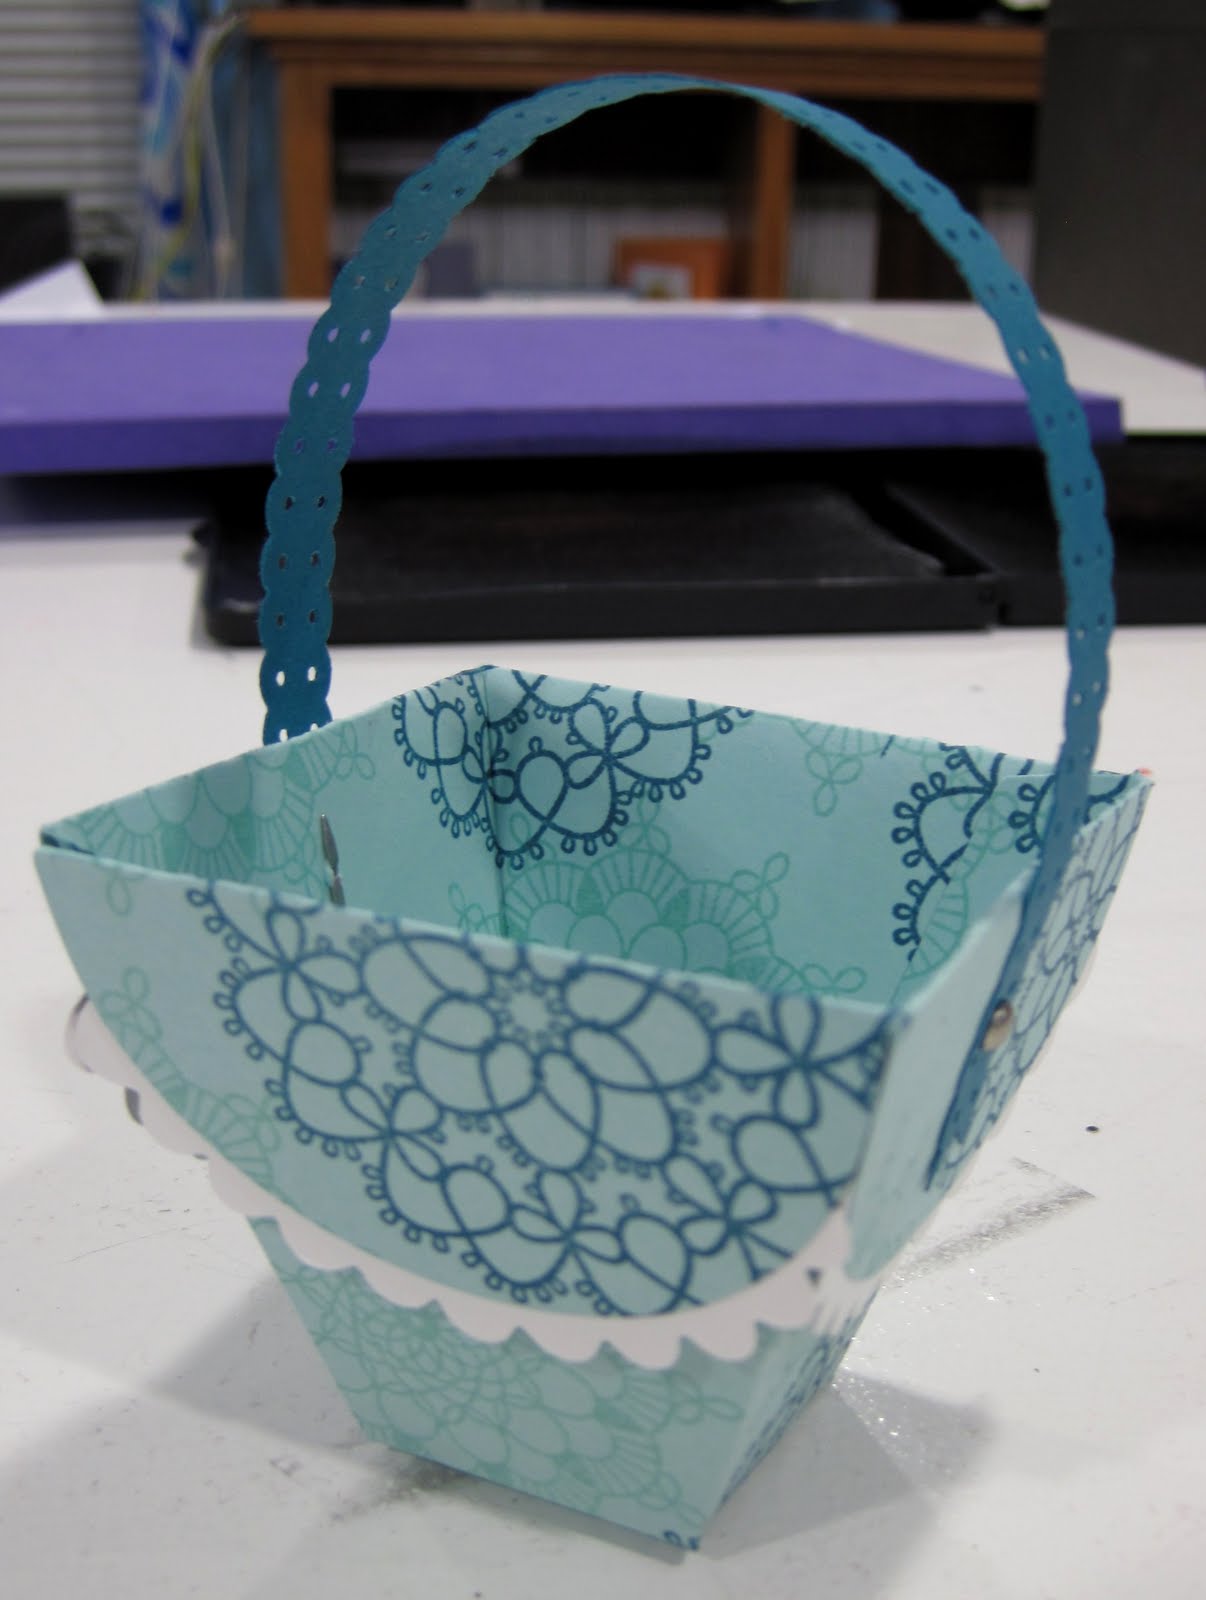
21. Place a brad through the hole in the handle and through the hole in the basket side. Open the prongs of the brad.