
If you missed the tutorial on heat embossing you can find it here.
The supplies you will need for this tutorial are: Heat Gun, Clear Embossing Powder, Versamark, cardstock, stamp, ink.
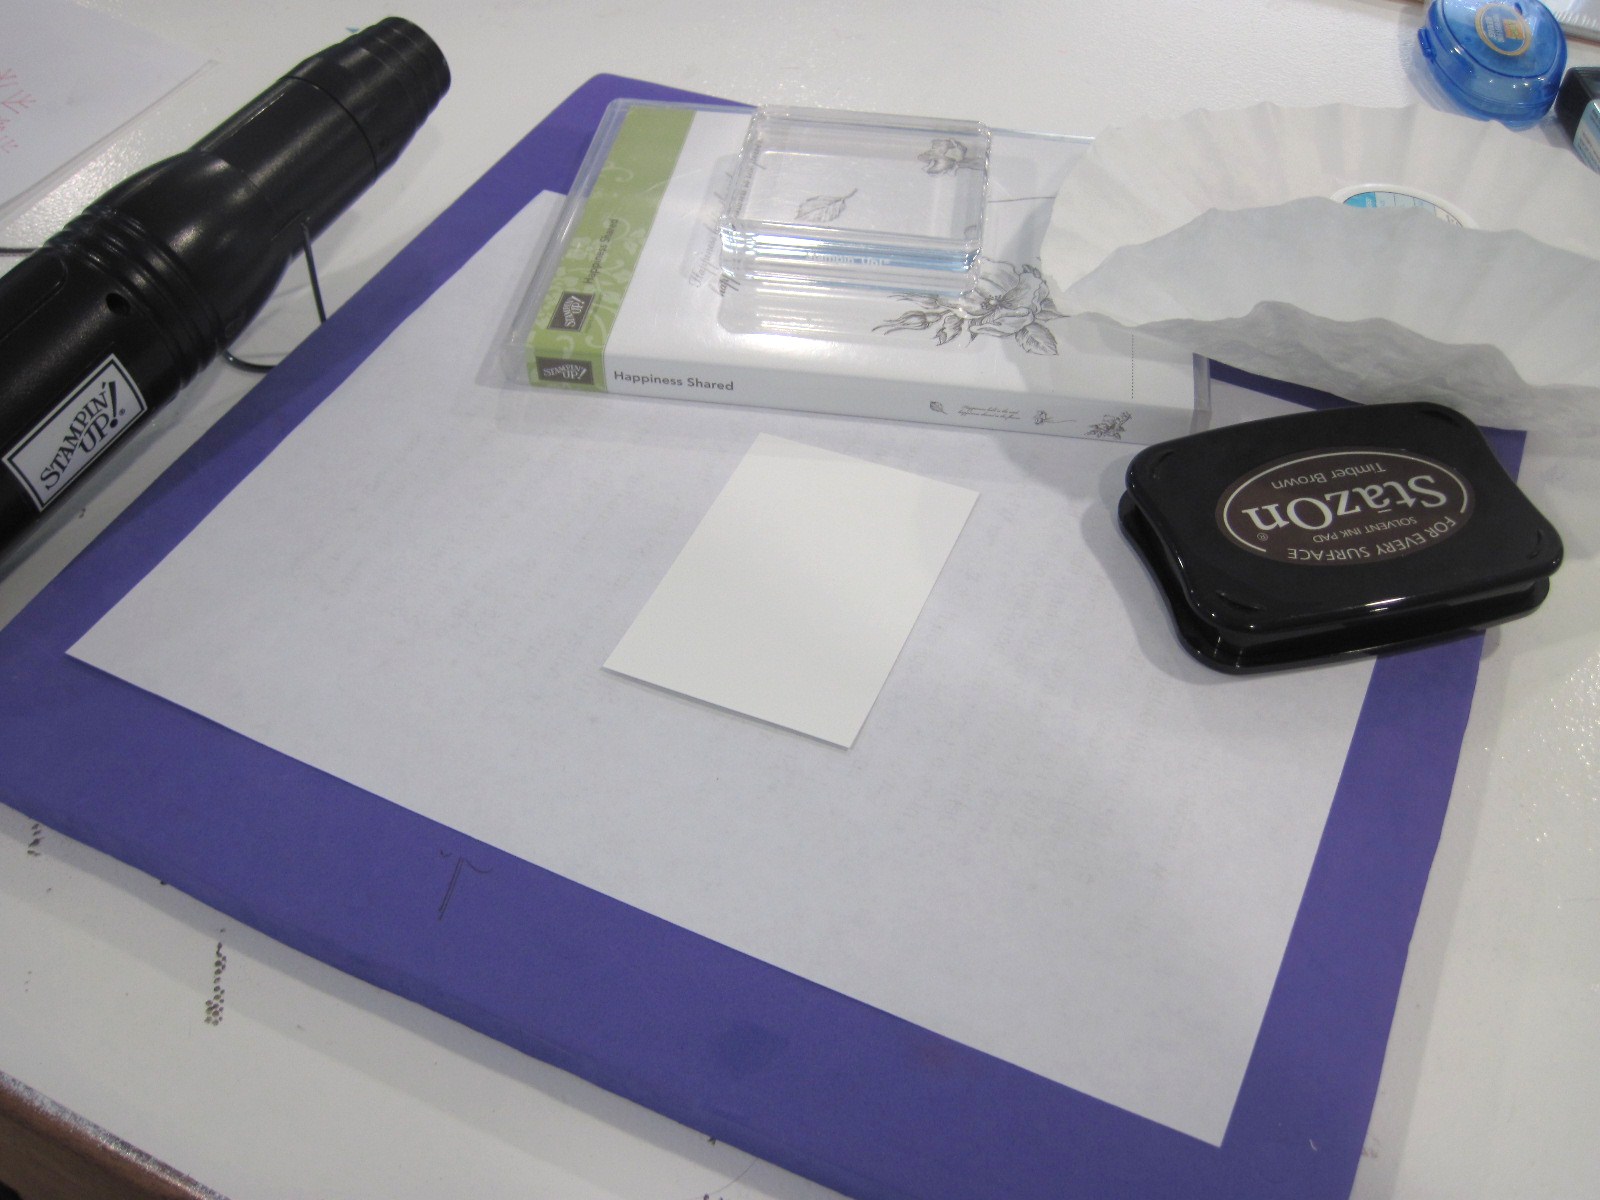
First stamp your cardstock with whatever images and colors you want for your card. In this case I used Happiness Shared.

Next you will ink the entire piece of cardstock with Versamark and cover completely with clear embossing power.

Heat emboss the embossing powder until it melts and turns shiny.

You will have a bumpy finish. Next repeat inking with Versamark, covering with clear embossing powder, and heating two-three more times.

Now you will have a smooth shiny finish.

Now put your cardstock in the freezer for a couple of minutes. Yes…I did say the freezer.
After a few minutes in the freezer your cardstock may warp a little. Don’t worry that is perfectly normal.
Now you are going to bend your cardstock until the embossing powder cracks. Keep bending it in different locations until you are happy with the cracks.

Now this looks really good as it is. But you can sponge on a dark color ink over the cracks. This will make the cracks stand out more.

Use a tissue or paper towel to remove the excess ink from the embossed surface.

Add your beautiful cracked glass panel to your card!

This creates such an elegant look and with a little patience it really isn’t hard to do. I hope you have a great time trying out the cracked glass technique! I would love to see your creations so please add the link to your photo in the comments section.
Come back tomorrow to see the finished card with the cracked glass panel I made today!