Tuesday, February 1, 2011

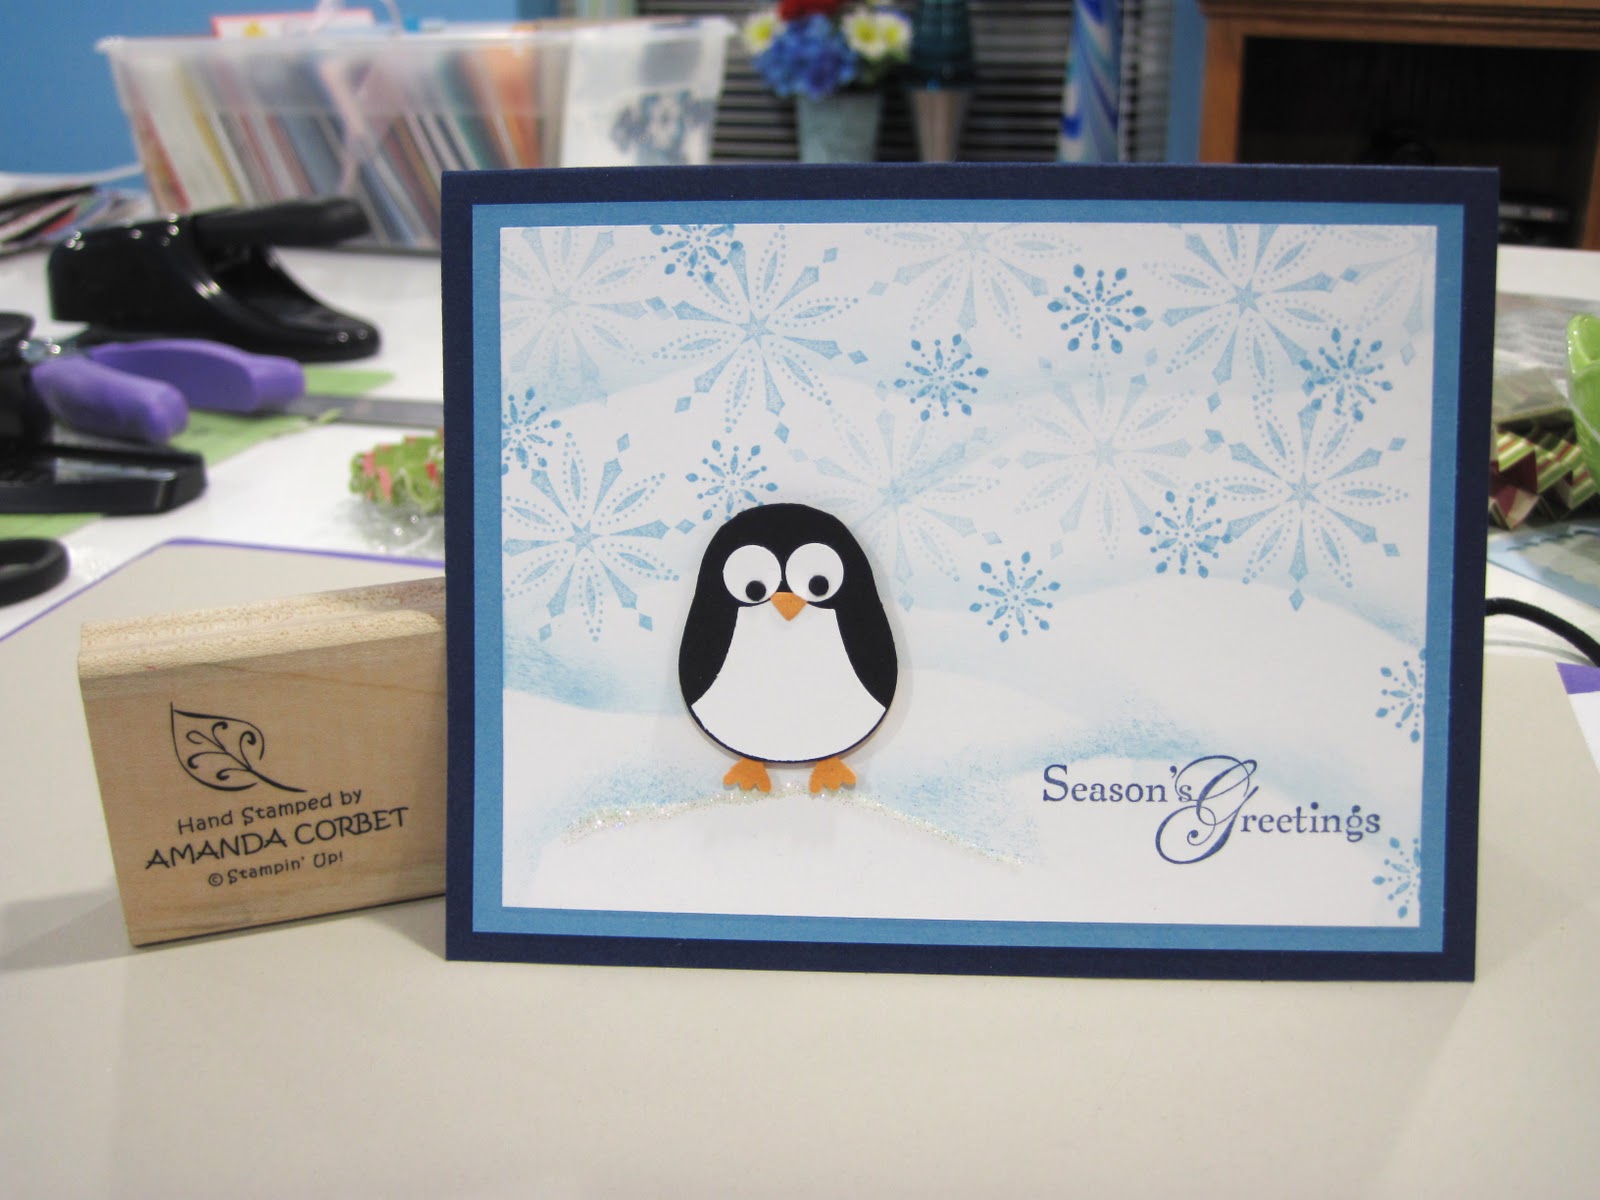
Cute Penguin Card- December Make and Take 2

Here is the second card from the December Make and Take. This one is a little more cute! This card was inspired by this card created by Julie Davison.


Stamps: Snow Swirled
Cardstock: Night of Navy, Marina Mist, Whisper White
Ink: Marina Mist, Night of Navy,
Accessories: Two-Step Owl Punch, Needle Tool, Paper Snips, Two-Way Glue Pen, Tombow Multi-Purpose Adhesive, Dazzling Diamonds glitter, Stampin’ Dimensionals, Scraps of Basic Black, Peach Parfait, Whisper White.

The card base is Night of Navy cardstock cut at 5 ½” x 8 ½” and scored at 4 ¼”. The next panel is Marina Mist cardstock cut at 3 7/8” x 5 1/8”. A piece of Whisper White cardstock was cut at 3 5/8” x 4 7/8”. On the Whisper White cardstock I placed a post it note that was cut in a curvy line on the sticky part of the post it note. I sponged Marina Mist ink at the edge of the post it note with a Stampin’ Sponge and then moved the post it note to another area and sponged another snow mound. I kept moving and sponging until I had six or seven snow mounds in different positions all the way up the Whisper White cardstock.

The large snowflakes from Snow Swirled were stamped in Marina Mist ink by first stamping off on a scrap piece of paper before stamping onto the Whisper White cardstock. This gives a lighter image in the same color. The smaller snowflakes were stamped with Marina Mist ink by stamping normally. This way the smaller snowflakes stand out a little more on the card front than the lighter ones.

Then some Tombow Multi-Purpose adhesive was added across the top of the snow mound where I wanted the penguin to stand and some Dazzling Diamonds Glitter was added and this panel was set aside to dry. I like using the Tombow glue for adding glitter like this because it dries within a few minutes and you can continue working on your card.

Anyway… to make the penguin an owl body was stamped out of both Basic Black and Peach Parfait cardstock. The Basic Black owl body had the ears and feet cut off with paper snips. The Peach Parfait owl body was cut in half. You really only need the feet and a little cardstock to be able to glue it behind the black body. The penguin body was glued to the feet portion. The belly was punched from Whisper White cardstock and adhered to the penguin body.

A heart was punched from Peach Parfait cardstock and the top half snipped off with Paper Snips so all you have is the point. This is glued on for the beak of the penguin. The medium circles in the owl punch were punched from Whisper White cardstock for the large part of the eyes. The pupils were punched from Basic Black cardstock. All of the penguin pieces were adhered with the Two-Way Glue Pen and the Needle Tool was used to help position and adhere the eyes and the beak.

This adorable little penguin was adhered to the card front with a Stampin’ Dimensional. The greeting from Snow Swirled was stamped in Night of Navy ink and the card is done! This was such a fun and cute card to make!
Monday, January 31, 2011

Elegant Breeze

Here is the card I created for the SCCSC sketch challenge on Stampin’ Connection. This week the sketch was created by Susie Nelson. Here is the sketch:


Here is my card:

Stamps: En Francais, Perfect Punches

Cardstock: Very Vanilla, Crumb Cake, Whisper White, Baja Breeze
DSP: Elegant Soiree
Ink: Crumb Cake, Baja Breeze
Accessories: Scalloped Oval Punch, 1 3/8” x 5/8” Oval Punch, Scallop Edge Border Punch, Bronze Brads, Stampin’ Dimensionals, Basic Pearls Jewel Accents, Two Way Glue Pen, Stampin’ Dimensionals, Needle Tool, Mat Pack.

The card base is Very Vanilla cardstock cut at 5 ½” x 8” and scored at 4 ¼”. The shorter side will be the card front. The card front was stamped with En Fraincais in Crumb Cake ink to create a background. A piece of Baja Breeze and Whisper White cardstock were cut at 1” x 5 ½” and punched with the Scallop Edge Border punch. Both of these were adhered together and then adhered behind the side of the card front.

A piece of Elegant Soiree DSP was cut at 3 ¾” x 5 ½” and then cut from one corner to the other corner to get the diagonal cut. This was adhered to the card front. A 3/16” x 7 ¾” piece of Crumb Cake cardstock was adhered just at the edge of the diagonal line of the DSP with a Two-Way Glue Pen. The ends were trimmed to meet the edge of the card.

The greeting from Perfect Punches was stamped on a scrap of Whisper White cardstock in both Baja Breeze ink and then Crumb Cake ink. The Crumb Cake one was punched out with the Scalloped Oval punch. The Baja Breeze image was punched out with the 1 3/8” x 5/8” Oval Punch and adhered on top of the Crumb Cake punched image. The Needle Tool and Mat Pack were used to pierce two holes in the ends of the scalloped oval and a bronze brad was added in each hole. The punched out greeting was adhered to the card front with a couple Stampin’ Dimensionals. Five Basic Pearls were added in the upper right hand corner of the card just to add a little bling.

If you are a Stampin’ Up Demonstrator you can find the sketch challenge thread here. If you are not a Stampin’ Up Demonstrator I would still love to see your creations. Please post a link to your card in the comments section of this post. This sketch was fun and simple to play along with. Thanks Susie! I hope others will get a chance to play along! Have fun stamping!

Sunday, January 30, 2011

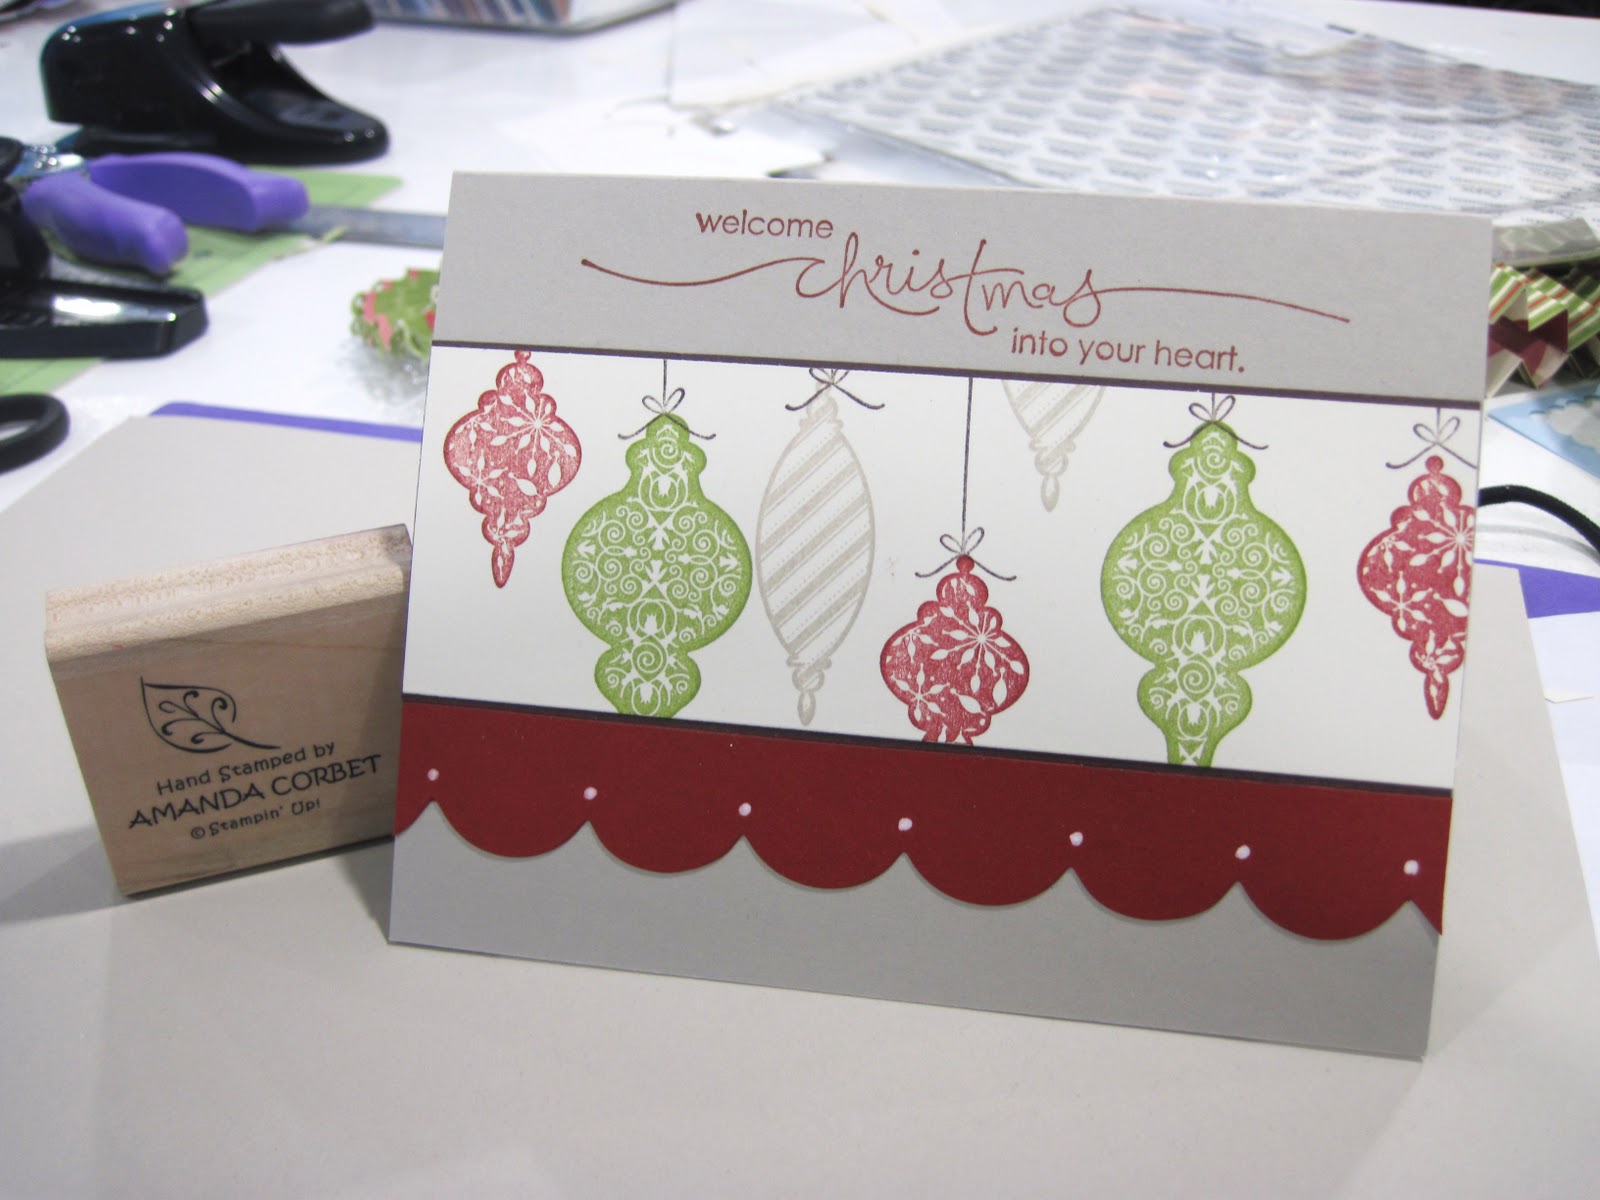
Tree Trimmings Christmas Card – December Make and Take 1

I’m FINALLY getting around to posting the December Make and Take cards. I know that Christmas is long gone but these are too cute not to share. I hope you like them. Here is the first one. This cards was inspired by Julie Lablanc’s card that you can see here.


Stamps: Tree Trimmings, Heard From the Heart
Cardstock: Sahara Sand, Early Espresso, Very Vanilla, Cherry Cobbler
Ink: Early Espresso, Cherry Cobbler, Sahara Sand, Old Olive, Basic Black
Accessories: Tasteful Trim Die, White Gel Pen


The card base is Sahara Sand cardstock cut at 5 ½” x 8 ½” and scored at 4 ¼”. A piece of Very Vanilla cardstock was cut at 1 7/8” x 5 ½”. On the Very Vanilla cardstock strips the ornaments from Tree Trimmings were stamped in Cherry Cobbler, Old Olive, and Sahara Sand ink. The ornament strings were stamped in Early Espresso ink. This was adhered to a piece of Early Espresso cardstock cut at 2” x 5 ½”.

A strip of Cherry Cobbler cardstock was cut at 1” x 5 ½” and ran through the Big Shot on the Tasteful Trim die to get those wonderful large scallops.

The greeting from Heard From The Heart was stamped in Cherry Cobbler ink at the top of the card. Then the ornament panel was adhered to the card front just under the greeting. The scalloped Cherry Cobbler cardstock was adhered just below the ornament panels. The White Gel Pen was used to add little white dots between the scallops.

This is a pretty quick and simple card to make but looks like it took a lot more time. One of the things I love most is making Christmas cards which is why the ladies at the make and take got to make so many this last year. Come back tomorrow to see the second card from the December Make and Take. Have fun stamping!

Friday, January 28, 2011

Season of Joy Christmas Card Class

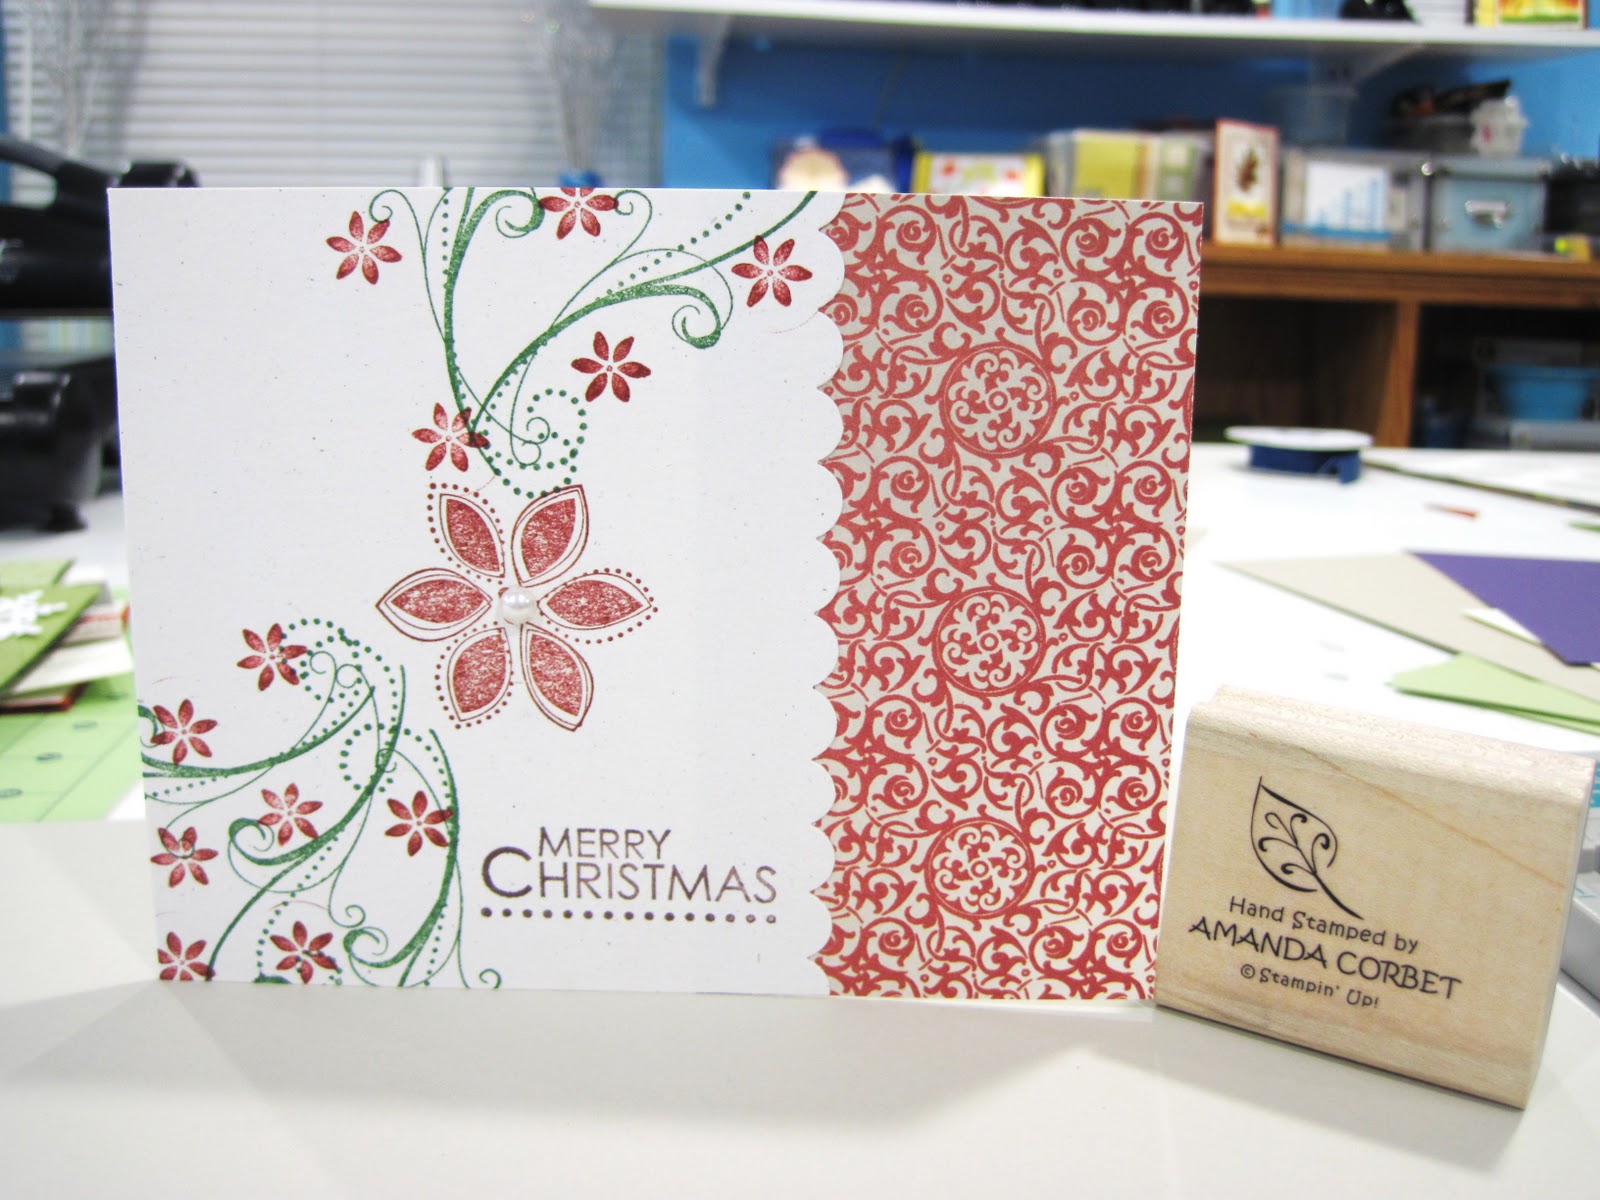
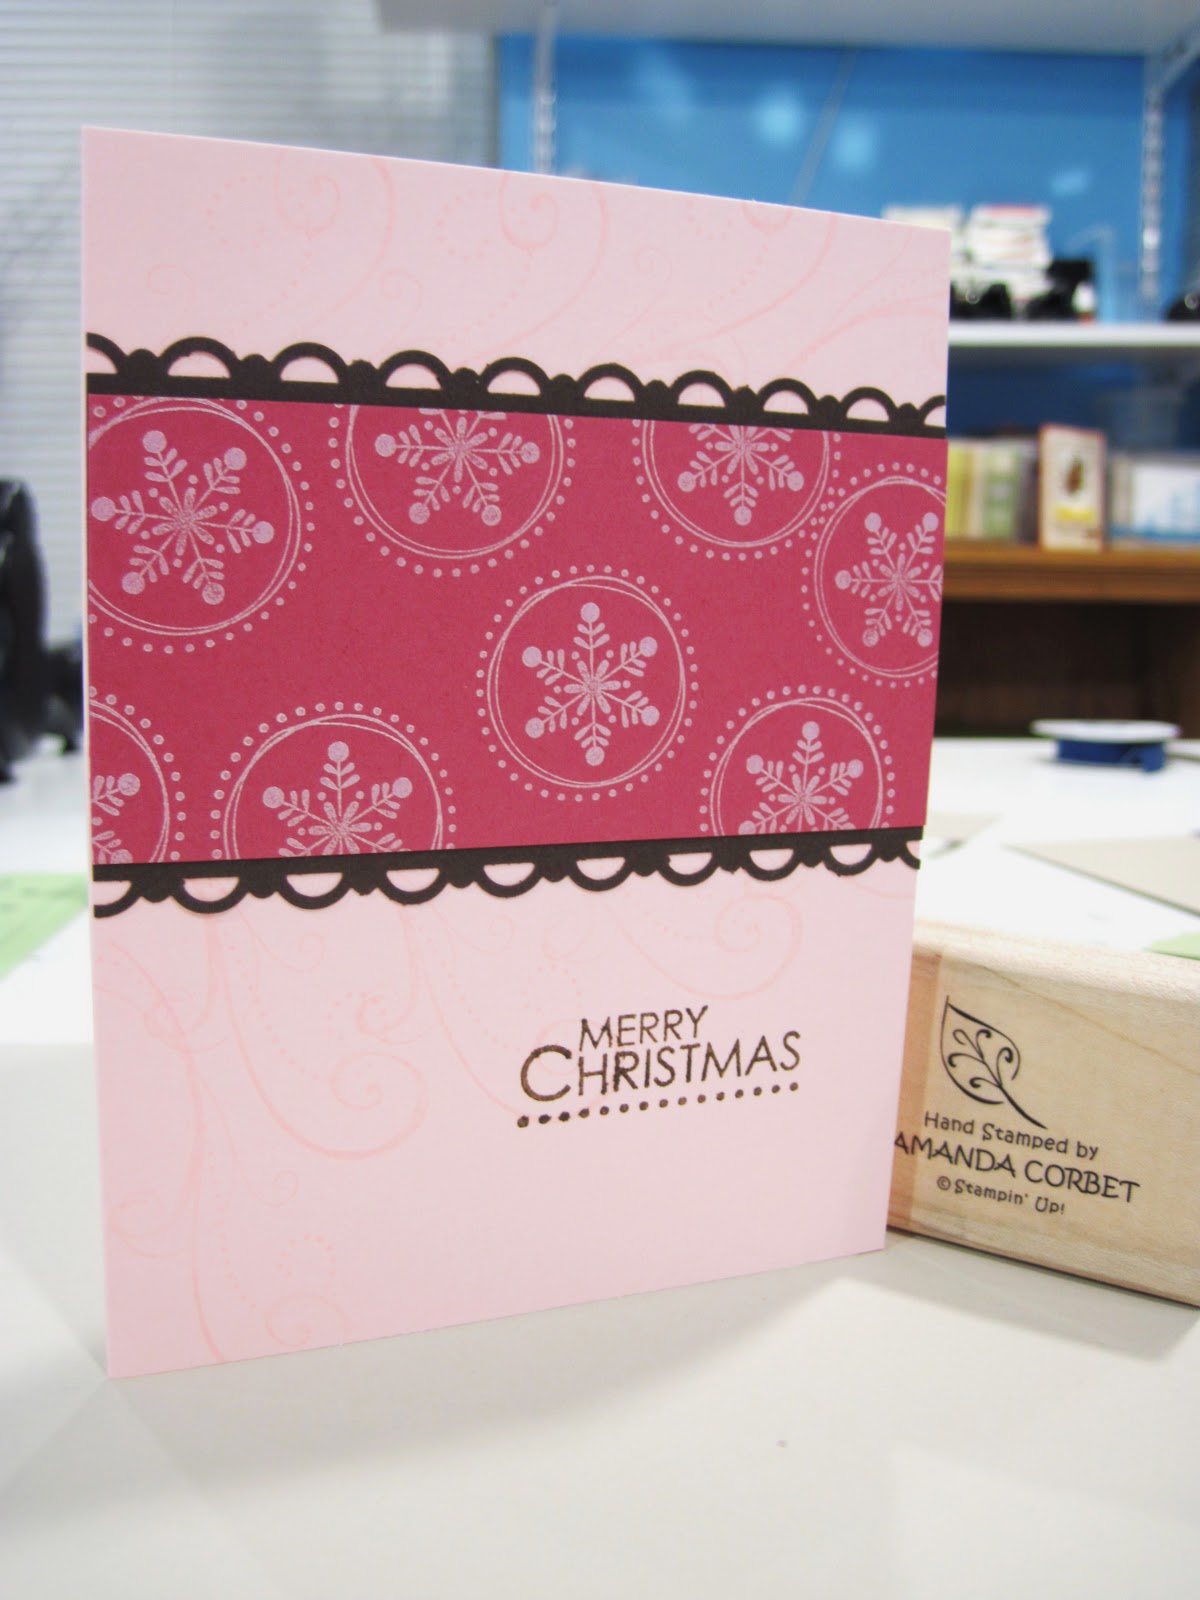
Back in November I hosted a Christmas Card Class where the guests each got a Season of Joy stamp set and made 10 christmas cards with envelopes. The ladies all loved it! Here are the projects that we made and the supplies that were used. The only stamp set used was Season of Joy. Take a look:

Cardstock: Naturals White, Pear Pizzaz, Cherry Cobbler
Ink: Pear Pizzaz, Early Espresso
Accessories: Scallop Trim Border Punch, Tombow Multi-Purpose Adhesive, Gold Glass Glitter


Cardstock: Whisper White, Always Artichoke, Cherry Cobbler
Ink: Basic Black, Riding Hood Red
Accessories: Scallop Edge Border Punch


Cardstock: Very Vanilla, Real Red
Ink: Real Red, Early Espresso
DSP: Jolly Holiday


Cardstock: Sahara Sand, Whisper White, Old Olive
Ink: Old Olive, Chocolate Chip
Accessories: Petals A Plenty Textured Impressions Die, Brayer, 1 3/4" Circle Punch, 1/8" Real Red Taffeta Ribbon, Chocolate Chip Marker, Stampin' Sponge, Stampin' Dimensional


Cardstock: Naturals White
DSP: Deck The Halls
Ink: Garden Green, Cherry Cobbler, Chocolate Chip
Accessories: Scallop Edge Border Punch, Basic Pearls Jewel Accents


Cardstock: Basic Grey, Whisper White, Real Red, Basic Black
Ink: Basic Black
Accessories: Petals A Plenty Textured Impressions Die, Snowflake Punch, Ticket Corner Punch, Silver Brad, Stampin' Dimensionals


Cardstock: Night of Navy, Bashful Blue, Whisper White, Marina Mist
Ink: Night of Navy
Accessories: Square Lattice Textured Impressions Die, Northern Flurries Textured Impressions Die, Decorative Label Punch, Silver Glass Glitter, Brayer, Stampin' Dimensionals, Night of Navy and Marina Mist Markers


Cardstock: Pink Pirouette, Melon Mambo, Early Espresso
Ink: Pink Pirouette, Whisper White Craft, Early Espresso
Accessories: Scallop Trim Border Punch


Cardstock: Very Vanilla, Old Olive, Cherry Cobbler
DSP: Jolly Holiday
Ink: none
Accesories: 2 3/8" Scallop Circle Punch, 1 3/4" Circle Punch, Crimper, Needle Tool, Mat Pack, Stampin' Dimensionals, Crumb Cake and Old Olive Markers.


Cardstock: Elegant Eggplant, Basic Black, Whisper White
Ink: Elegant Eggplant, Concord Crush, Basic Black
Accessories: Northern Flurries Strip Die


The ladies had a blast making all of these cards with their very own stamp set! It just goes to show you that not only can one stamp set be very versatile, but that you can make simple christmas cards that look great! I intend on doing somthing similar this year when Christmas time gets closer. I may even offer a kit online for those who want to play but aren't close to the Leavenworth Kansas area. Have fun stamping!

Monday, January 24, 2011

Beautiful Blossom

It's Monday again! That means its time for another wonderful sketch challenge. This week's sketch was created by Liz Goldhawk and is a lot of fun! Take a look:


At first I thought that this would be a tough one to do, but once I got started it really came together rather quickly. Here is my card:


Stamps: Build-A-Blossom, Elements of Style, Apple Blossoms
Cardstock: Naturals White, Whisper White, Marina Mist, Pear Pizzaz, Crumb Cake, Baja Breeze, Daffodil Delight, Bashful Blue
DSP: Greenhouse Gala DSP
Ink: Pear Pizzaz, Old Olive, Crumb Cake, Marina Mist, Early Espresso
Accessories: Blossom Petals XL Punch, Scallop Edge Border Punch, ½” Circle Punch, 1 ¾” Circle Punch, Two-Way Glue Pen, Stampin’ Dimensionals, 5/8” Marina Mist Grosgrain ribbon, Glimmer Brad, Word Window Punch, Needle Tool, Mat Pack, Silver Brads

The card base is 5 ½” x 8 ½” Naturals White cardstock scored at 4 ¼”. The edges of the card were sponged all the way around with Early Espresso ink. A piece of Greenhouse Gala DSP was cut at 1” x 4 ¼”, sponged with Early Espresso ink, and adhered to the left side of the card front. Another piece of Greenhouse Gala DSP was cut at 2” x 4 ¼”, sponged with Early Espresso ink, and adhered to the left side of the card front. Two 1 ¾” circles were punched from Baja Breeze cardstock. The Edges were sponged with Early Espresso ink and adhered to the card front.

A piece of Crumb Cake cardstock was cut at 3 ¼” x 4 ¼”. This piece was stamped with the flourish from Elements of Style in Crumb Cake ink to create a soft background. The edges were sponged with Early Espresso ink and this piece was set aside.
A piece of Whisper White cardstock was cut at 2” x 3 ½”. The top and bottom edges were punched with the Scallop Edge Border punch. The leaves from Apple Blossoms were stamped first in Pear Pizzaz ink, stamped three times without re-inking, and then in Old Olive ink two times without re-inking. The edges were sponged with Early Espresso ink. This piece was adhered to the Crumb Cake panel with a piece of 5/8” Marina Mist Grosgrain ribbon adhered just under the edge of stamped Whisper White cardstock. The Needle Tool and Mat Pack were used to punch three holes in the bottom right hand corner of the panel and three silver brads were added. This layer was then adhered to the card front. The Marina Mist ribbon end was trimmed and adhered to the card front.
The sentiment from Apple Blossoms was stamped in Marina Mist ink on a scrap of Whisper White cardstock and punched out with the Word Window punch. The edges were sponged with Early Espresso ink and adhered to the card front with Stampin’ Dimensionals to pop it up off the card.

Six flower petals from Build-A-Blossom were stamped in Marina Mist ink on a scrap of Bashful Blue cardstock. Two leaves were stamped in Old Olive ink on scraps of Pear Pizzaz cardstock. Both the petals and leaves were punched out with the Blossom Petals XL Punch. The flower center was stamped in Daffodil Delight ink on a scrap of Daffodil Delight cardstock and punched out with the 1/2” circle punch.

The flower petals, leaves, and center were adhered together using a Two-Way Glue Pen. The Needle Tool and Mat Pack were used to pierce a hole through the flower center. This takes quite a bit of effort to get through all those layers of cardstock. Then a green Glimmer Brad from the Brights collection was added to the center of the flower. The flower was adhered to the card front with Stampin’ Dimensionals.

That’s it! Thanks Liz for the fabulous sketch it really was a lot of fun to play with! I hope you get a chance to play along with this sketch. If you are a Stampin’ Up Demonstrator you can find the sketch challenge thread here. If you are not a Stampin’ Up Demonstrator I would still LOVE to see your creations. Please post a link to your card in the comments section of this post. I hope everyone has a wonderful week! Have fun stamping!

Monday, January 17, 2011

Photo To Share

Okay... I just HAD to share this photo. As I've mentioned before my husband is taking lessons to earn his Private Pilots License and is almost done. Well late last month I was able to ride with him and his instructor and got this great photo. It was too good not to share. I'm by no means a professional photographer but this one turned out pretty good for just a point and shoot camera. That's all... I just wanted to share because I'm so excited about how well this turned out. I'm thinking of getting it printed on a large canvas and framed to put in my hubby's office. You can click on the photo to view it larger.